Standard entrance + $100
The additional nonresident fee applies at Acadia, Bryce Canyon, Everglades, Glacier, Grand Canyon, Grand Teton, Rocky Mountain, Sequoia & Kings Canyon, Yellowstone, Yosemite and Zion.

You do not need to book a tour to benefit from our experience. We collect practical information that is genuinely useful on a first — or tenth — trip across the United States.
Choose a topic. Each link jumps directly to the relevant part of the guide.
We organise only a few small-group trips each year, but this site is meant to help a much wider community of travellers. We want to explain not only what to see, but how parks actually work, where trails begin and what to watch for.
See an example: Zion ShuttleBeginning January 1, 2026, non-US residents age 16 and older visiting 11 of the most-visited national parks pay the standard entrance fee plus an additional $100 per person, unless they are covered by an eligible annual pass.
A Polish tourist living outside the U.S. normally falls under the nonresident rules. A Polish passport alone does not establish nonresident status: U.S. citizens and qualifying U.S. residents are eligible for resident treatment; bring the proof accepted by NPS.
The $100 fee is added to ordinary admission for ages 16+, only at the 11 listed parks. Arches and Death Valley are outside this list. Valid eligible passes cover the surcharge under NPS rules; keep your pass, photo ID and entrance receipt.
A pass does not book a campsite or a timed entry slot. Check those separately.
NPS accepts valid America the Beautiful passes and eligible park-specific annual passes for this coverage. Passes do not cover state or tribal park admission, camping or special activity and reservation charges.
The additional nonresident fee applies at Acadia, Bryce Canyon, Everglades, Glacier, Grand Canyon, Grand Teton, Rocky Mountain, Sequoia & Kings Canyon, Yellowstone, Yosemite and Zion.
For a private vehicle, the pass covers the vehicle entrance and applicable nonresident fees for the people traveling in that vehicle. Where fees are charged per person, it covers the passholder plus up to three additional adults.
The America the Beautiful Resident Annual Pass costs $80. Single-visit standard entrance fees vary by park and by the way you enter.
Guests on our tour do not pay park entrance fees separately at the gate. Required park admission charges for parks in the itinerary are included in the trip price and handled by the organizer.
NPS also honors valid passes bought before 1 January 2026 under their original terms. Coverage applies to the passholder and passengers in a private vehicle, or the passholder plus three adults where entrance is charged per person. These private-travel rules do not describe commercial tour billing.
Open a topic for a concise answer without bureaucratic language. Information checked August 2026. For entry and legal topics we always link to the source so you can verify the latest requirements before travelling.
Poland participates in the Visa Waiver Program. A traveller with a Polish e-passport may visit for tourism or business for up to 90 days without a visa, but must obtain approved ESTA authorization before travel.
Important: an approved ESTA authorizes travel to a U.S. port of entry; it does not guarantee admission. CBP makes the final decision. A visa is required for stays over 90 days and in other cases where VWP eligibility does not apply.
Travel to Cuba on or after January 12, 2021, or to North Korea, Iran, Iraq, Libya, Somalia, Sudan, Syria or Yemen on or after March 1, 2011, can — with limited exceptions — make a VWP traveller ineligible for ESTA and require a visa.
Best rule: apply only through the official U.S. government ESTA website. Third-party sites may add large service fees.
There is no single federal travel-insurance policy required of every tourist at entry, but medical treatment, hospital care and medical transport in the U.S. can be extremely expensive. Poland's foreign ministry travel information for the U.S. strongly stresses adequate insurance.
Check medical limits, emergency and hospital care, medical transport/evacuation, repatriation, personal liability and the treatment of pre-existing conditions. If you plan to hike, confirm that ordinary outdoor activities and the trails you intend to use are covered.
Taxes, airport surcharges, additional drivers, one-way drop fees, toll programs and optional extras can change the total substantially. Rental companies commonly place a hold on your card for more than the agreed rental cost, so leave enough available credit.
Small but useful: delete your phone from the infotainment system before returning the car. The system may retain contacts, call history and navigation destinations.
USA.gov notes that International Driving Permit requirements vary by state. A rental company may also require an IDP under its own policy even where state law is less restrictive.
An IDP does not replace your national driving licence. If required, carry both. A foreign visitor must obtain an IDP before arriving in the United States.
Check eSIM support, network compatibility and carrier lock status before buying a plan. You can install an eSIM before departure and activate the data plan after arrival. Keeping your home SIM active for SMS and two-factor codes can be useful, while data roaming on that line should be disabled.
Cell service can be weak or absent in national parks and across remote desert roads. Download offline maps, hotel addresses, tickets/reservations and key phone numbers in advance.
The FCC recommends checking device/network compatibility before travel and asking your carrier to unlock the phone when needed.
Before adding a tip, check the bill: a gratuity / service charge may already be included, especially for larger groups. A tablet suggesting 20%, 25% or 30% at a counter does not automatically make a tip mandatory.
Traditional etiquette allows the tip to be calculated on the pre-tax subtotal. A tip is a custom, not a sales tax or universal statutory charge.
U.S. sales tax is imposed at state and local level. Rates vary by state, city and type of purchase, so posted shelf/menu prices often are not the final amount you pay at checkout.
Visa explains that DCC is an optional conversion by the merchant or ATM into the cardholder's home currency; in the United States the local transaction currency is USD.
A practical stop-by-stop guide: choose a shuttle stop, open a trail, and immediately see distance, time, difficulty and elevation gain. Trail data is based on National Park Service information; always check current conditions and closures before hiking.
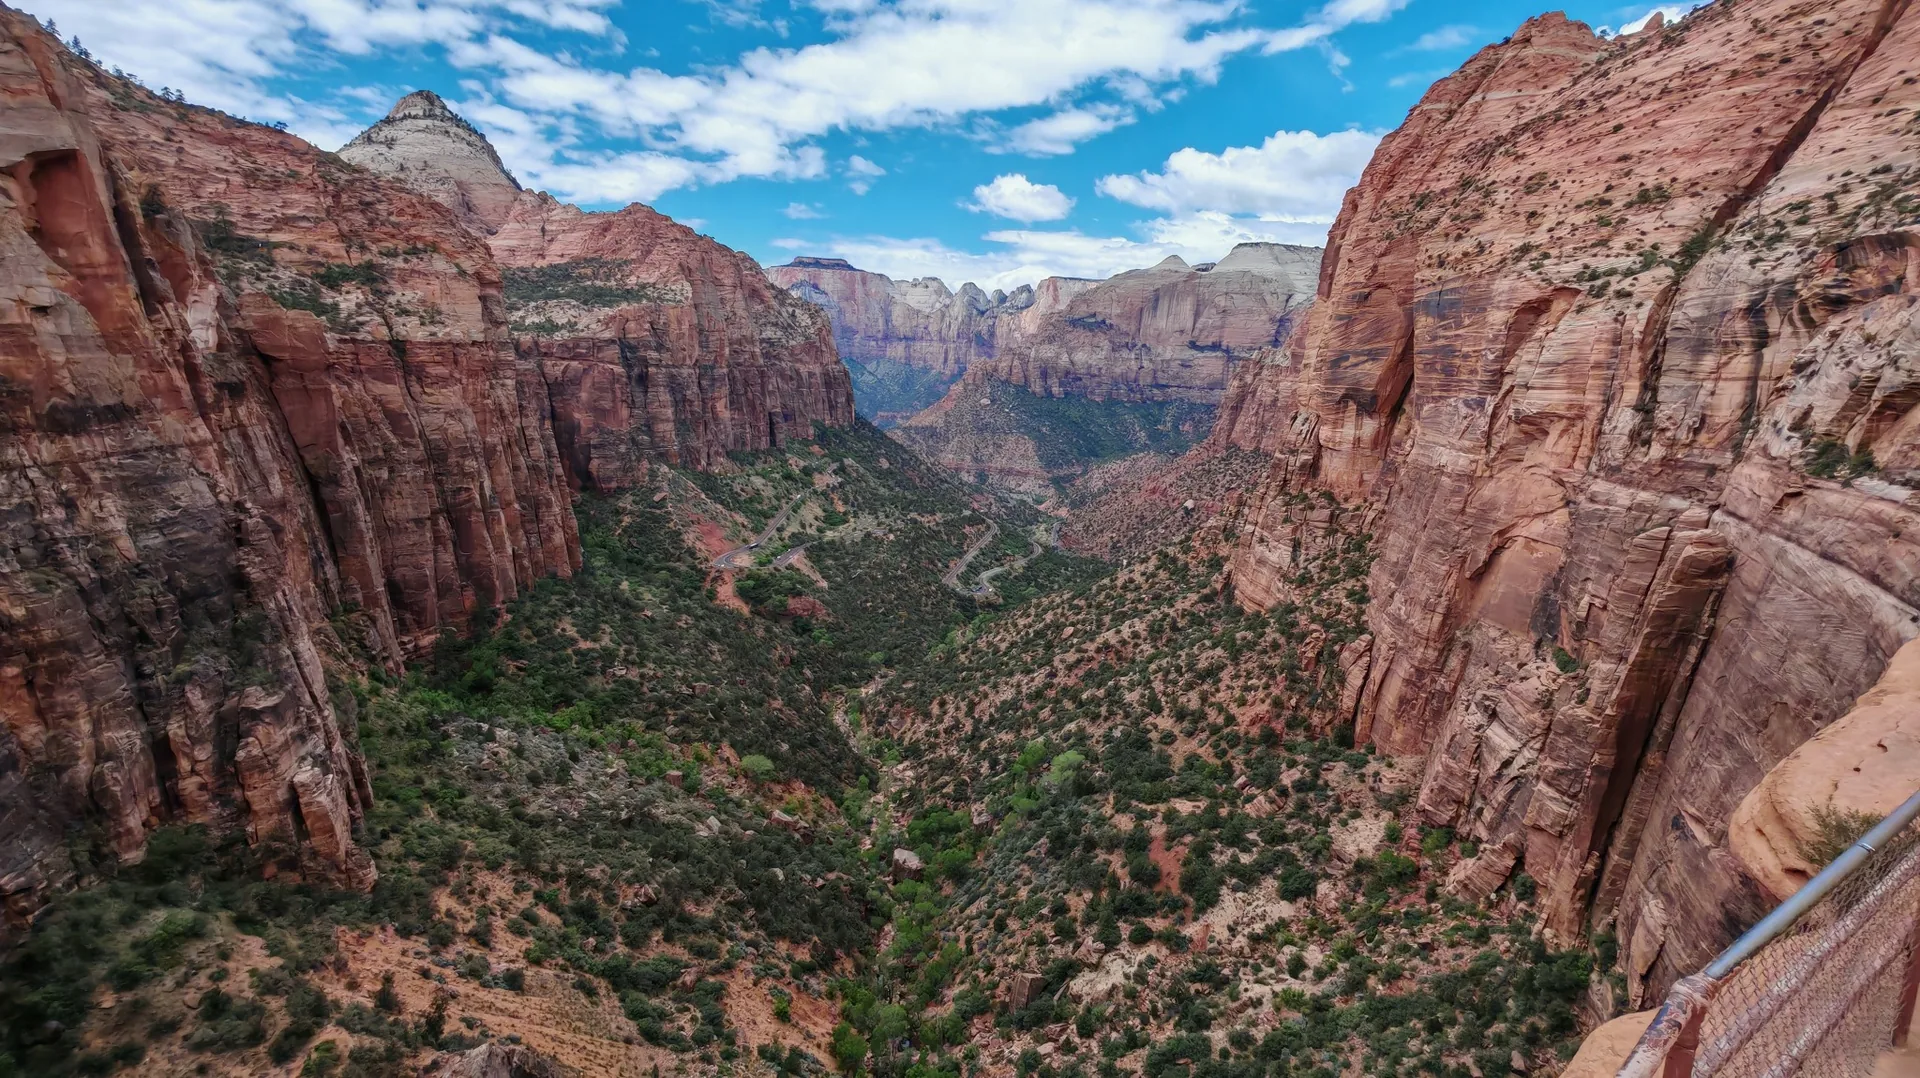
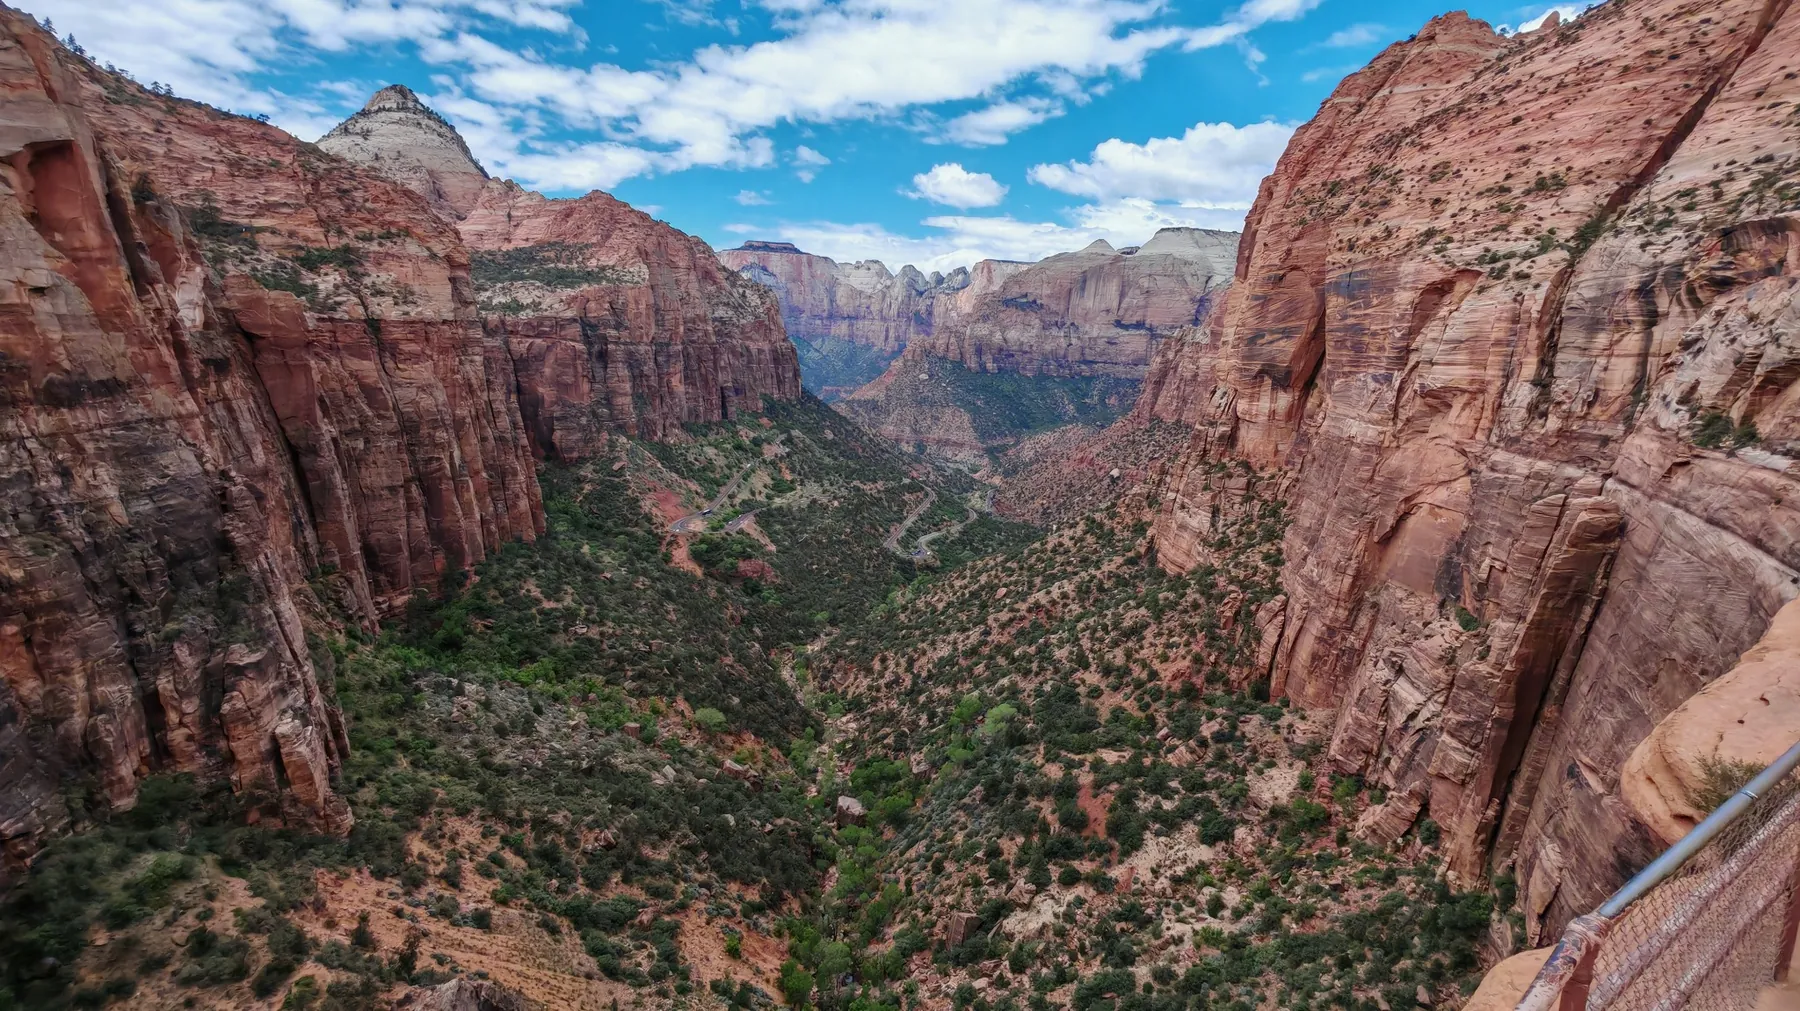
Zion combines towering sandstone walls, the green Virgin River valley and trails ranging from riverside walks to steep viewpoints. For a first visit, focus on Zion Canyon and explore from successive shuttle stops. Riverside Walk and Pa’rus offer a feel for the park without a demanding climb.
Zion Canyon Visitor Center
Weather loads when you open this guide.
Modelled weather for this location; point elevation is approximate. Conditions on trails, summits and elsewhere in the park can differ considerably.
View from park headquarters in Zion Canyon toward the valley’s rock formations.
Check the date and time on the image or operator’s page: an older frame may be displayed. Night views may be dark. Webcam and weather data may refer to different locations.
National Park Service
Select a thumbnail for the full view.
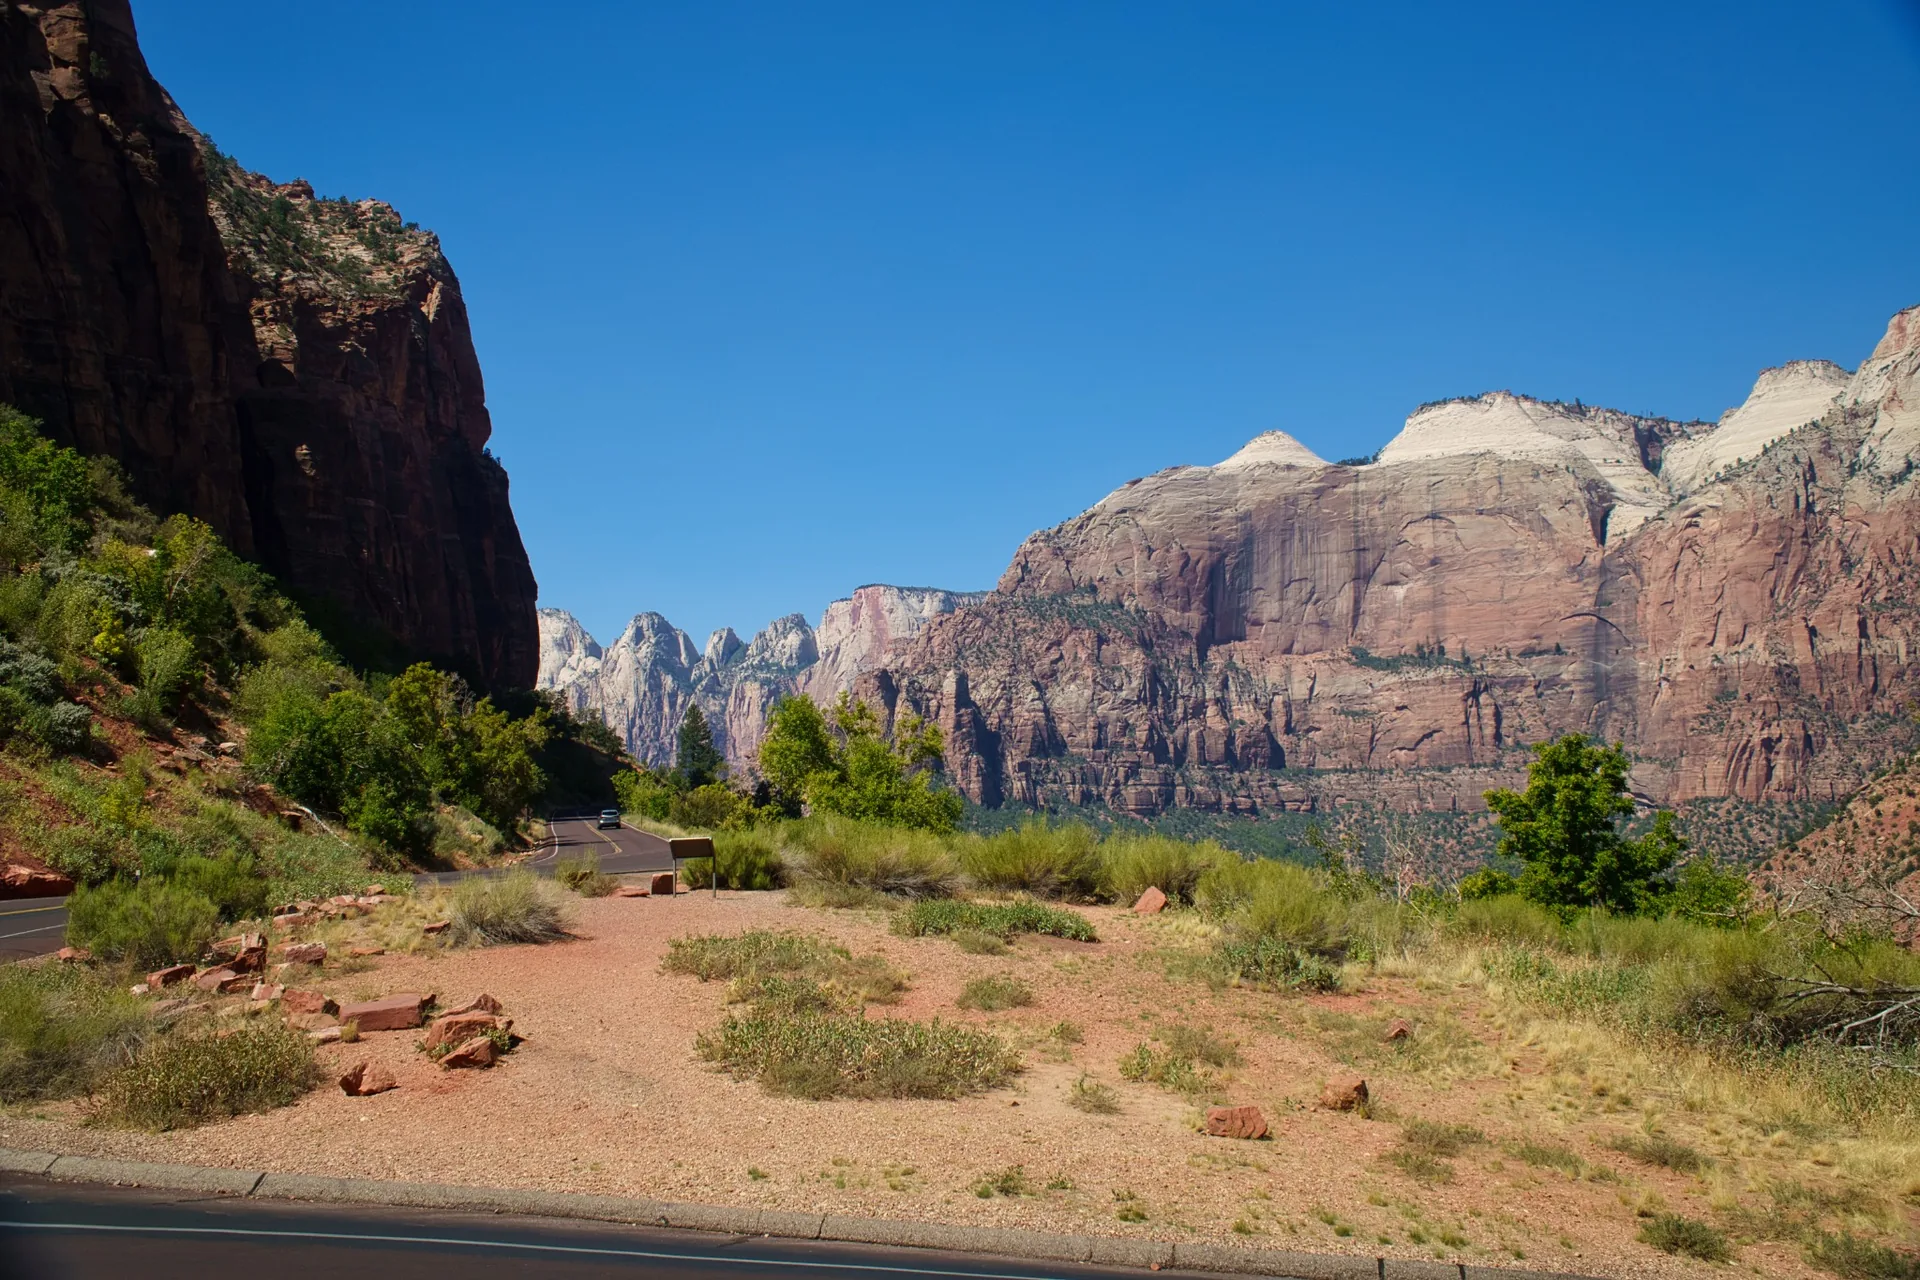
Start of the park shuttle line and a useful trailhead before heading deeper into the canyon.
A paved route along the Virgin River toward Canyon Junction. A great relaxed walk, especially around sunset.
Uses the one-way segment measured in the NPS accessibility survey. The same NPS page gives a different general distance; this figure refers specifically to the measured segment. Allow separately for your return and the walk from parking. *Vista Travel time estimate. NPS — verified 5 September 2026 ↗
A compact but scenic hike ending with views of the Towers of the Virgin, lower Zion Canyon and Springdale.
Round-trip distance follows the general hike description in the NPS trail card. NPS — verified 5 September 2026 ↗
Museum, park history and broad views of the Towers of the Virgin. This is mainly an educational and scenic stop.
Junction of Zion Canyon Scenic Drive and Zion–Mt. Carmel Highway, with access to Pa'rus Trail.
Walk down-canyon to the Visitor Center and combine the shuttle ride with an easy riverside hike.
You cannot board an up-canyon shuttle from Canyon Junction.
Uses the one-way segment measured in the NPS accessibility survey. The same NPS page gives a different general distance; this figure refers specifically to the measured segment. Allow separately for your return and the walk from parking. *Vista Travel time estimate. NPS — verified 5 September 2026 ↗
Short scenic stop for Abraham, Isaac and Jacob Peaks and The Sentinel.
A short paved climb to the classic Court of the Patriarchs viewpoint.
*Vista Travel estimate; NPS gives the trail length but not an average hiking time.
Food, restrooms, water and an important trail hub.
Popular walk to the lower pool and small waterfall. Individual segments can close after rockfall or maintenance.
A longer, rougher route climbing to Upper Emerald Pool.
A short connector between Zion Lodge and The Grotto.
A longer sandy hike below The Sentinel for hikers looking for more mileage.
The key stop for West Rim Trail, Scout Lookout and Angels Landing.
Connects The Grotto with the Emerald Pools trail system.
A strong alternative for hikers who want the big views without continuing onto the Angels Landing chains. No permit is required to Scout Lookout.
NPS accessibility measurement: 1.9 mi / 3 km one way, doubled for the return; ascent from the same survey. A permit is required to continue onto Angels Landing. NPS — Scout Lookout ↗
The final half mile beyond Scout Lookout follows the famous chains along an exposed ridge.
Permit required beyond Scout Lookout to Angels Landing.
A short connector to Zion Lodge. Round trip is about 1 mi / 1.6 km.
The stop and short Weeping Rock Trail are open again. Former routes to Hidden Canyon and Observation Point from the canyon remain closed.
A short climb to the dripping alcove and hanging garden.
Hidden Canyon and the East Rim route to Observation Point from this side remain on long-term closure.
*Vista Travel estimate.
A scenic stop below Angels Landing and the Great White Throne.
End of the shuttle line and gateway to Riverside Walk and The Narrows.
A paved walk along the Virgin River to the point where The Narrows begins.
The NPS accessibility survey measures 1 mi / 1.6 km one way; doubled here for the return. Does not include walking into The Narrows. NPS — verified 5 September 2026 ↗
The bottom-up hike can be shortened at any point. Much of the route is directly in the Virgin River.
No permit is required for bottom-up hiking, but access depends on river flow, weather and flash-flood risk. Check current NPS conditions first.
This trail does not start at any of the nine shuttle stops. The trailhead is near the east side of the Zion–Mt. Carmel Tunnel and is reached by park road.
A compact hike to one of Zion’s best viewpoints; parking near the trailhead is limited.
NPS measures 0.5 mi / 0.8 km one way; this distance includes the return. NPS — verified 5 September 2026 ↗
Choose a park for transport, parking, walking routes and practical planning. This portal also covers destinations beyond the example group itinerary. Each new guide lists its sources and verification date.
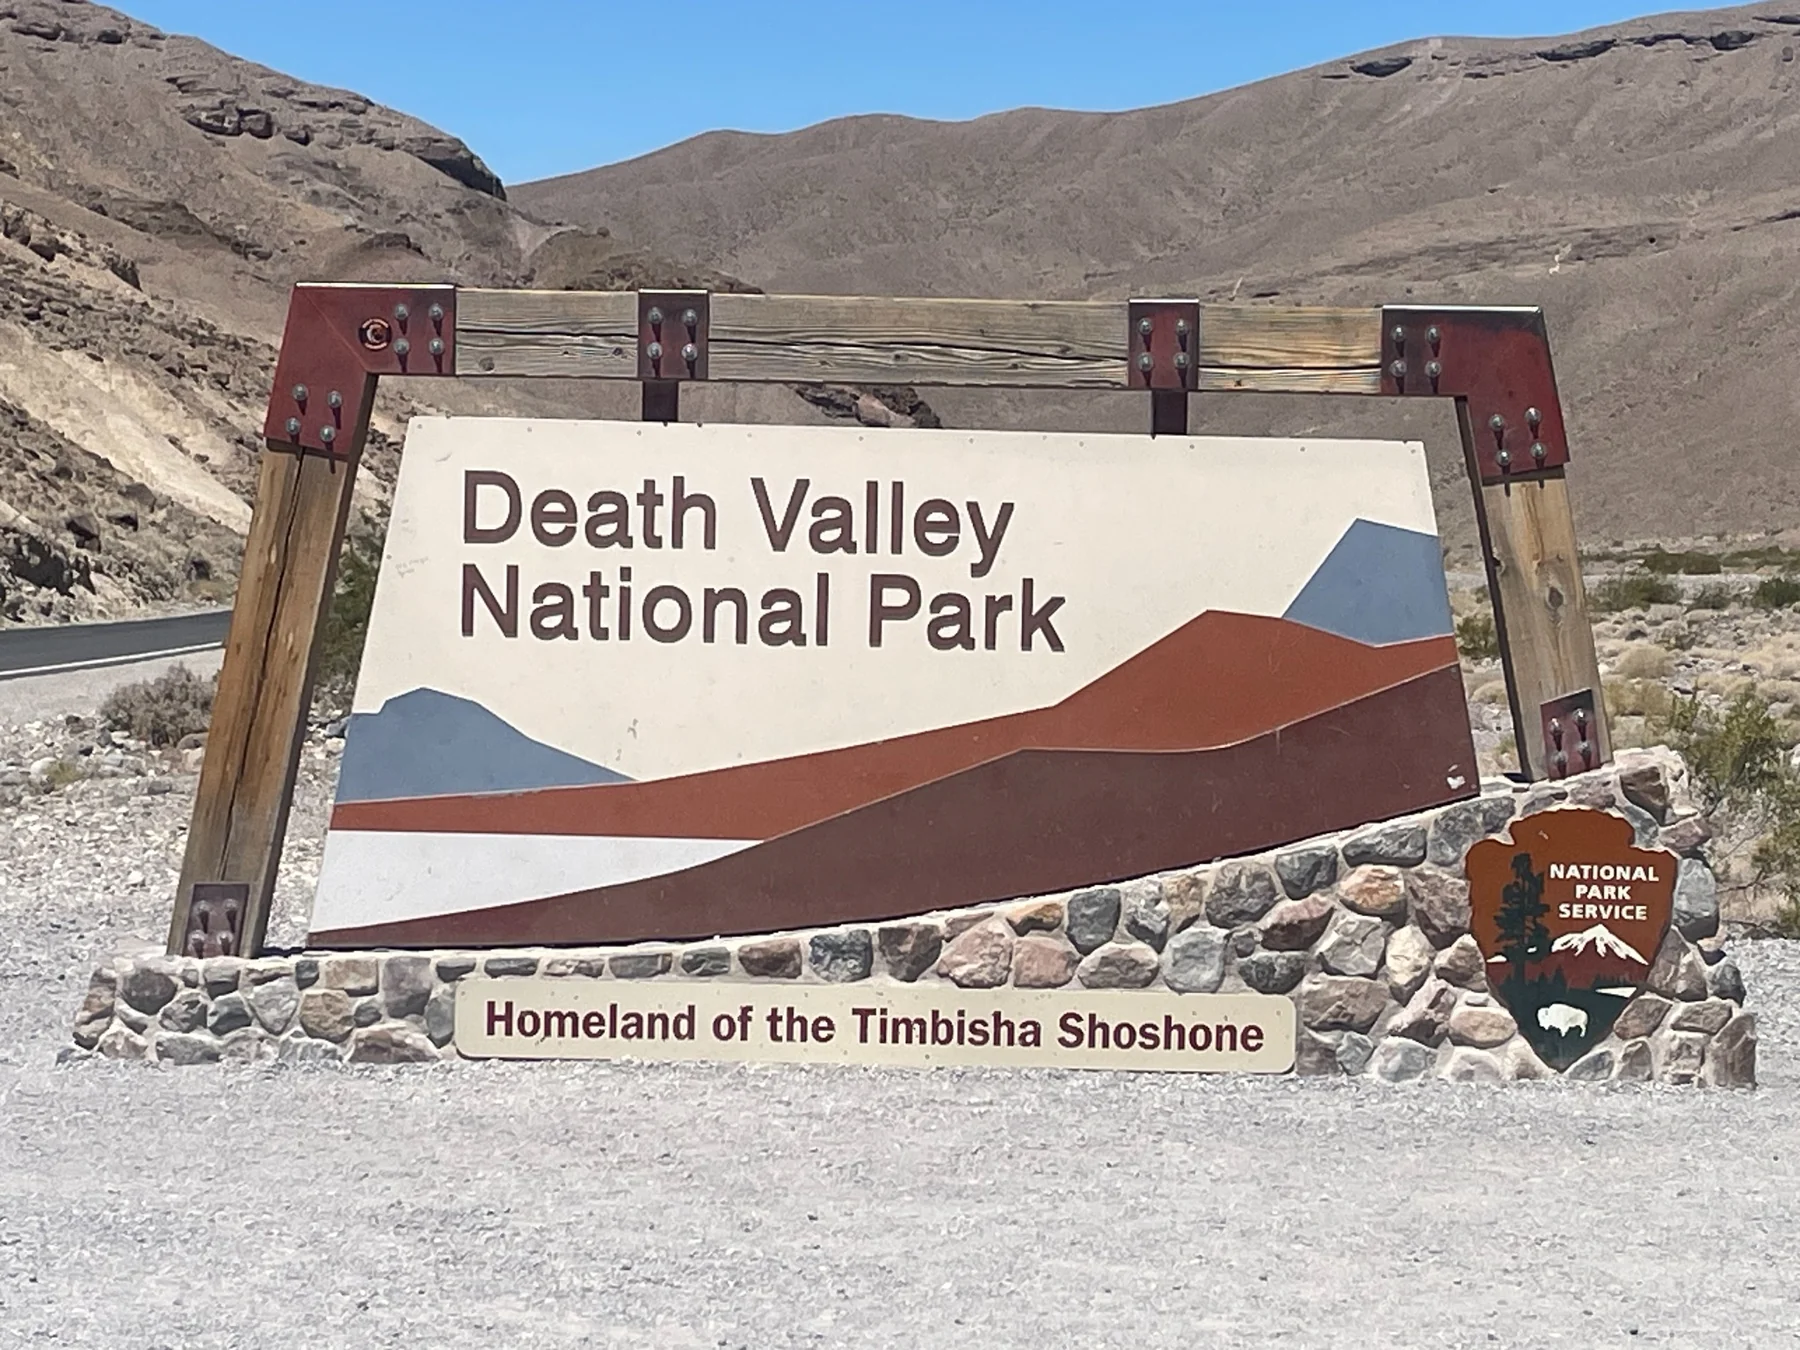
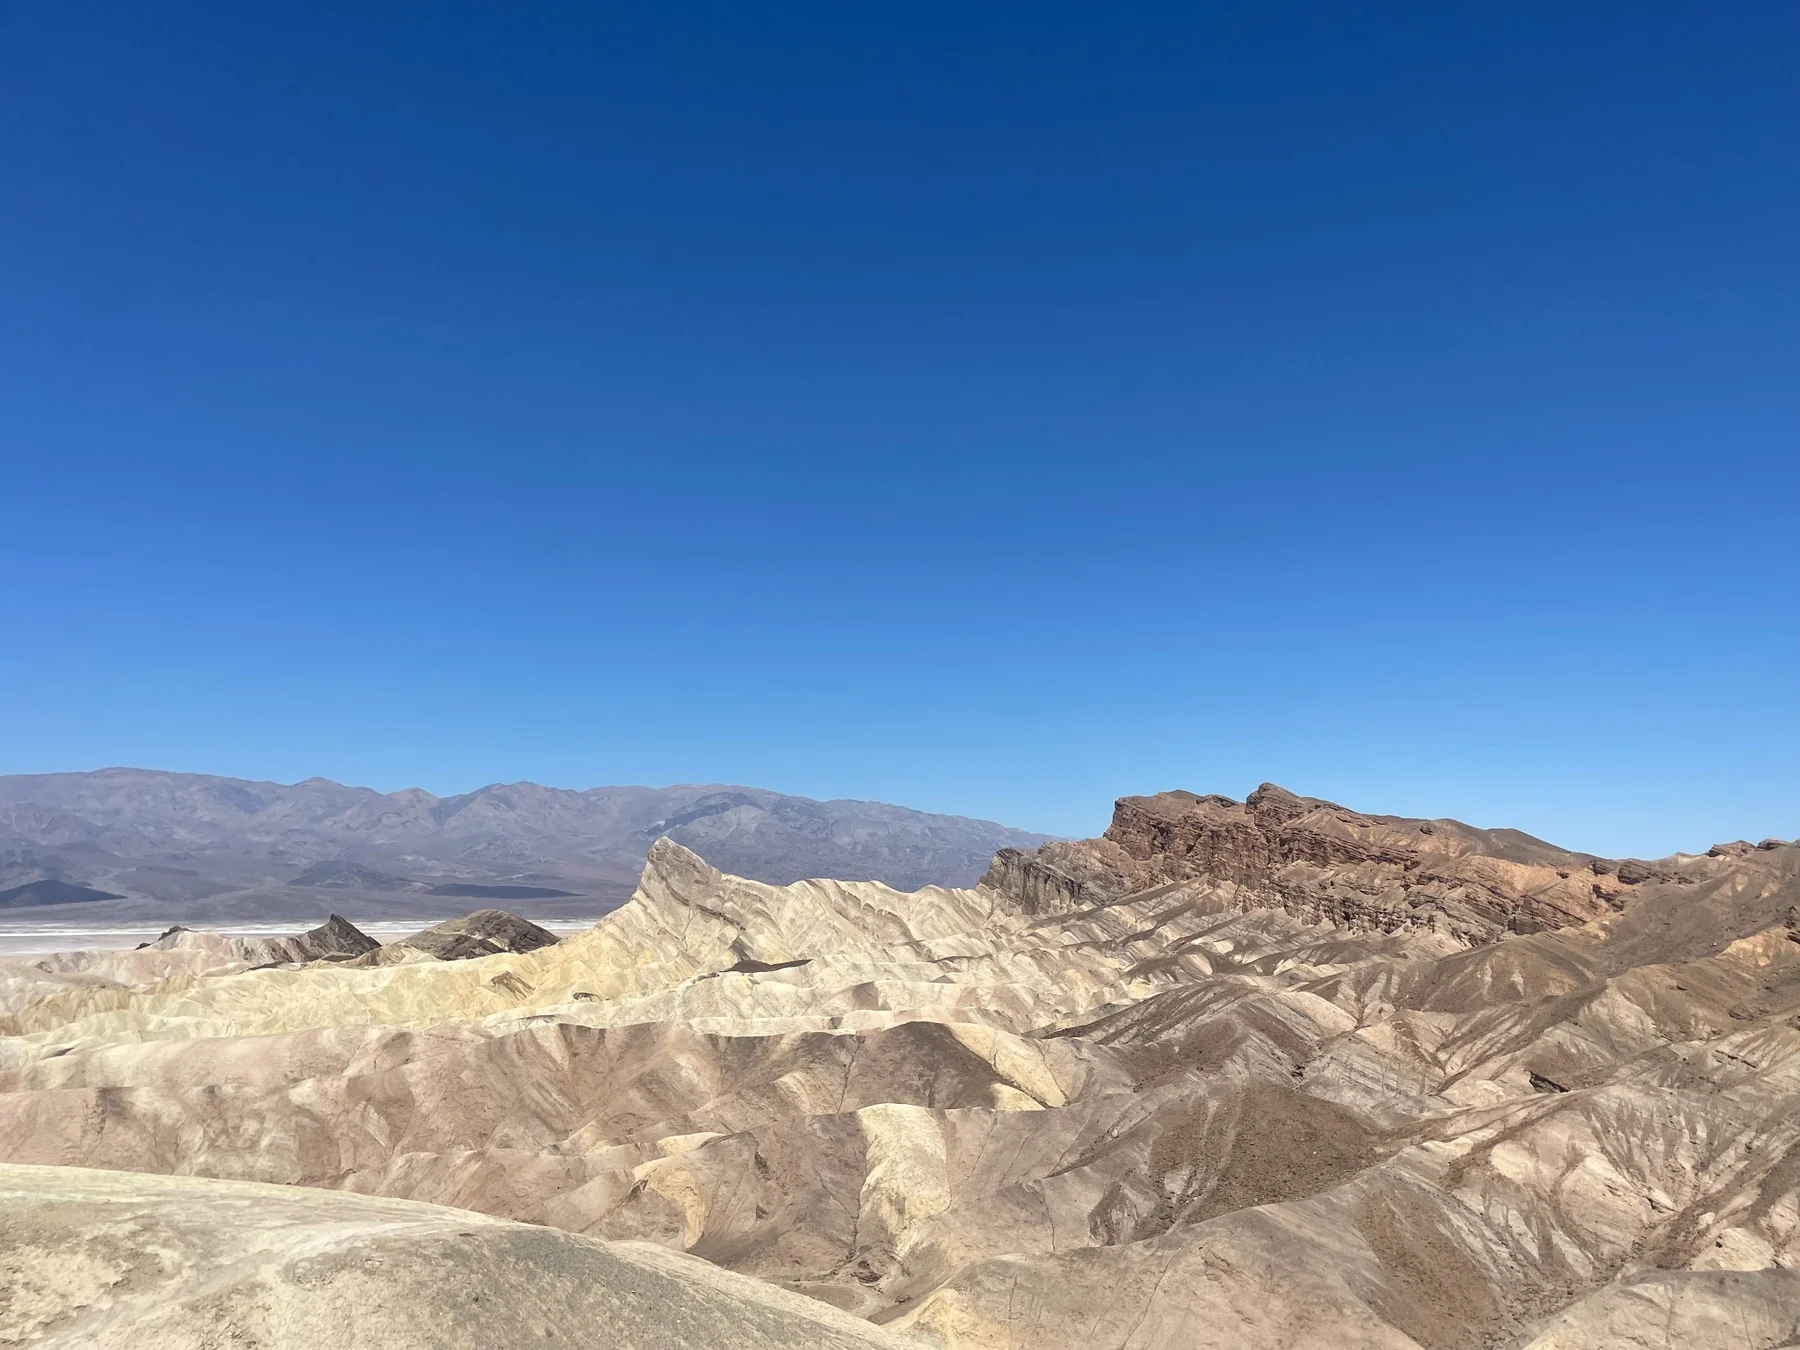
Death Valley brings together salt flats, dunes, colourful hills and high mountain ranges. Contrast the white expanse of Badwater Basin with the panoramas from Zabriskie Point and Dante’s View. Explore by car with unhurried stops, letting the temperature shape your day rather than the number of sights on a checklist.
Furnace Creek Visitor Center
Weather loads when you open this guide.
Modelled weather for this location; point elevation is approximate. Conditions on trails, summits and elsewhere in the park can differ considerably.
Select a thumbnail for the full view.
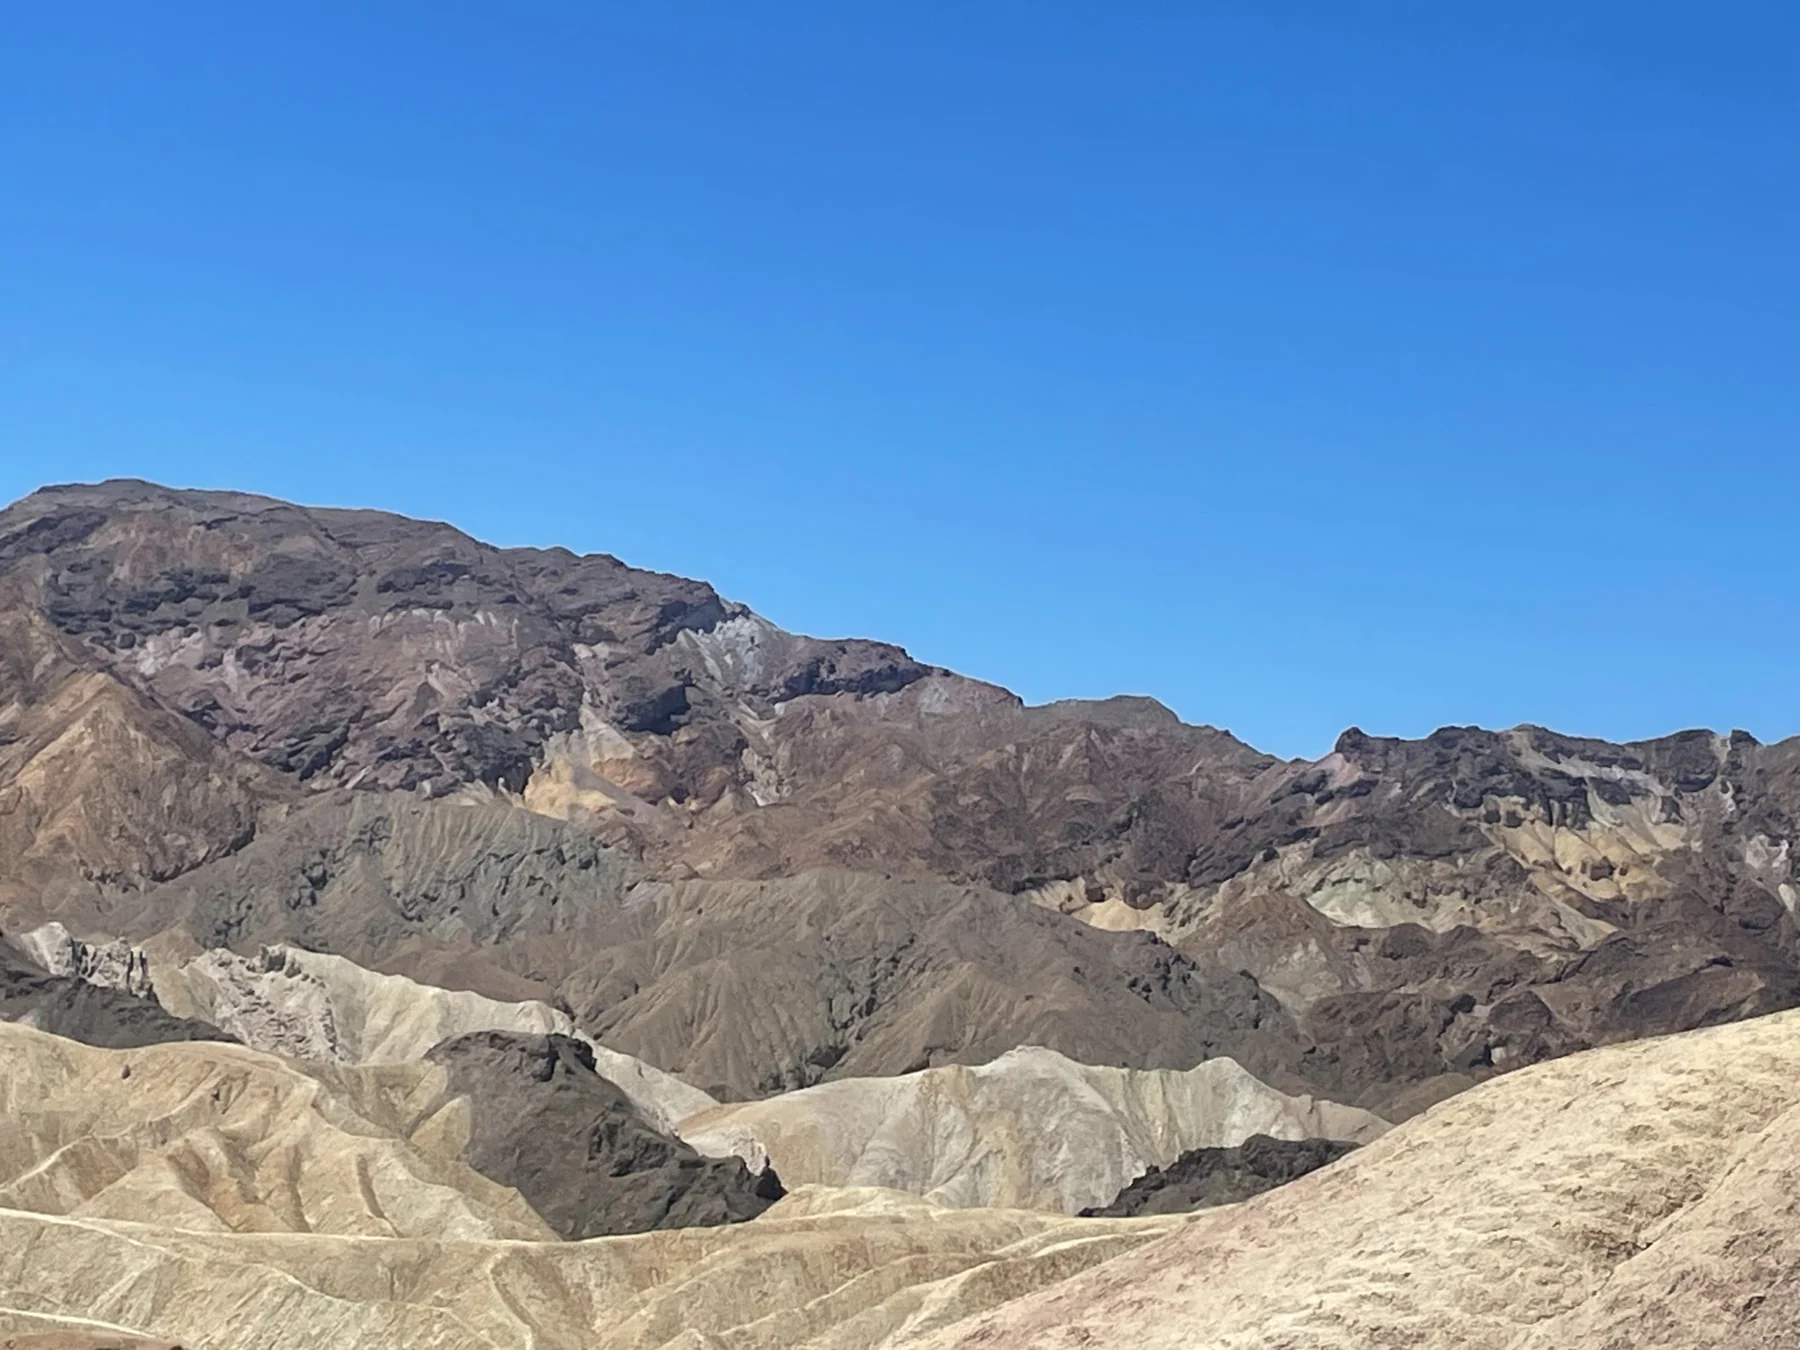
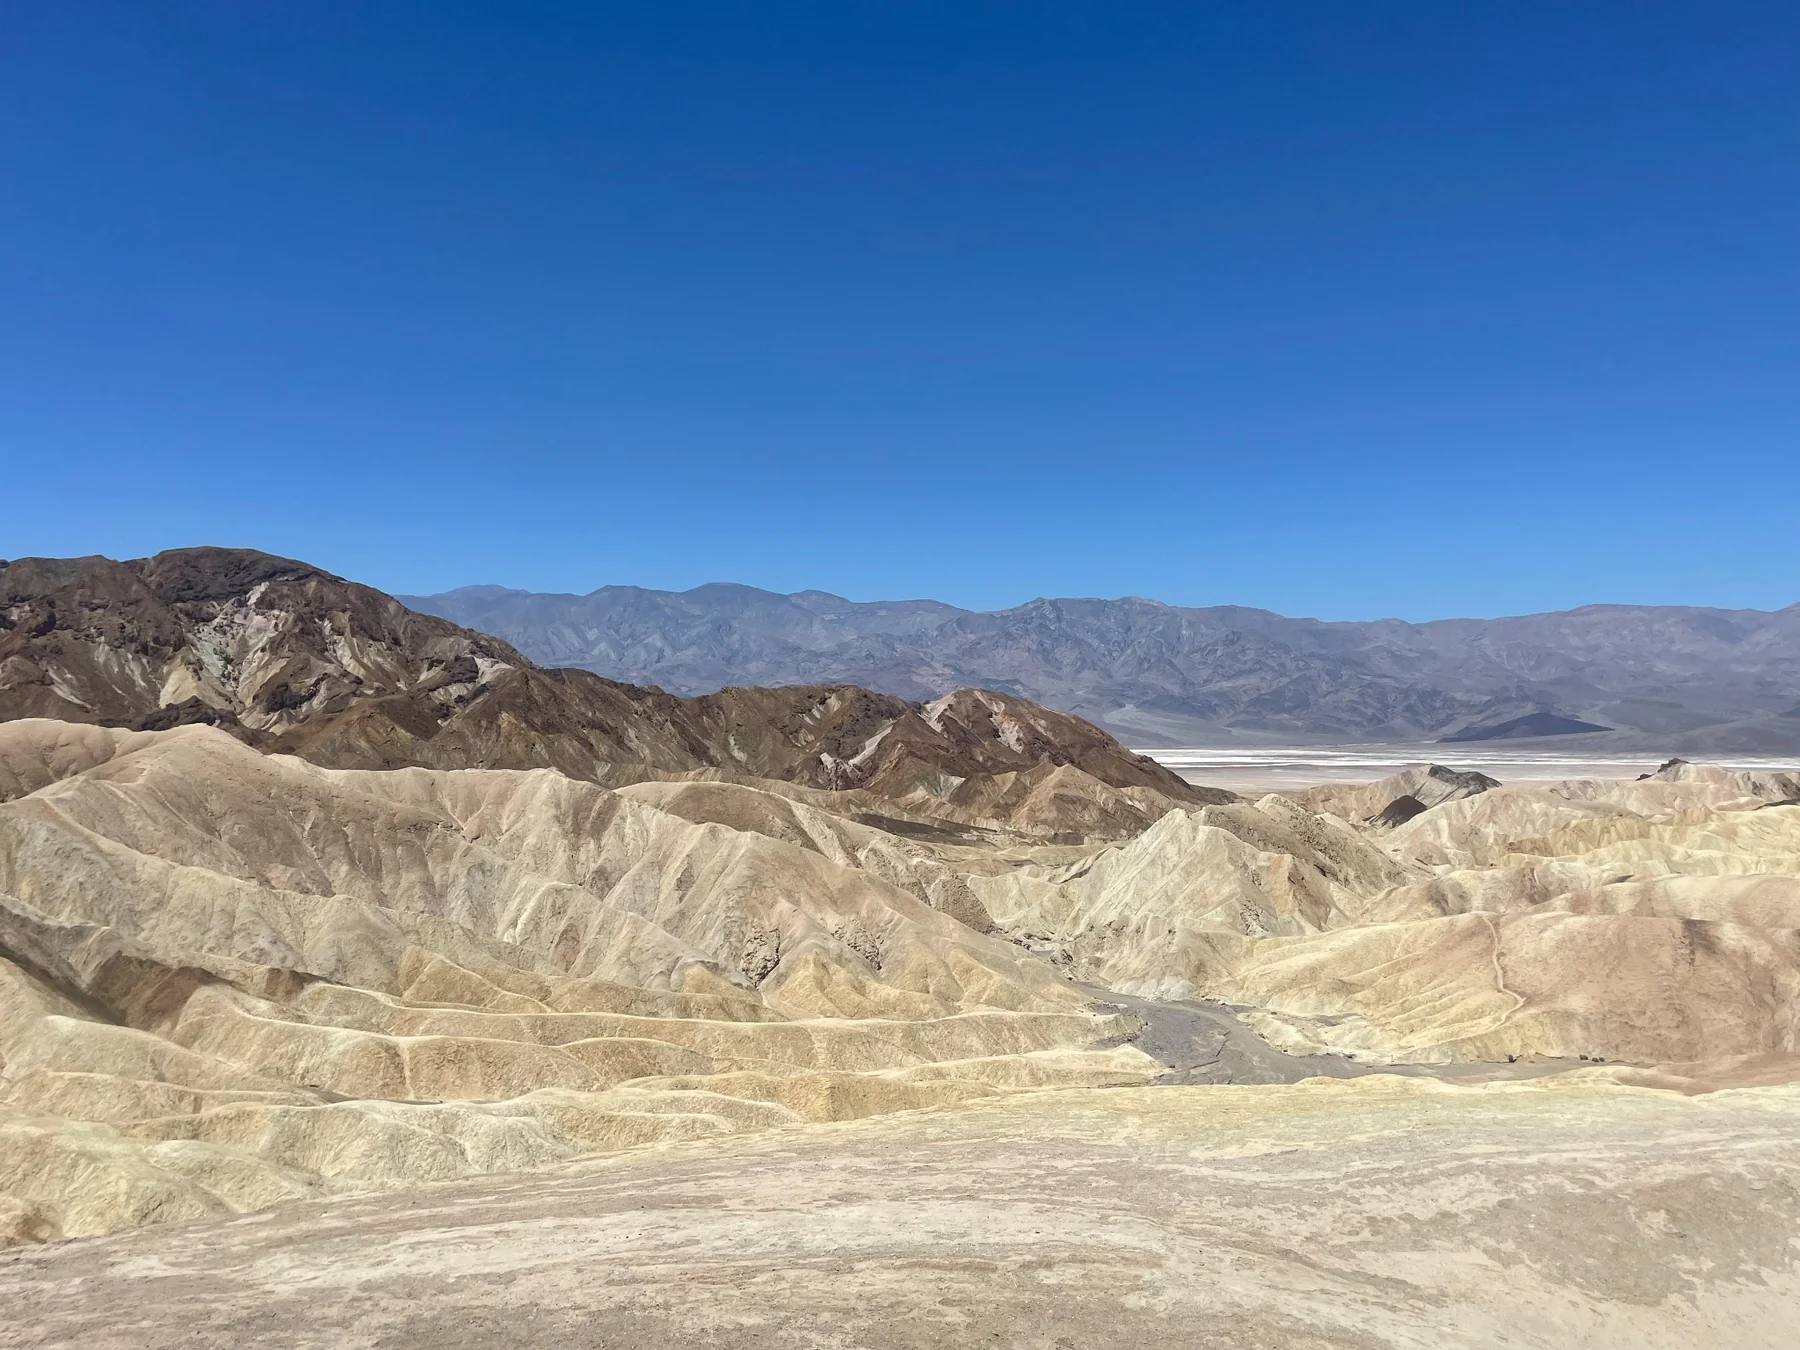
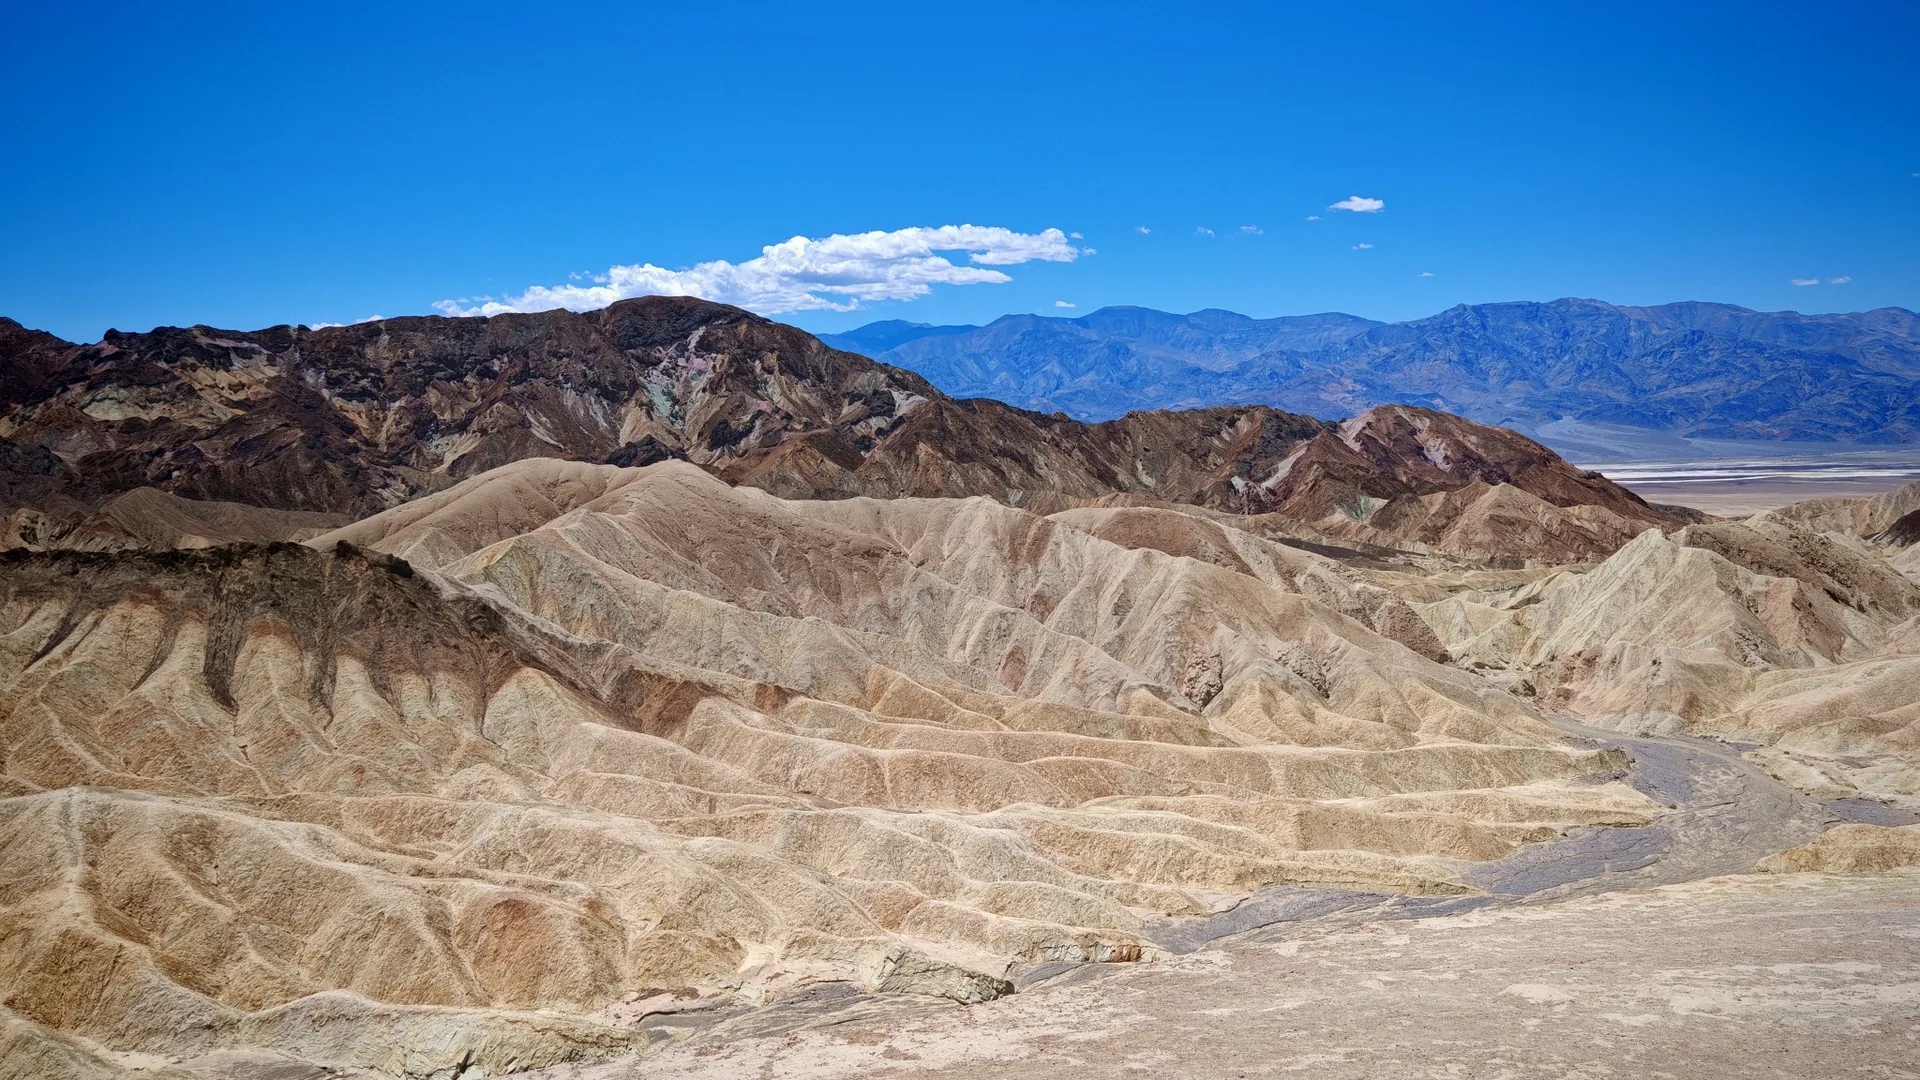
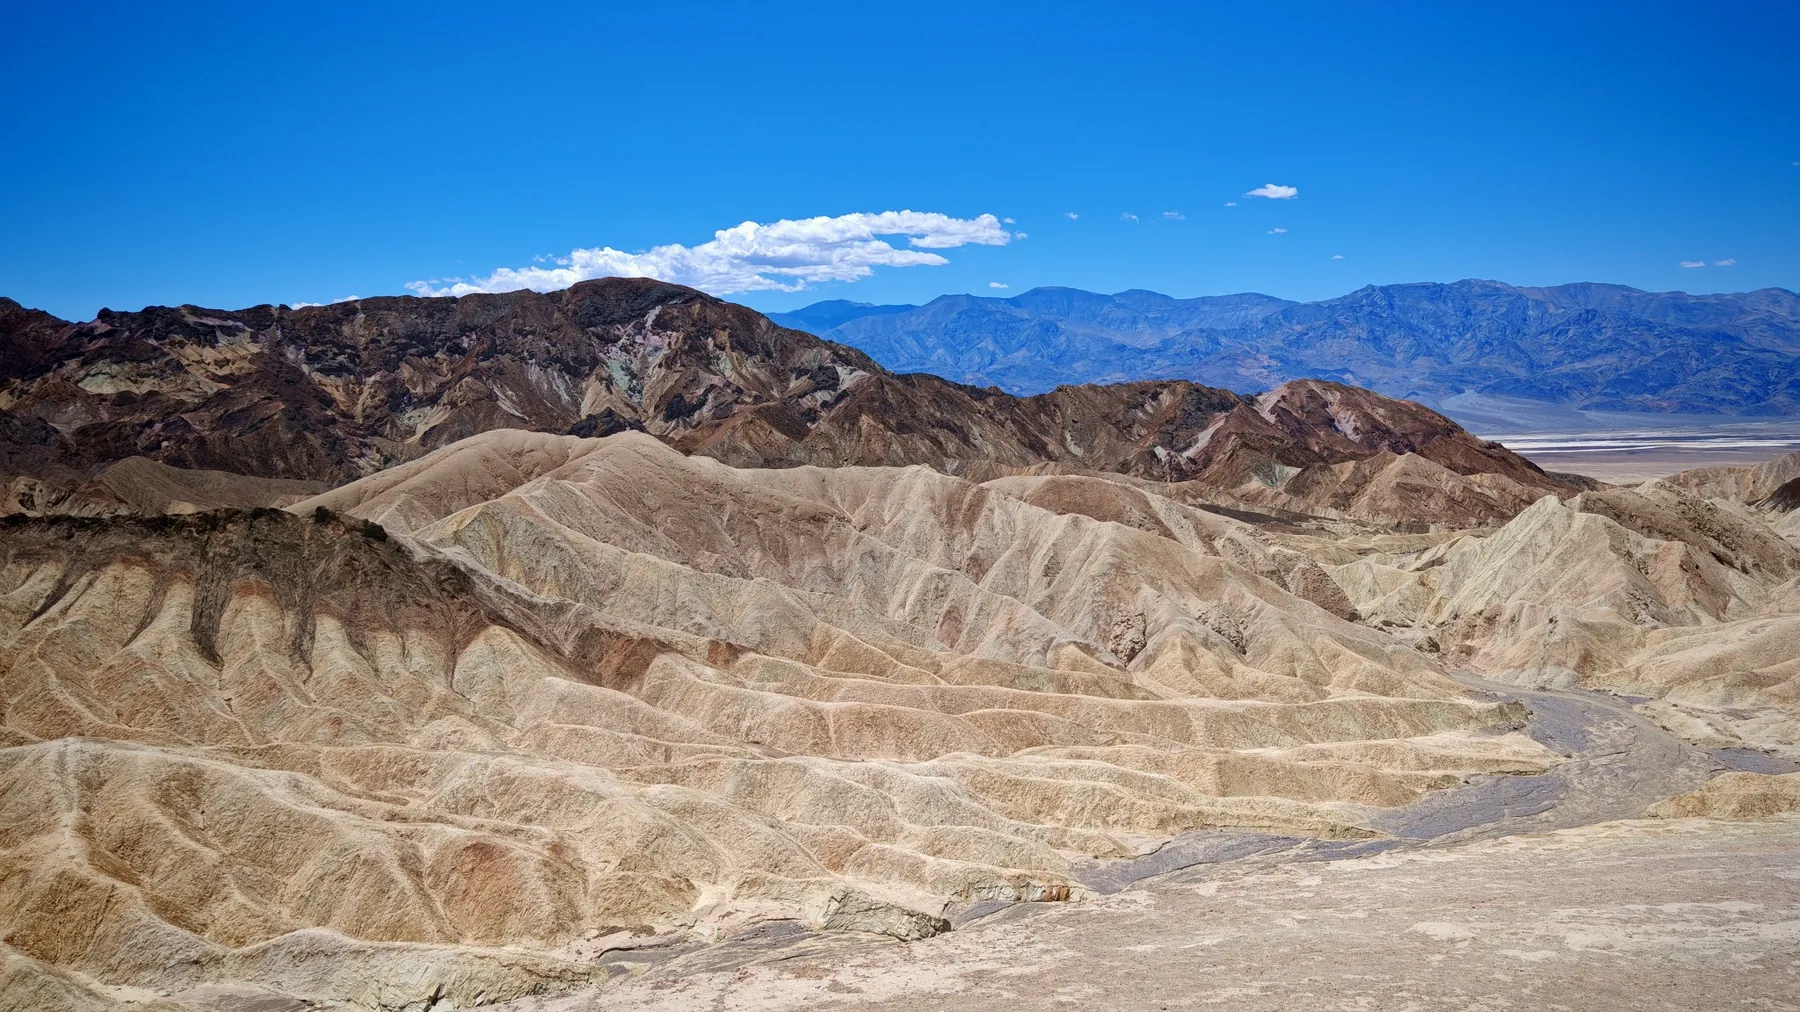
The best place to understand Death Valley’s scale at once. Badwater Basin and the Panamint Range spread below; it can be much cooler here than on the valley floor.
The classic view over golden badlands. Light is strongest early and late in the day, and the overlook lies just off CA-190.
Check the temperature, road closures and current warnings. Refill water before starting down Badwater Road.
Walk only a short canyon segment or complete the longer Gower Gulch loop. In warm weather, begin early.
A paved loop through multicolored hills. The entrance and exit are separate points on Badwater Road — never turn against one-way traffic.
A field of jagged salt formations. Stay close to the established viewing area and avoid walking far across the uneven surface.
The ramp and boardwalk provide a view without a long walk. The standard walk toward clearer salt polygons is about 1 mi / 1.6 km round trip, but shorten it in heat.
A compact interpretive trail explains borax processing and the famous 20-Mule Teams.
Choose your own turnaround. Reaching the tallest dune is about 2 mi / 3.2 km round trip, and deep sand makes progress slower than the mileage suggests.
Walk from the boardwalk toward the clearer salt surface. NPS explicitly advises against this route when it is hot.
A rocky canyon leads beneath a natural bridge. The short access road is unpaved, so check current conditions.
Sequoia is about the scale of living trees: in Giant Forest, giant sequoias rise far beyond what photographs can convey. General Sherman is the best-known stop, but leave time for woodland paths and quiet views into the canopy. The guide below focuses on Giant Forest, rather than the whole neighbouring Kings Canyon park.
Giant Forest Museum
Weather loads when you open this guide.
Modelled weather for this location; point elevation is approximate. Conditions on trails, summits and elsewhere in the park can differ considerably.
Westward view from the edge of Giant Forest. Images usually update every 15 minutes.
Check the date and time on the image or operator’s page: an older frame may be displayed. Night views may be dark. Webcam and weather data may refer to different locations.
National Park Service
Select a thumbnail for the full view.
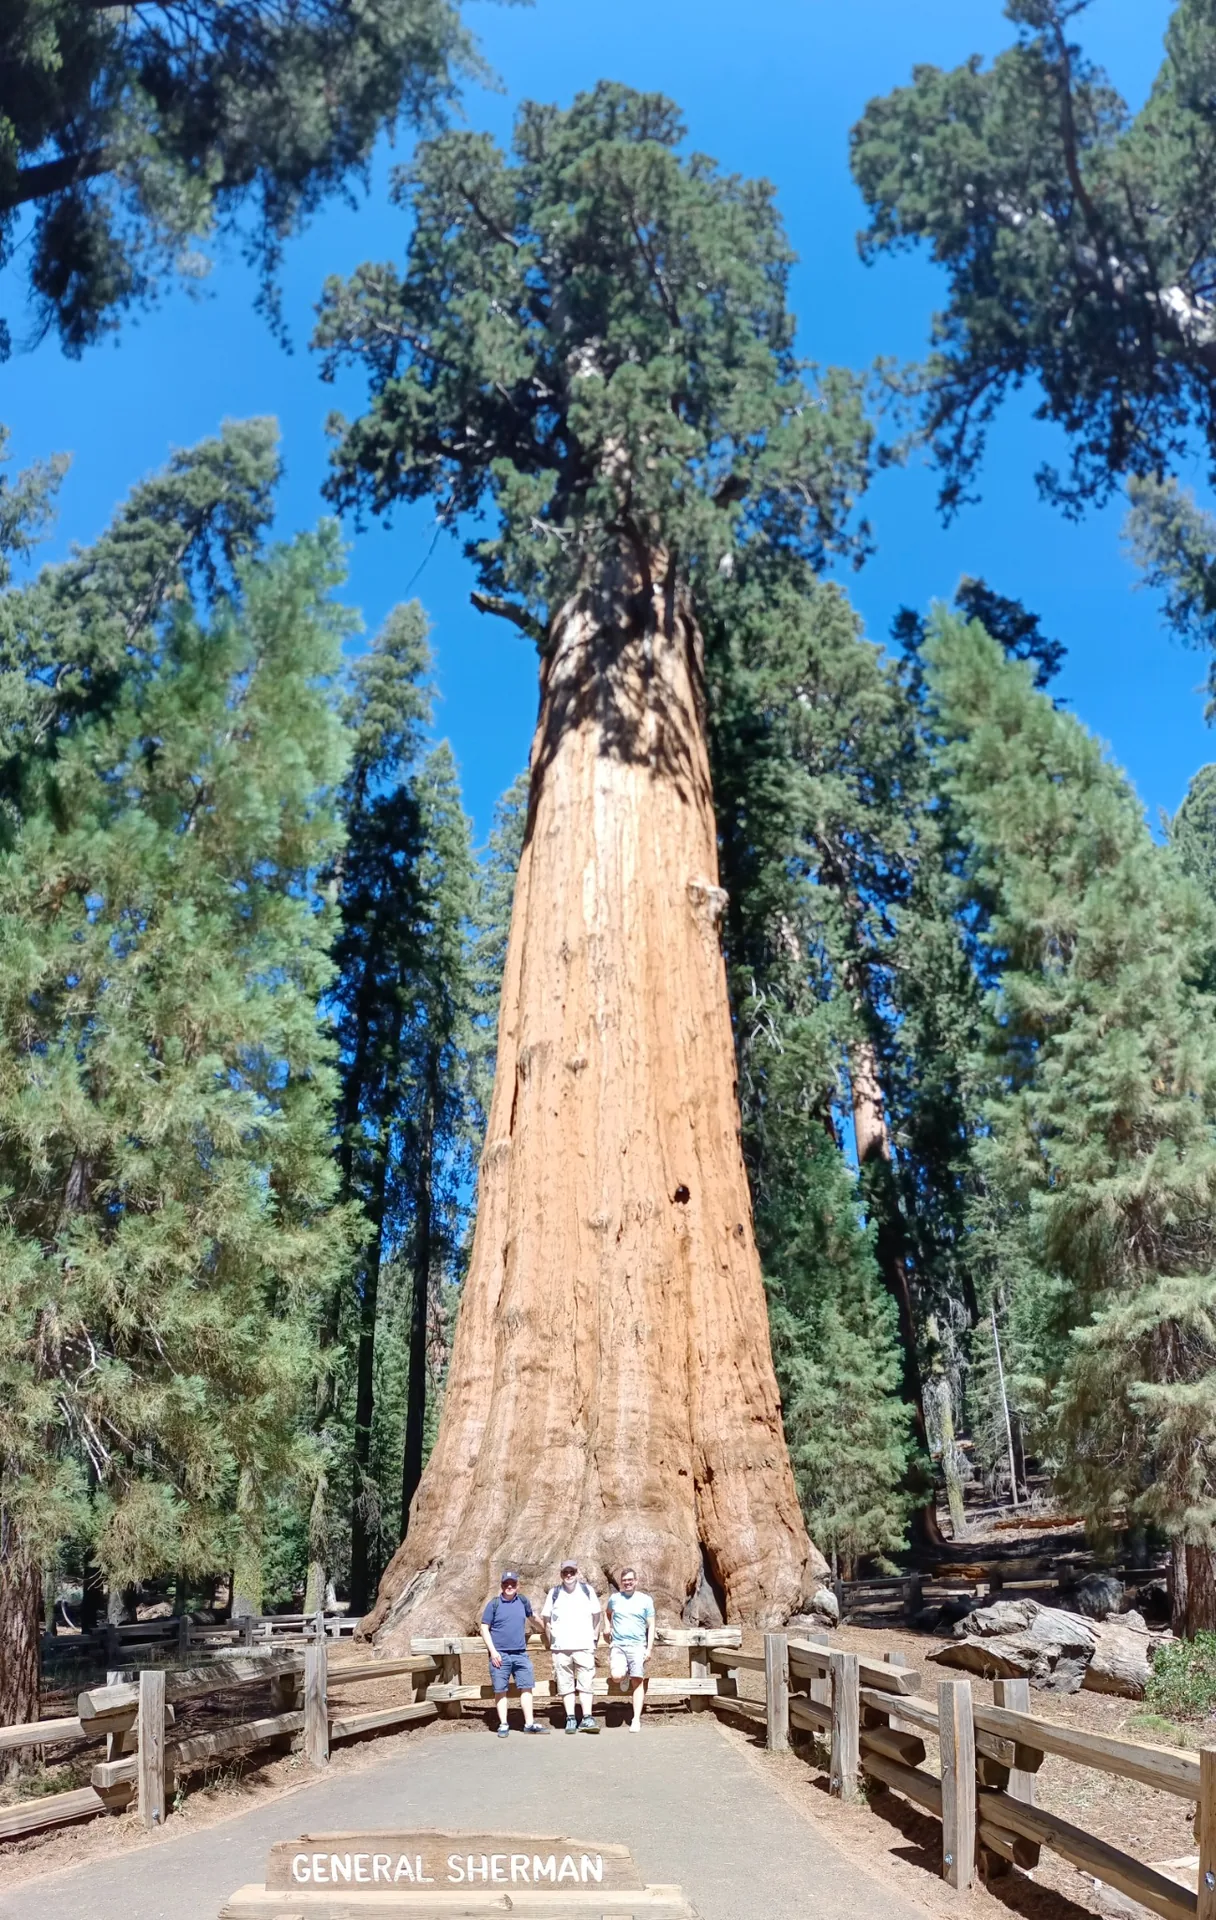
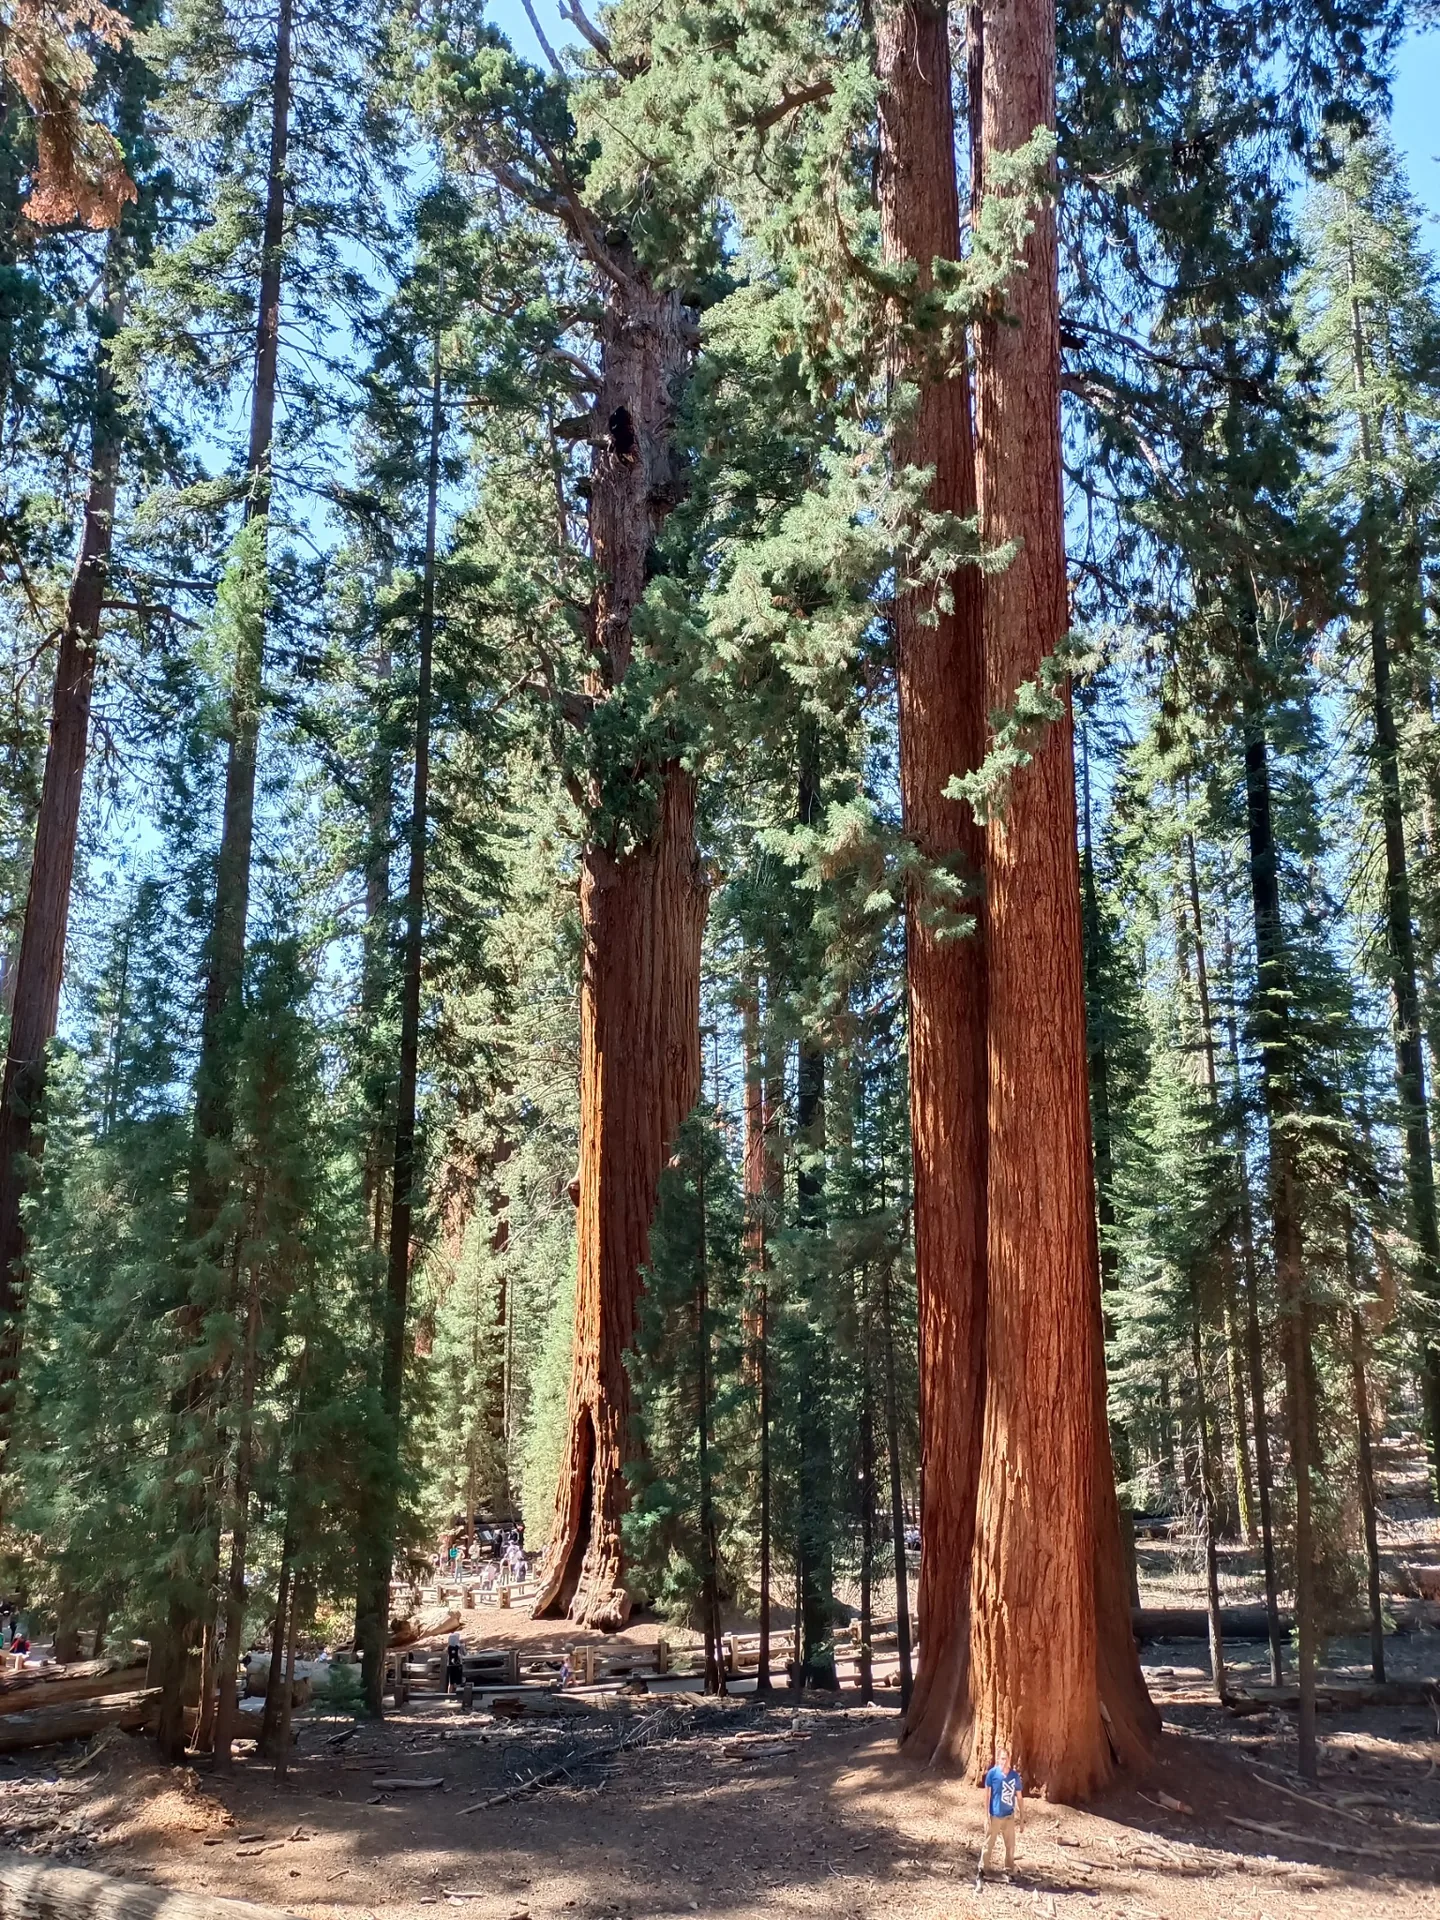
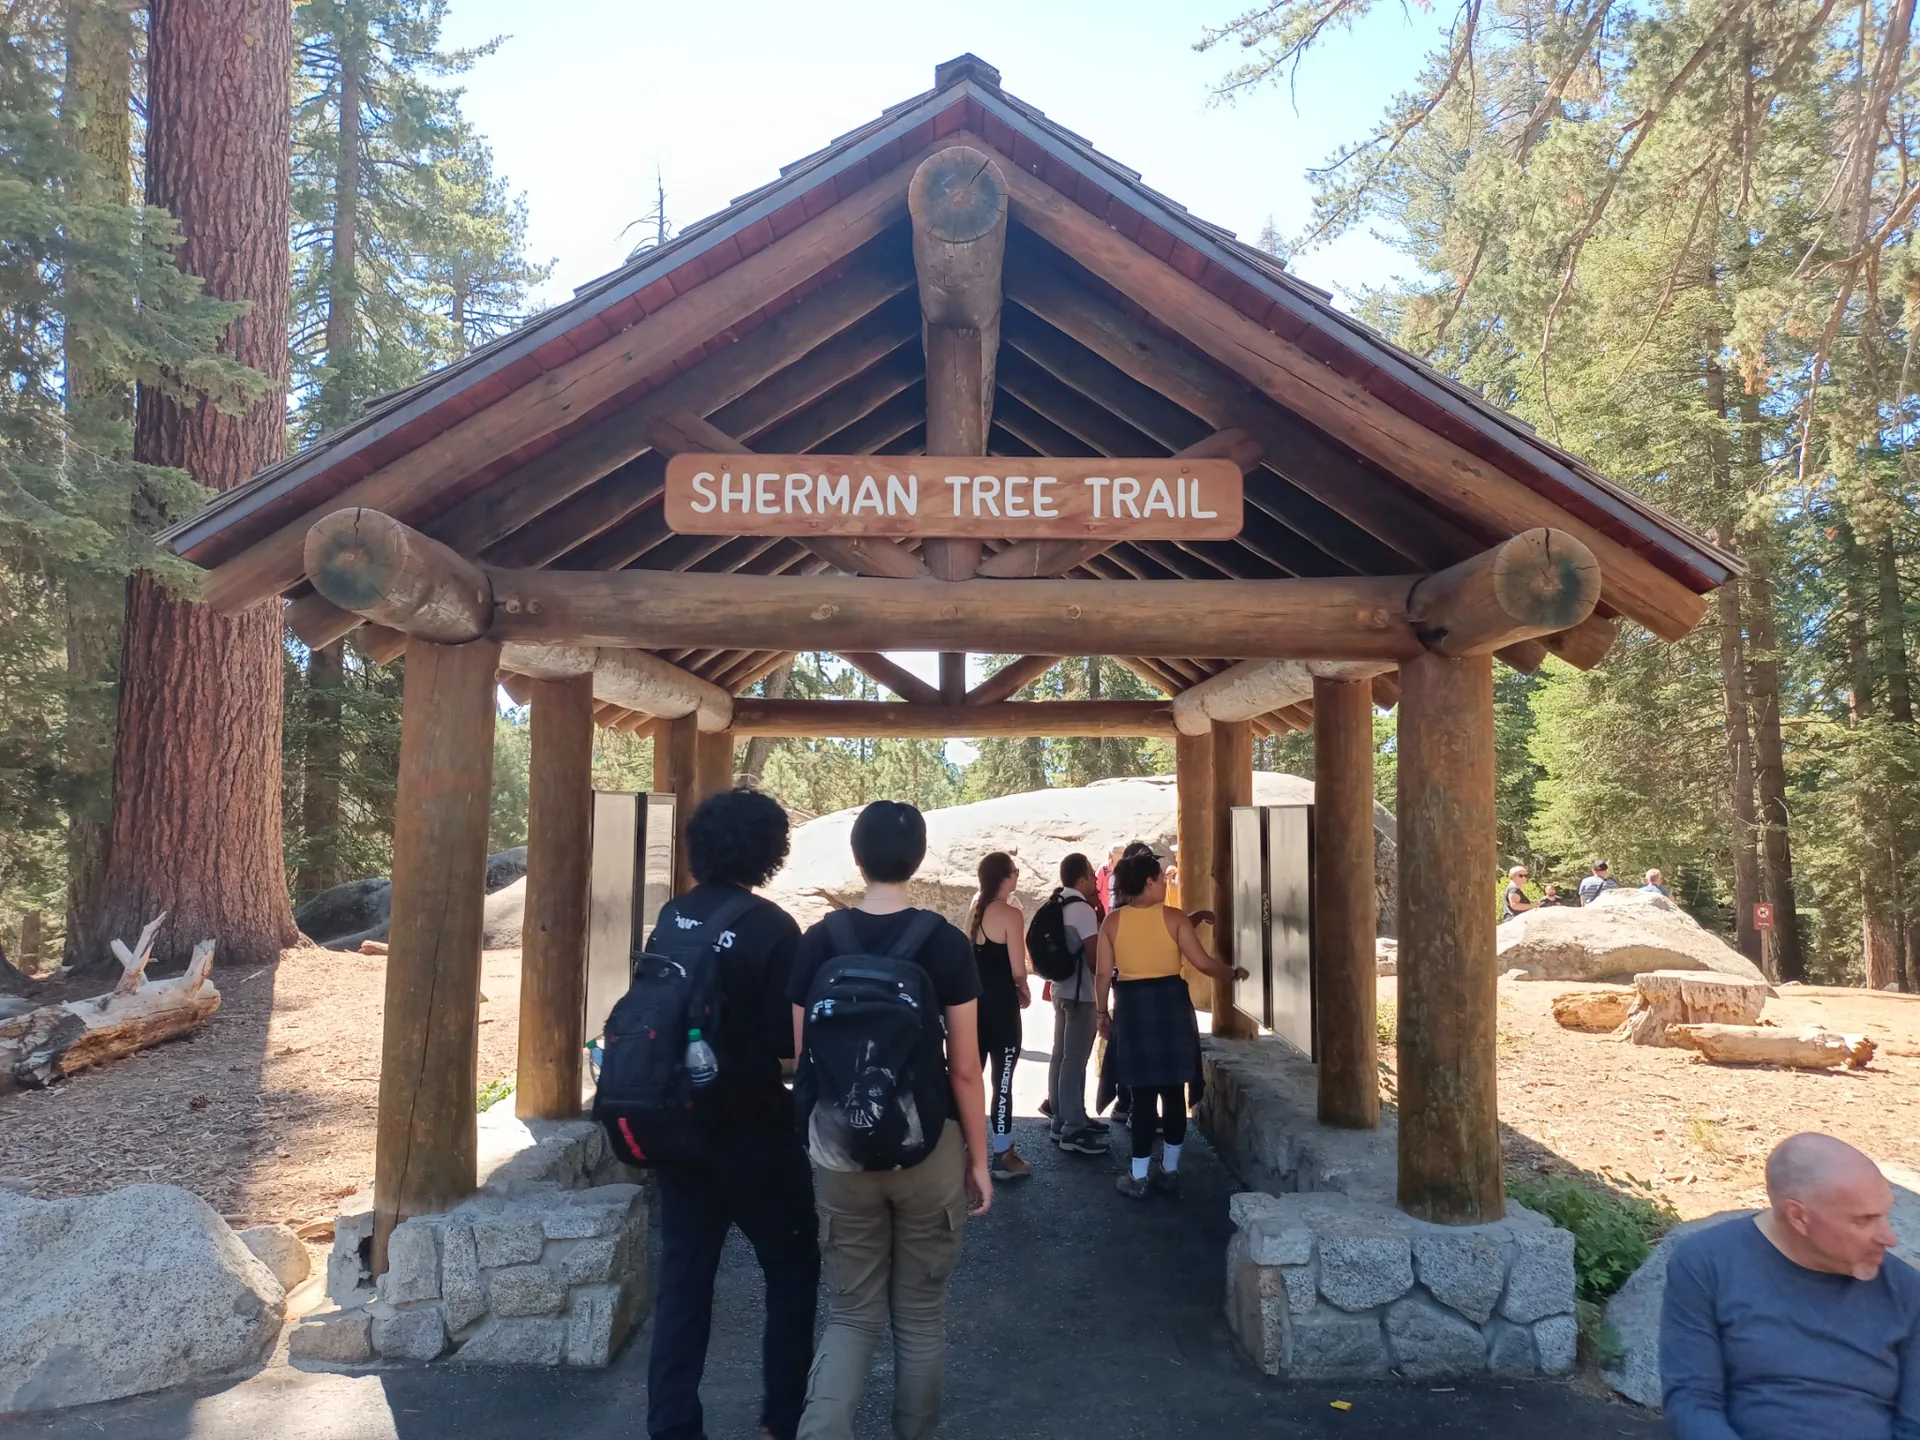
Start with the map and exhibits. This is the transfer point between the General Sherman line and the Moro Rock / Crescent Meadow line.
The main trail descends about 0.5 mi / 0.8 km to the tree; the return is uphill. A separate accessible approach is available.
Continue to the Senate and House groups if you want more than a single famous tree. Paved sections can be slippery after rain or snow.
A practical break and supply stop. Tokopah Falls Trail begins from the campground area.
More than 350 stone and concrete steps climb the granite dome. It is short but steep, exposed and more demanding at elevation.
A fallen sequoia with a vehicle passage. Current shuttle and private-car access depends on traffic management and road status.
A sequoia-ringed meadow and trailhead for Tharp’s Log. A calmer counterpoint to General Sherman.
*Vista Travel estimate.
*Vista Travel estimate.
The loop visits Crescent Meadow, Log Meadow and historic Tharp’s Log. Bears frequent meadow areas; keep your distance and secure food.
A gentle route along the Marble Fork to a cascading waterfall, strongest during spring and early-summer snowmelt.
Stay clear of strong current; snowmelt water is extremely cold and dangerous.
Yosemite combines granite walls, waterfalls and meadows in a broad glacial valley. Start in Yosemite Valley for views of El Capitan and Half Dome and a waterfall walk. Plan the valley, Glacier Point and high-elevation Tioga Road separately: access and travel times differ.
Yosemite Valley — Yosemite Village
Weather loads when you open this guide.
Modelled weather for this location; point elevation is approximate. Conditions on trails, summits and elsewhere in the park can differ considerably.
Choose a valley or waterfall view on the operator’s website. Cameras may operate seasonally or experience outages.
Check the date and time on the image or operator’s page: an older frame may be displayed. Night views may be dark. Webcam and weather data may refer to different locations.
Yosemite Conservancy / National Park Service
Select a thumbnail for the full view.
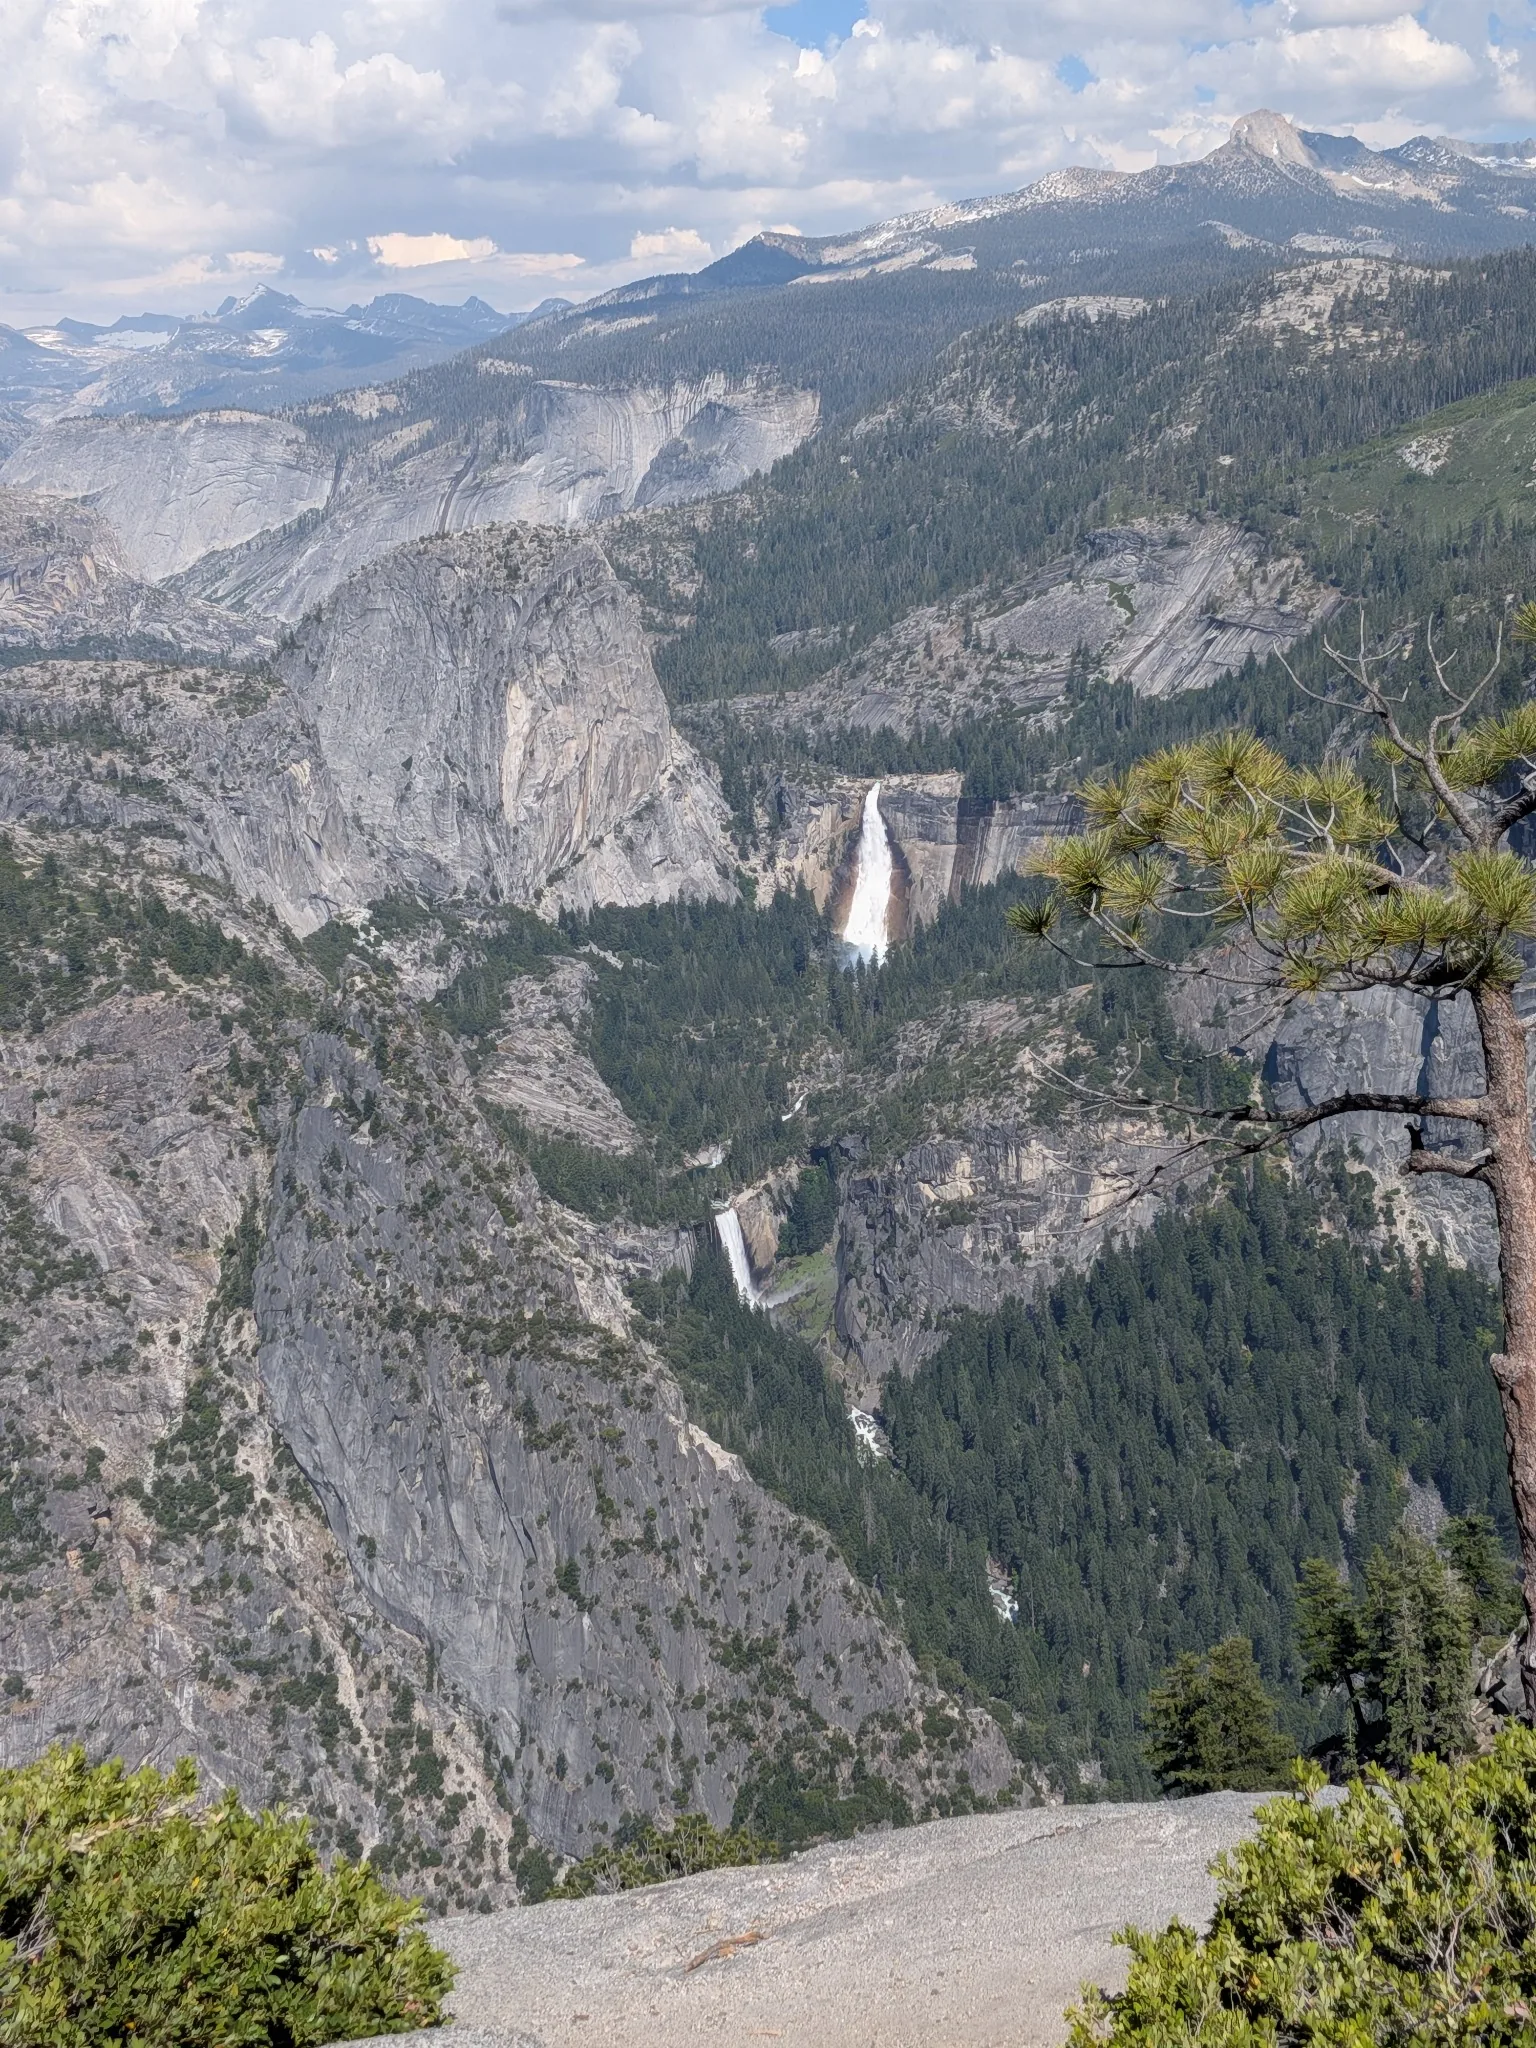
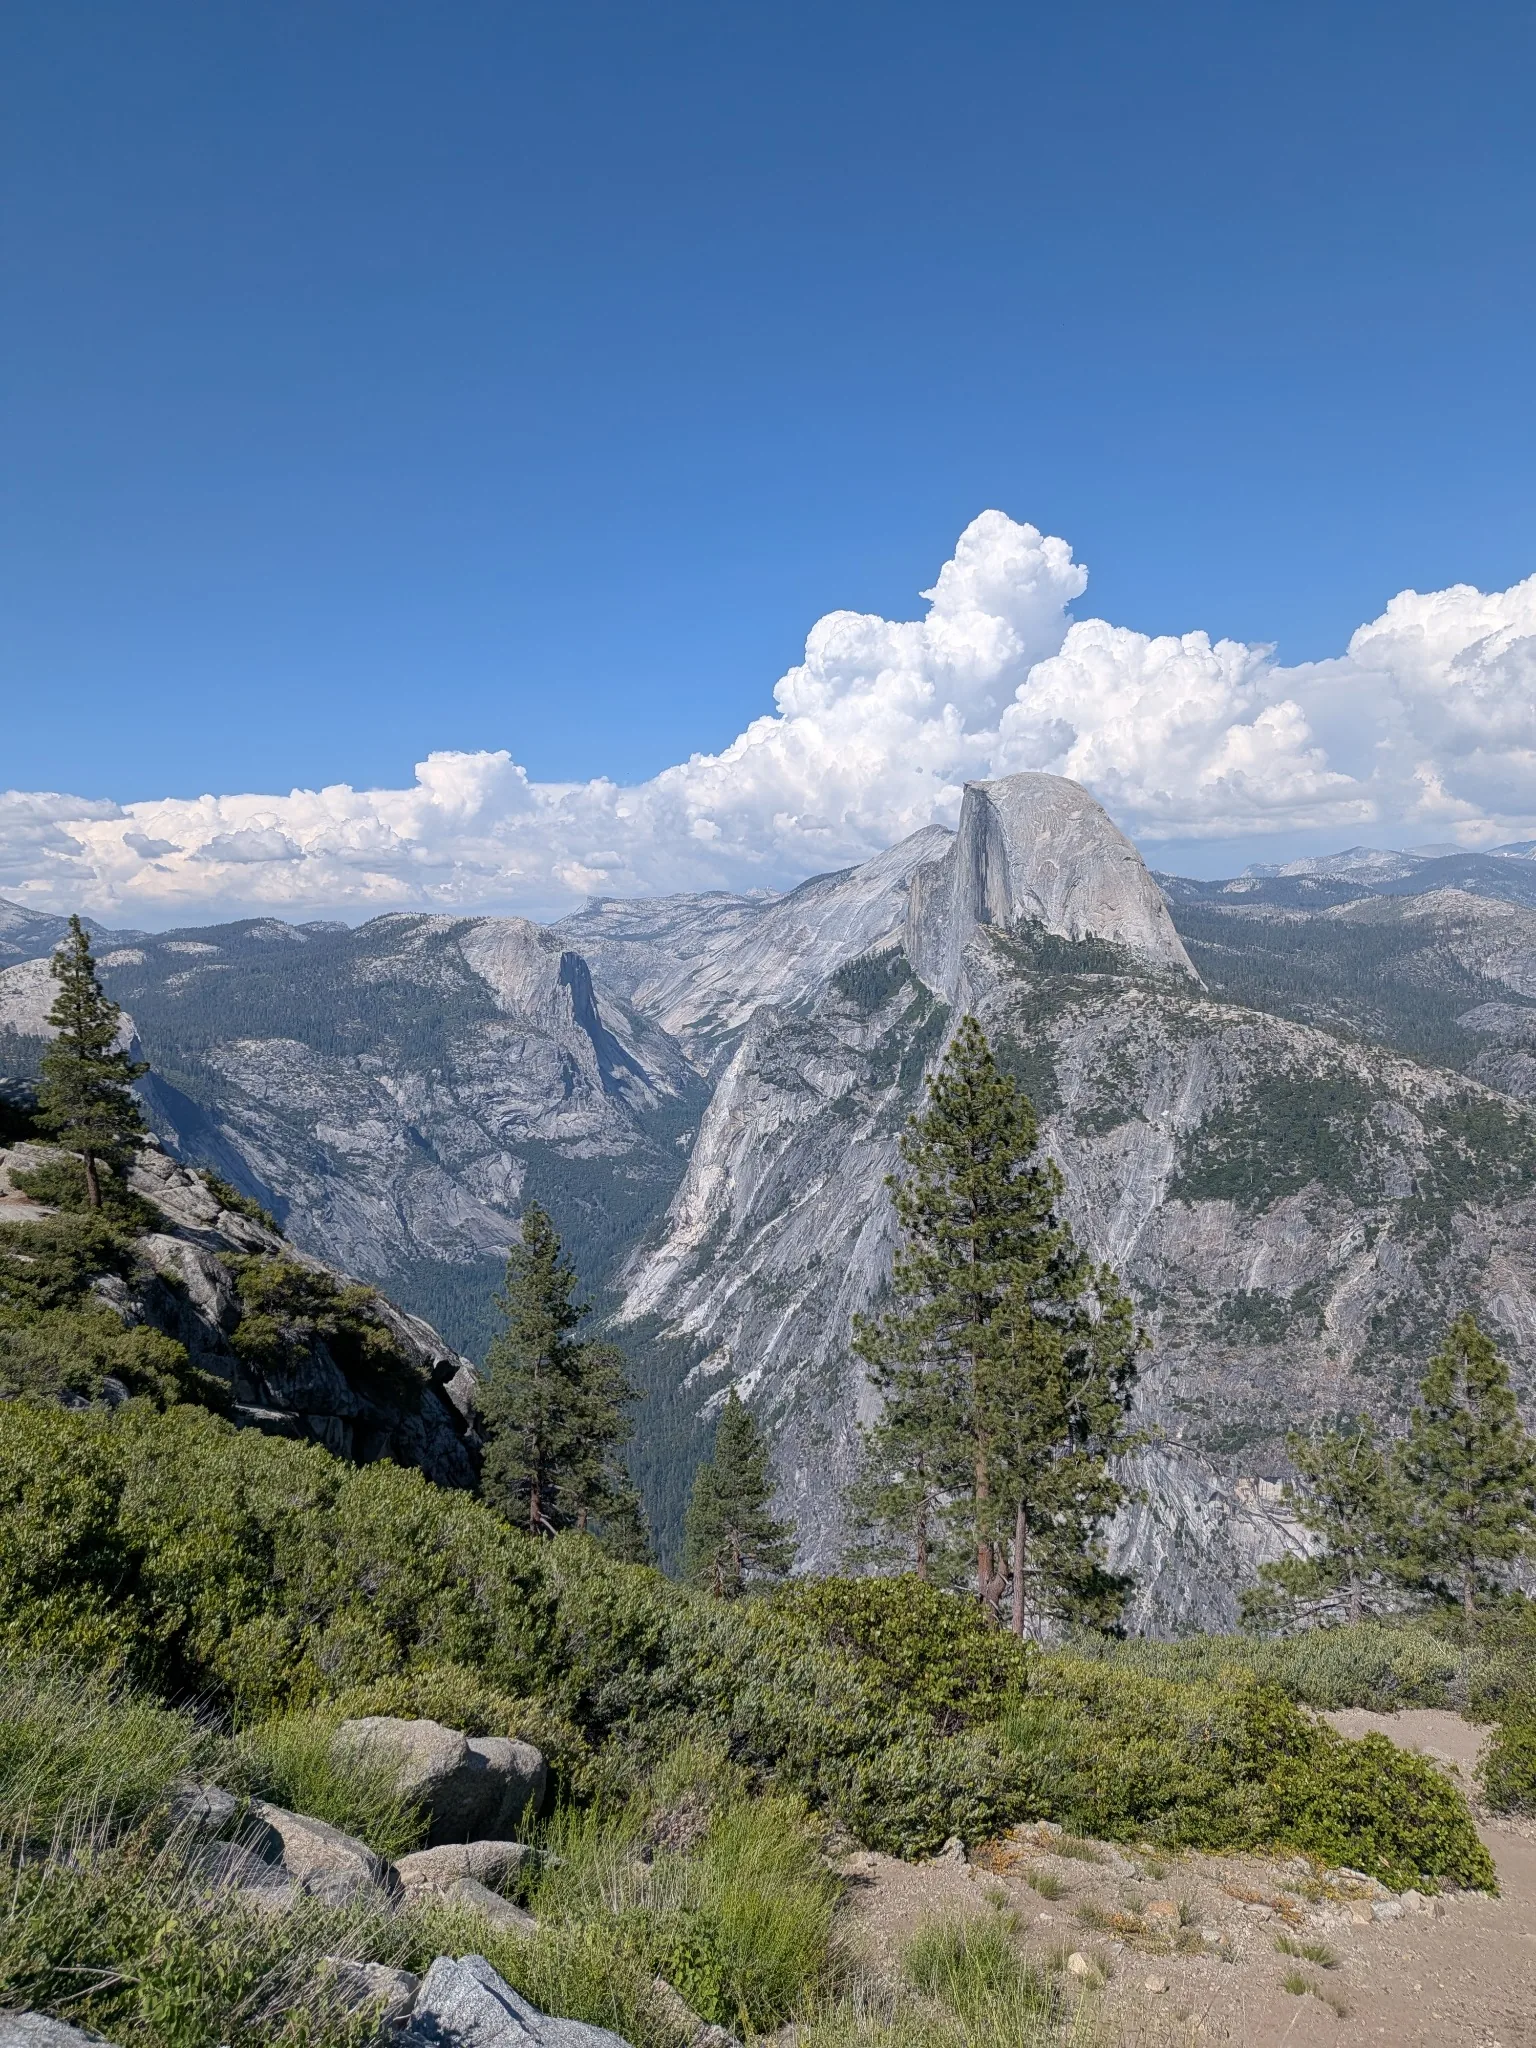
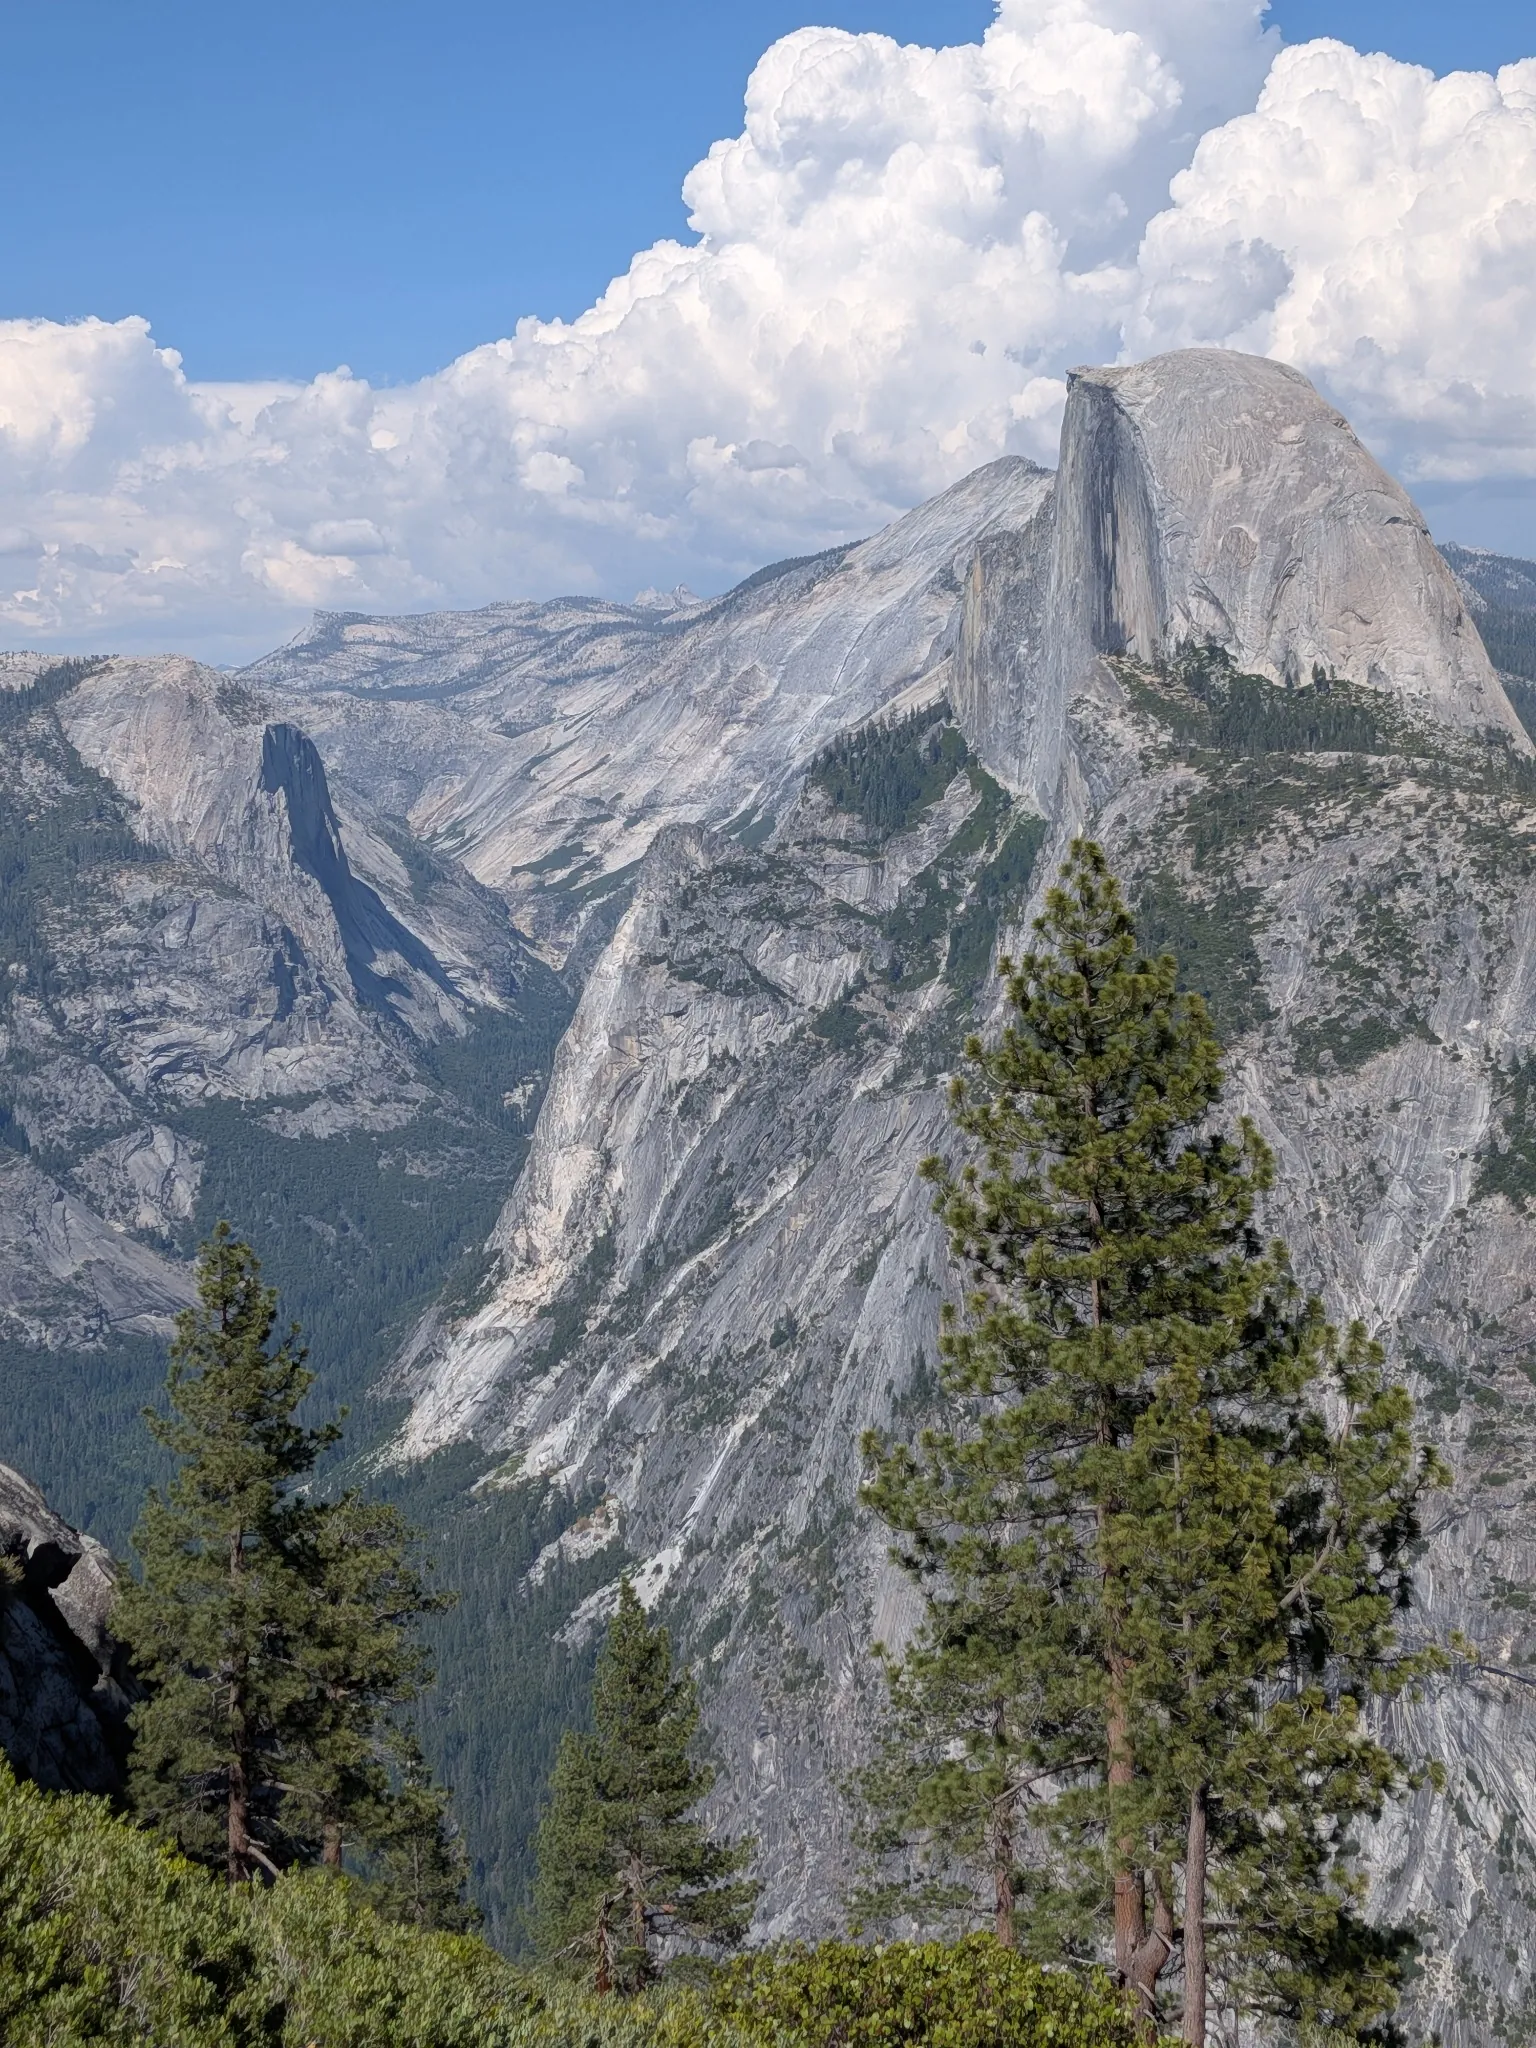
The classic frame with El Capitan, Half Dome and Bridalveil Fall. Stop before entering the valley floor so you do not drive back uphill for a single photograph.
A short walk to the waterfall base. Spring spray makes rock and pavement wet; flow may become much weaker by late summer.
Pick up the current shuttle map, check closures and continue by bus or on foot. Hunting for the next parking space usually takes longer than walking.
Combine the 1-mile waterfall loop with flat Cook’s Meadow Loop. It is the strongest easy introduction to Yosemite Valley.
Look straight up at El Capitan and walk a short Valley Loop segment. Valleywide service reaches farther west than the East Valley route.
This is the eastern trail hub. Choose easy Mirror Lake or the steeper climb to Vernal Fall Footbridge; do not force both into a short visit.
The bus serves the lower trailhead but does not solve transportation to Glacier Point. A top-down hike needs a prearranged ride or an operating paid service.
A panorama more than 3,200 ft / 975 m above the Valley floor. Check road status, weather and return timing before departure.
Sentinel Dome offers a 360-degree panorama; Taft Point has a dramatic rim view and deep fissures. Choose one if the day also includes Yosemite Valley.
*Vista Travel estimate.
*Vista Travel estimate.
For Vista Travel this is presented only as a descent from Glacier Point to Yosemite Valley.
There is no regular free shuttle between Yosemite Valley and Glacier Point; trailhead logistics must be planned in advance.
An easy eastern-Valley choice. The “lake” is seasonal and may be nearly dry by late summer; the full loop is 5 mi / 8 km.
*Vista Travel estimate.
A short but immediately steep Mist Trail segment to the bridge below Vernal Fall.
Wet granite is slippery. Never enter the river; current and cold water remain dangerous even when the surface looks calm.
*Vista Travel estimate.
Bryce Canyon is known for orange rock spires, or hoodoos, clustered in natural amphitheatres. Looking from the rim and walking among the formations offer very different experiences. Start with Sunrise and Sunset Points and a short section of Rim Trail; every descent means a climb back out.
Bryce Canyon Visitor Center
Weather loads when you open this guide.
Modelled weather for this location; point elevation is approximate. Conditions on trails, summits and elsewhere in the park can differ considerably.
View from the high country of Bryce Canyon. Seasonal camera — NPS lists summer operation.
Check the date and time on the image or operator’s page: an older frame may be displayed. Night views may be dark. Webcam and weather data may refer to different locations.
National Park Service
Select a thumbnail for the full view.
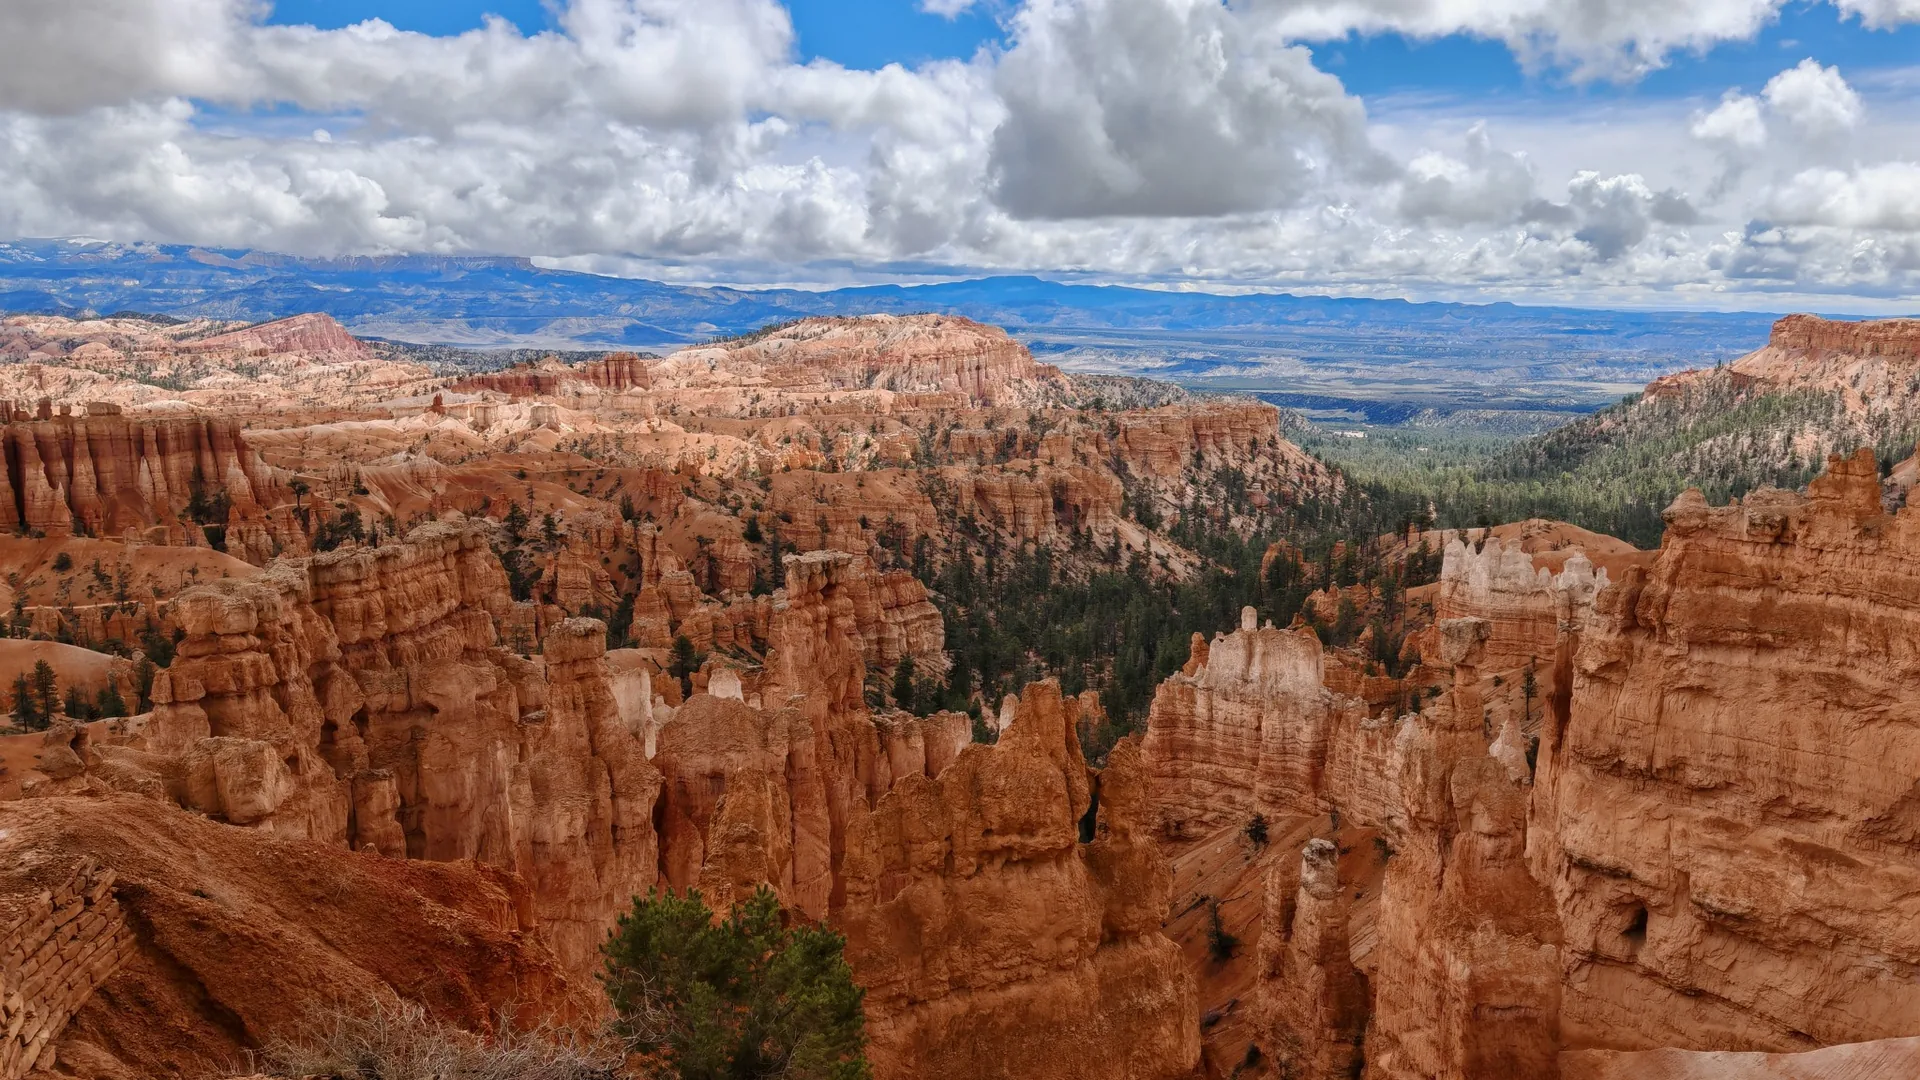
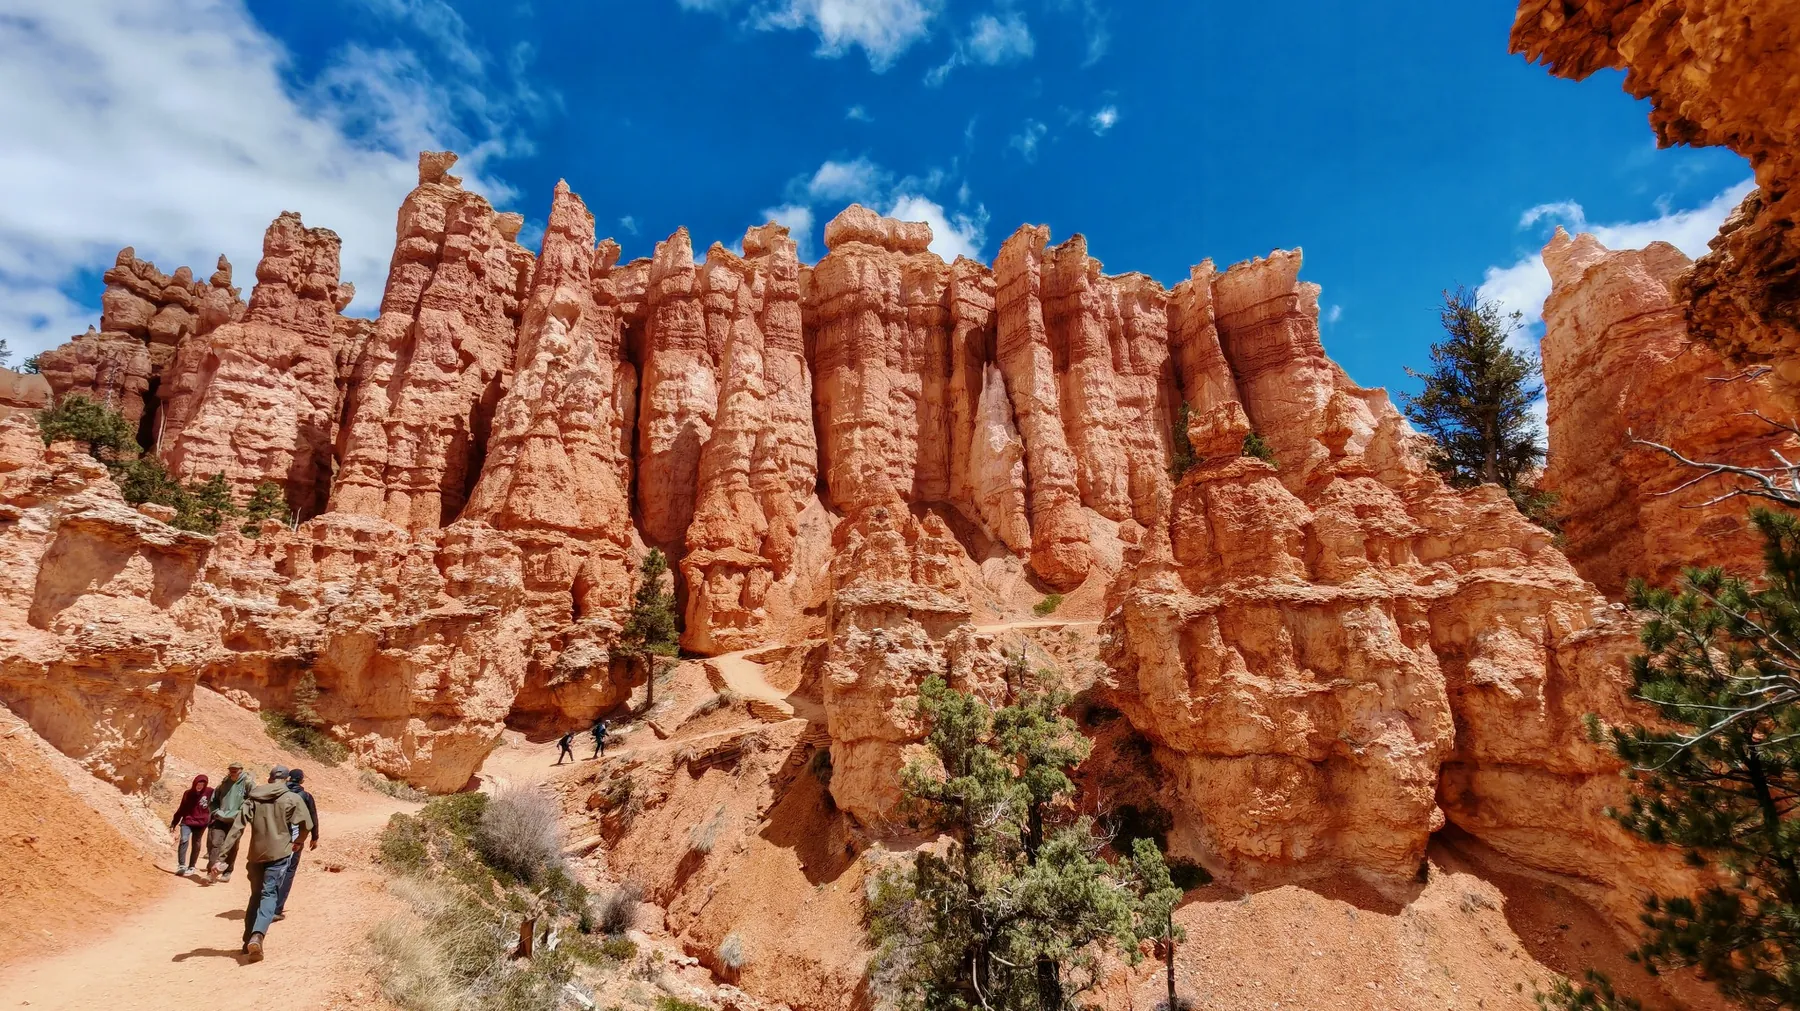
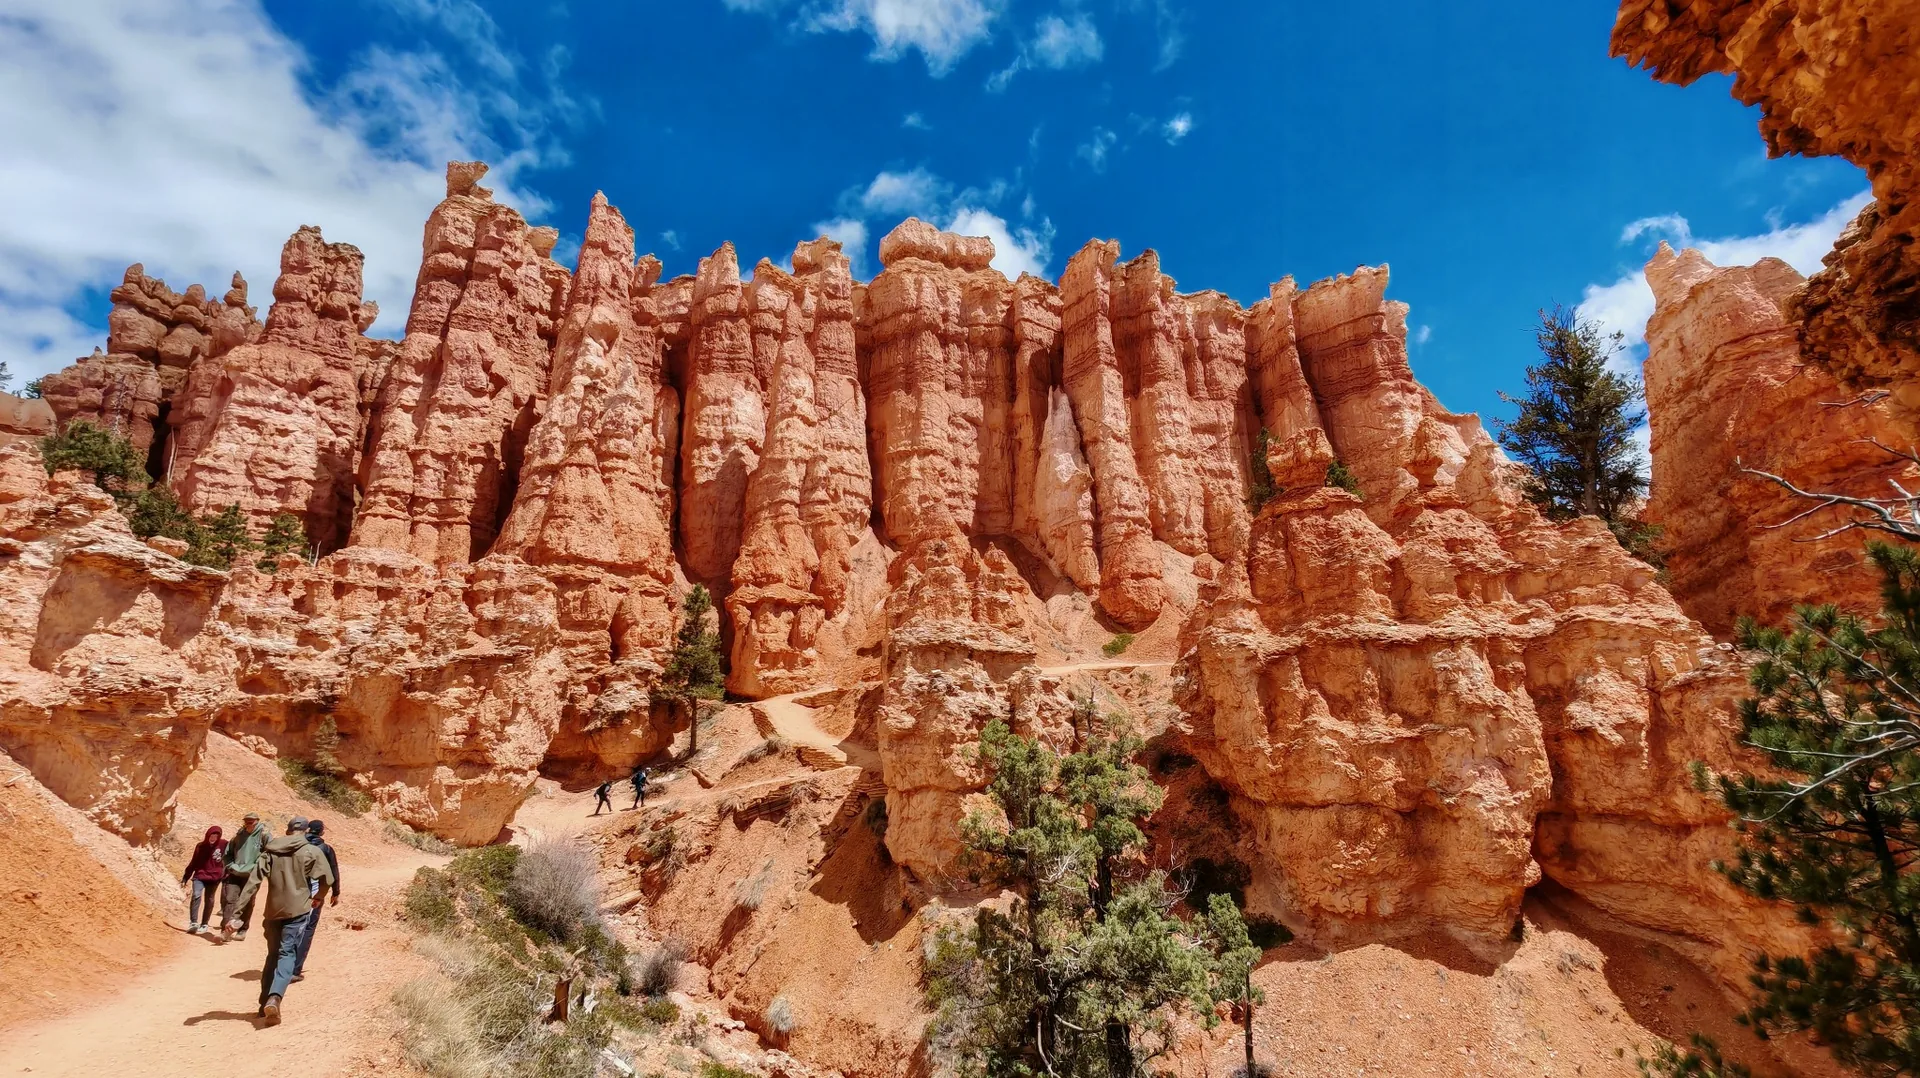
The safest parking choice on a crowded day. Buses also serve Bryce Canyon City lodging, but this is the clearest place to start the full loop.
Check trail status, Navajo Loop closures and weather. The shuttle stops here in both directions.
The widest amphitheater view. Walk the Rim Trail one way to Inspiration Point and return by shuttle.
Layered views across the Silent City. The lower overlook is close to the stop; upper platforms require a short climb.
The trailhead for Thor’s Hammer, Two Bridges and Wall Street when each segment is open. Restrooms operate year-round.
Queen’s Garden Trail begins here. The Rim Trail between Sunset and Sunrise is paved with only minor elevation change.
An easy roadside stop on Southern Scenic Drive, with the arch visible close to the parking area.
The end of Southern Scenic Drive and the park’s highest area. Clear days reveal plateaus stretching across southern Utah.
Follow the rim through Inspiration, Sunset and Sunrise. Shorten the walk at any shuttle stop; Bryce–Inspiration regularly closes in winter.
*Vista Travel estimate.
The least difficult descent below the amphitheater rim. Return the same way or combine it with Navajo Loop.
Steep switchbacks among hoodoos. It is not a complete loop in winter, and Wall Street may close; follow signs via Two Bridges.
A Fairyland Loop segment to Tower Bridge, often quieter than the signature combination loop.
Grand Canyon rewards an unhurried visit as changing light reveals different colours and layers of rock. The South Rim offers broad panoramas from overlooks and Rim Trail. Viewing the canyon from above is a different undertaking from hiking into it, which requires energy, water and time for the uphill return.
South Rim — Grand Canyon Visitor Center
Weather loads when you open this guide.
Modelled weather for this location; point elevation is approximate. Conditions on trails, summits and elsewhere in the park can differ considerably.
The preview below shows the South Entrance and vehicle queues. The Yavapai Point canyon panorama is available via a separate link and updates every 15 minutes.
Check the date and time on the image or operator’s page: an older frame may be displayed. Night views may be dark. Webcam and weather data may refer to different locations.
National Park Service
Select a thumbnail for the full view.
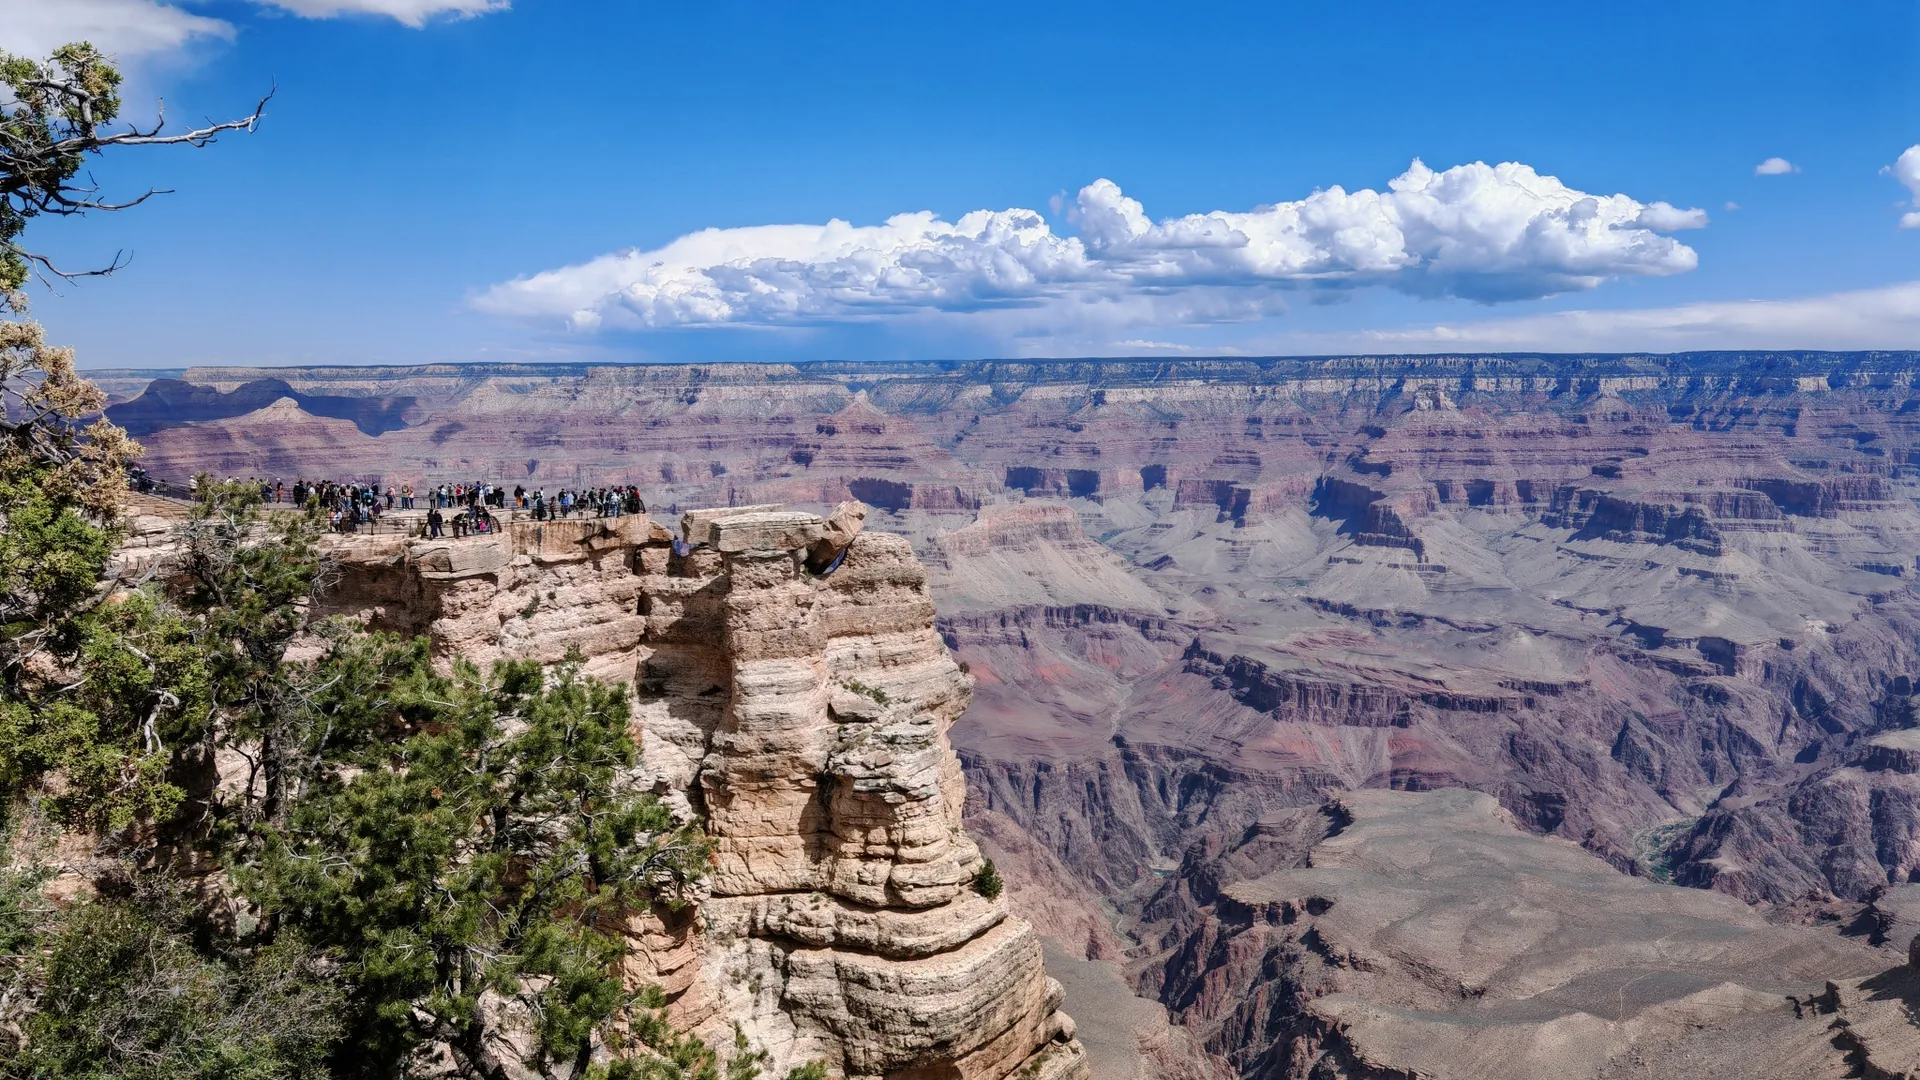
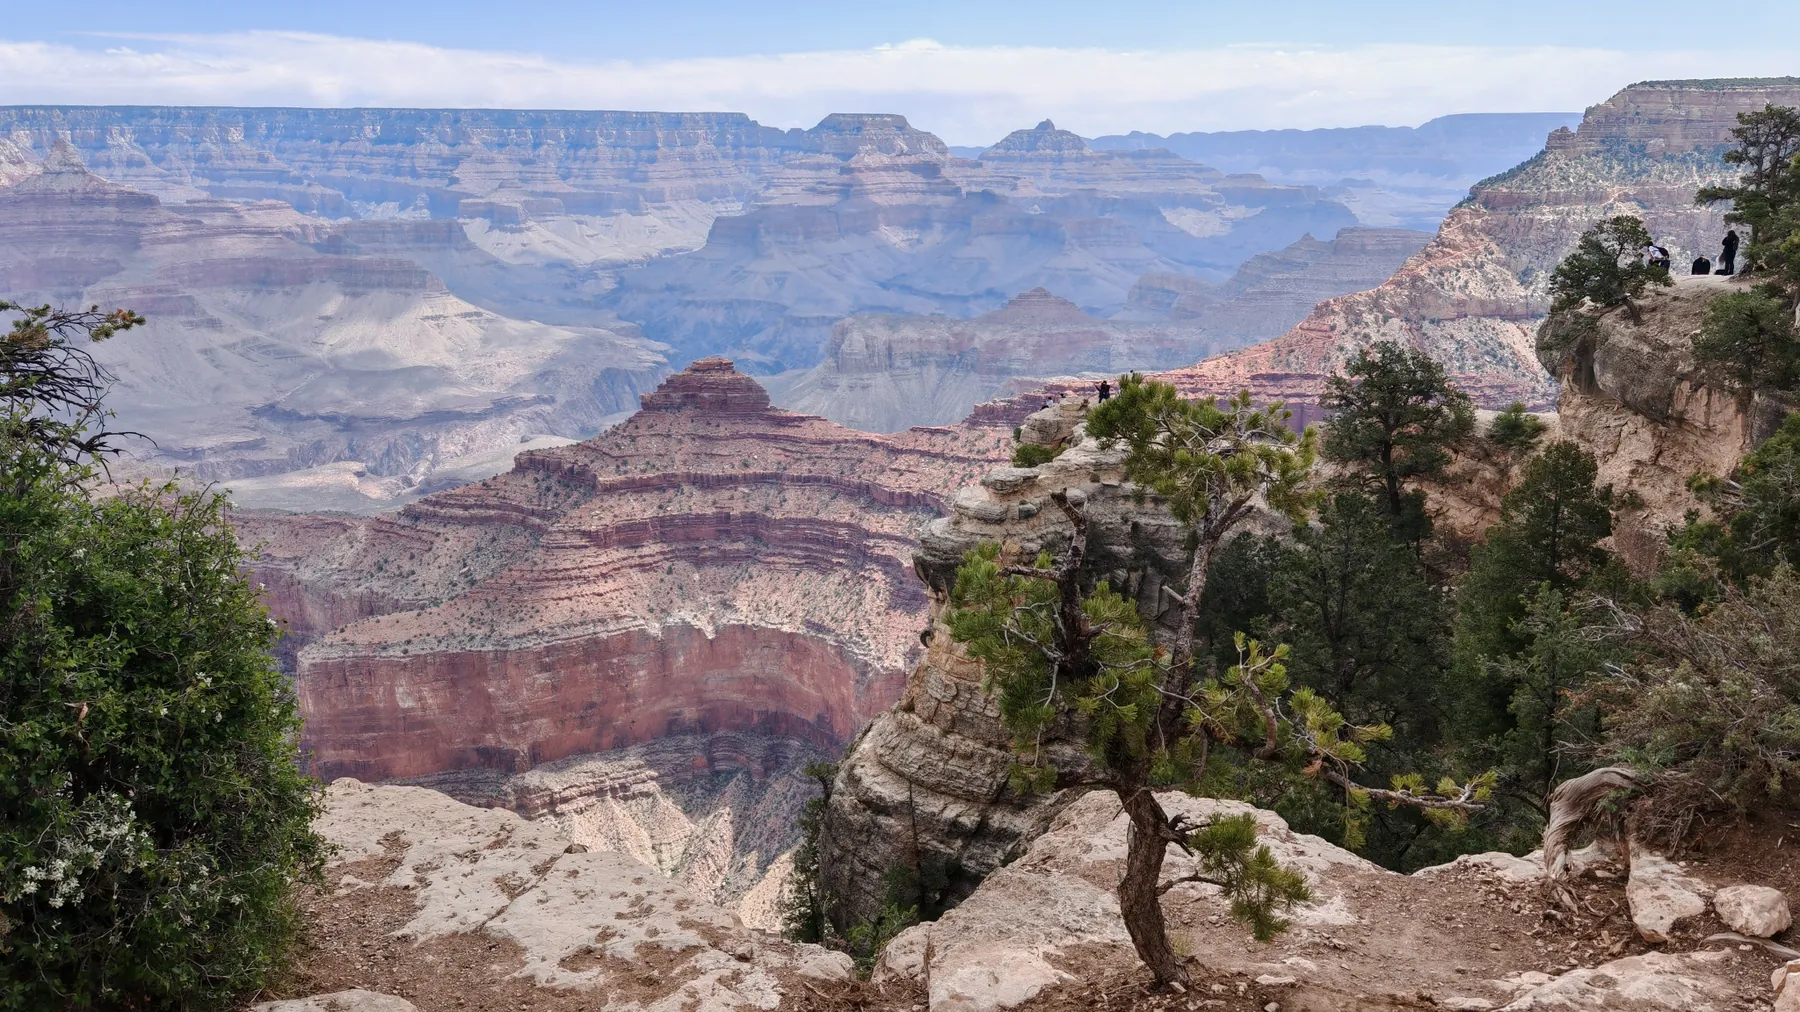
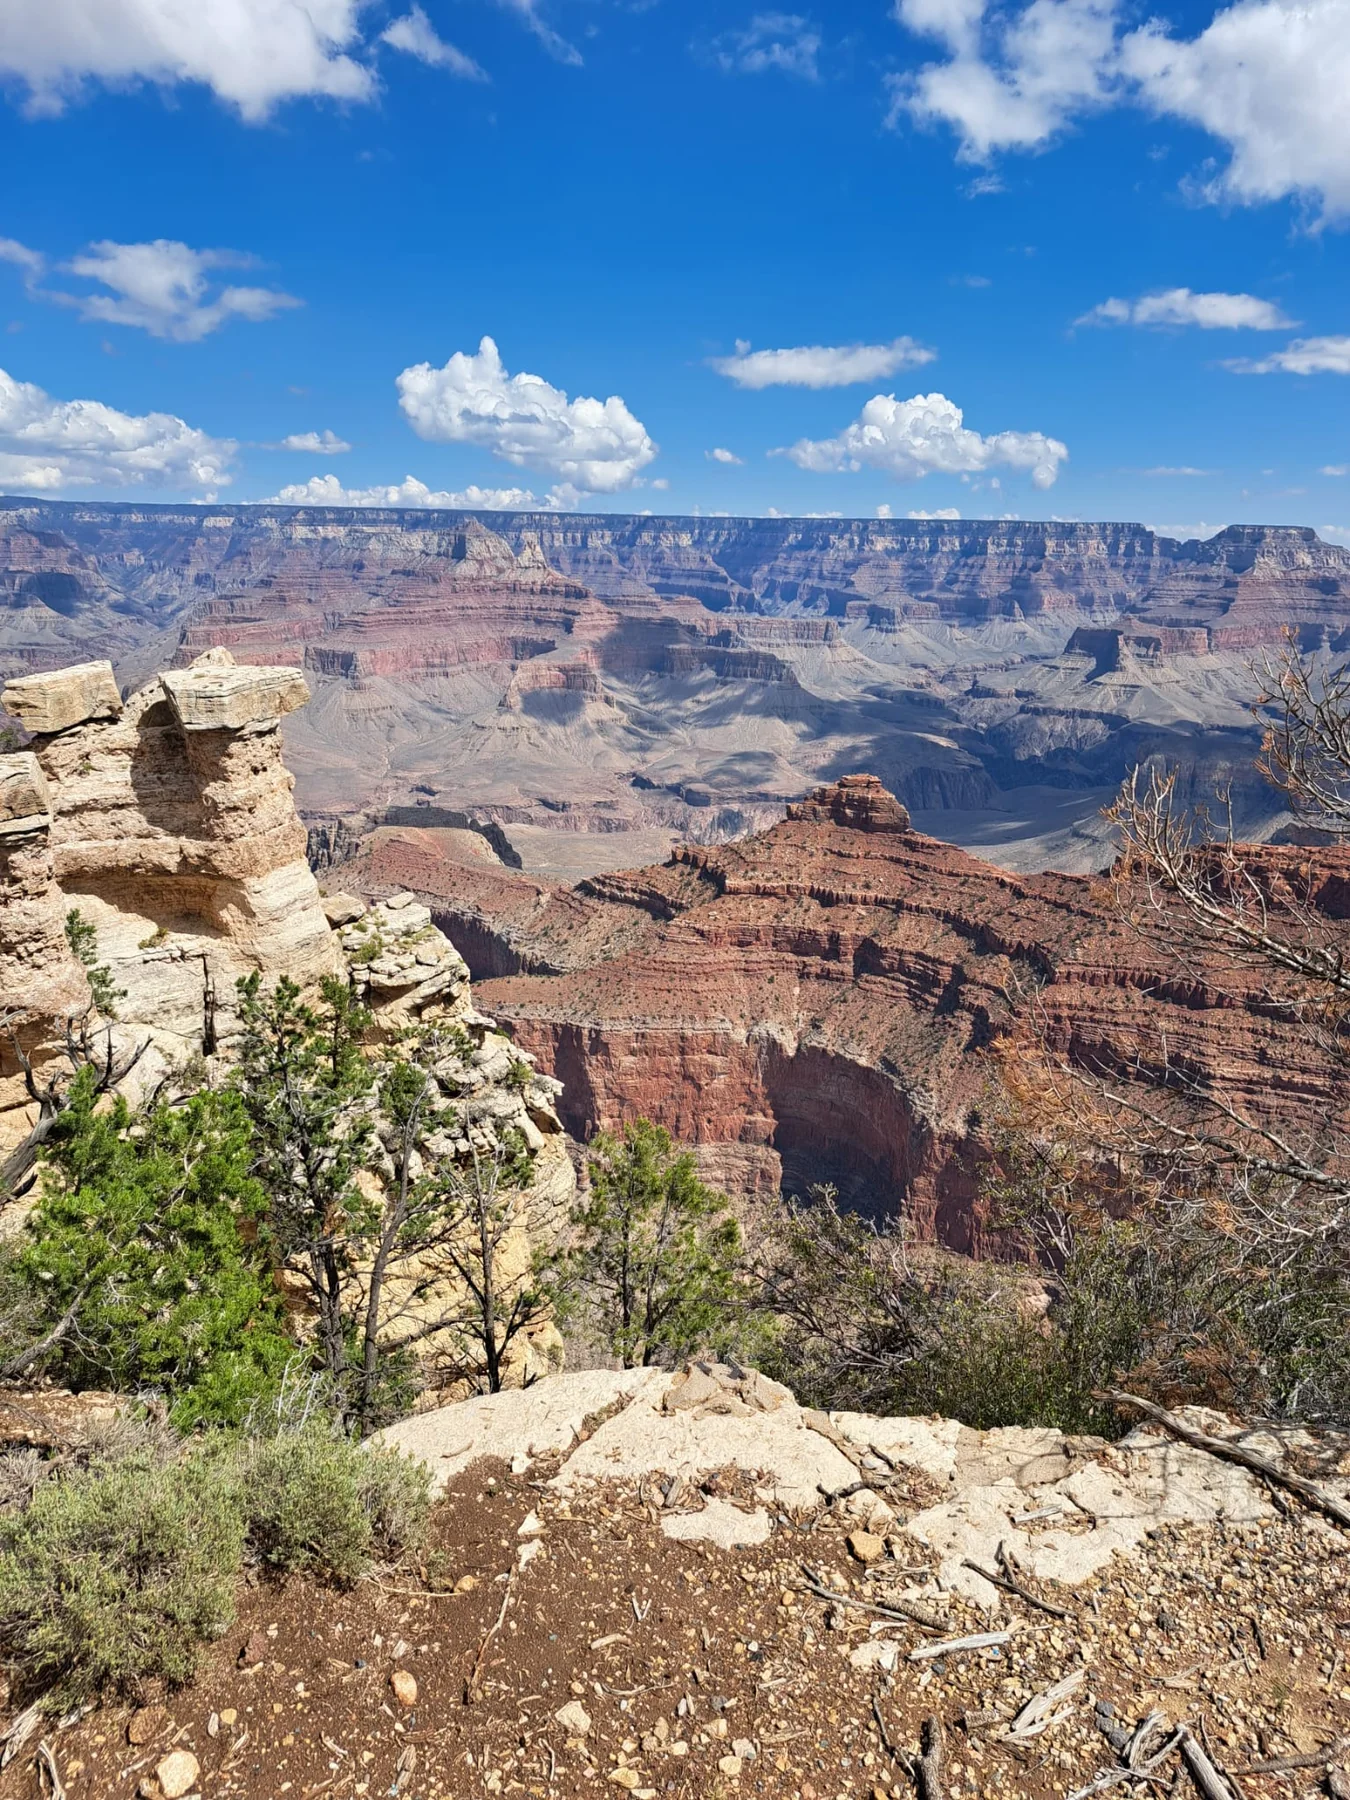
The simplest first canyon view. Instead of immediately turning back, follow the easy Rim Trail toward Yavapai Point.
See the canyon’s rock sequence and views toward the Colorado River, then ride Orange Route back to the Visitor Center.
Get off only if hiking to Ooh Aah Point or Cedar Ridge. There is no public parking and no water on the trail.
Private cars cannot reach Yaki Point. Combine Pipe Creek with a Rim Trail segment and board the next bus.
Blue Route connects the Visitor Center with lodging, stores and Village. At Bright Angel, remember that every downhill step must later be climbed.
Outbound buses stop at every overlook. Trailview reveals Bright Angel switchbacks; Powell combines a broad view with river-exploration history.
Hopi has broad western exposure and Mohave gives strong river views. Return buses stop at Mohave and Powell, but not at every earlier overlook.
Pima is one of four regular return stops. Hermits Rest ends the line; the complete ride without getting off takes about 80 minutes in summer 2026.
A separate route via Grandview, Moran, Lipan and Navajo Points. Allow at least 2–3 hours with stops; no shuttle travels this road.
*Estimate; NPS advises allowing roughly twice as long to climb out as to descend.
NPS identifies Cedar Ridge as a good turnaround for many first-time day hikers.
Nearly continuous canyon views and a logical finish at Yavapai Geology Museum.
*Vista Travel estimate.
A geologic timeline where each meter represents one million years — one of the best interpretive walks on the entire route.
*Vista Travel estimate including exhibit stops.
A popular turnaround for a first longer hike below the rim. Carry your own water even when the station is marked as operating.
The climb takes far longer than the descent. In summer, start before sunrise and turn around early as heat builds.
Monument Valley combines isolated red mesas rising from open desert with the living cultural landscape of the Navajo Nation. This is a tribal park with its own entry and visiting rules. Start with the panorama by the visitor center, then plan the valley drive or a guided visit using the conditions below.
Monument Valley Visitor Center
Weather loads when you open this guide.
Modelled weather for this location; point elevation is approximate. Conditions on trails, summits and elsewhere in the park can differ considerably.
Select a thumbnail for the full view.
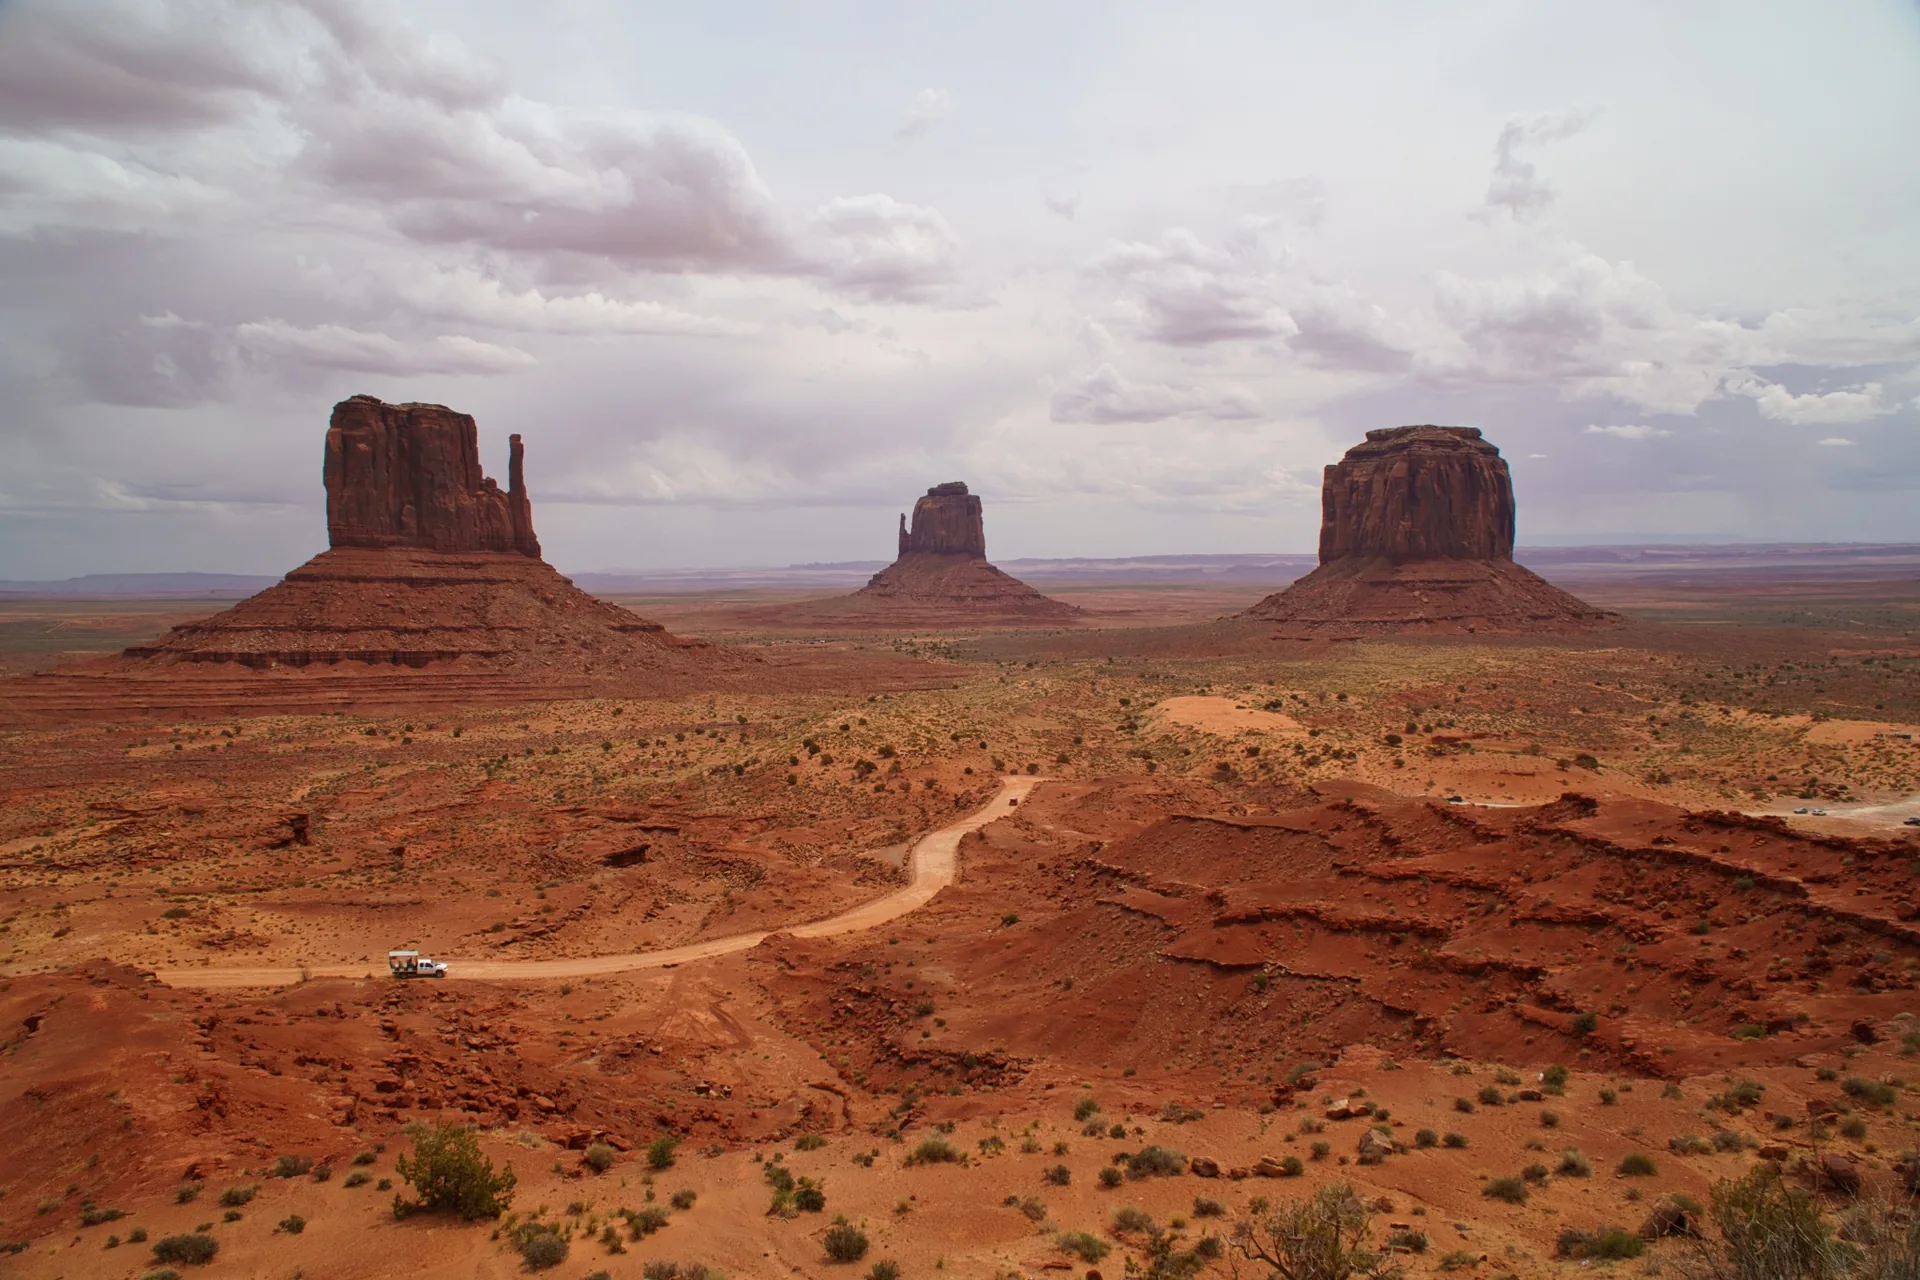
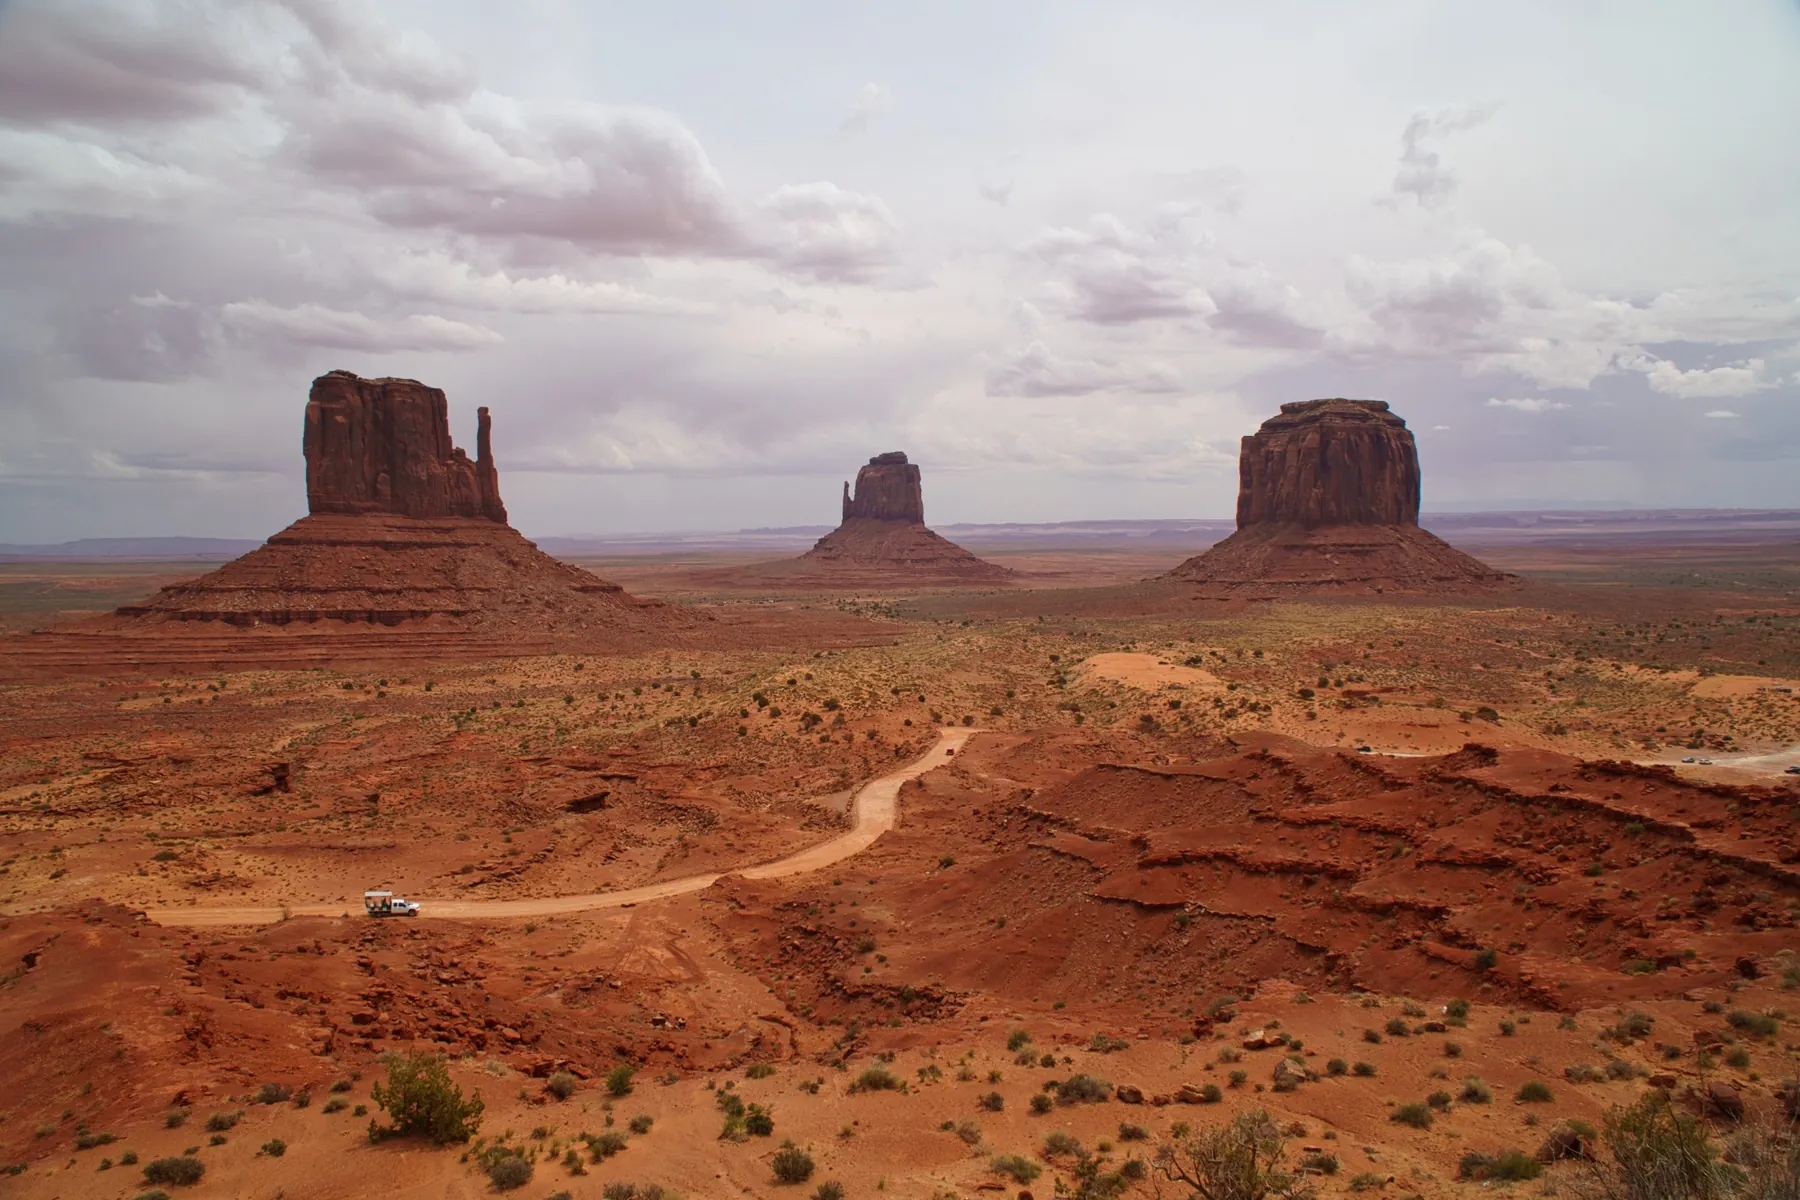
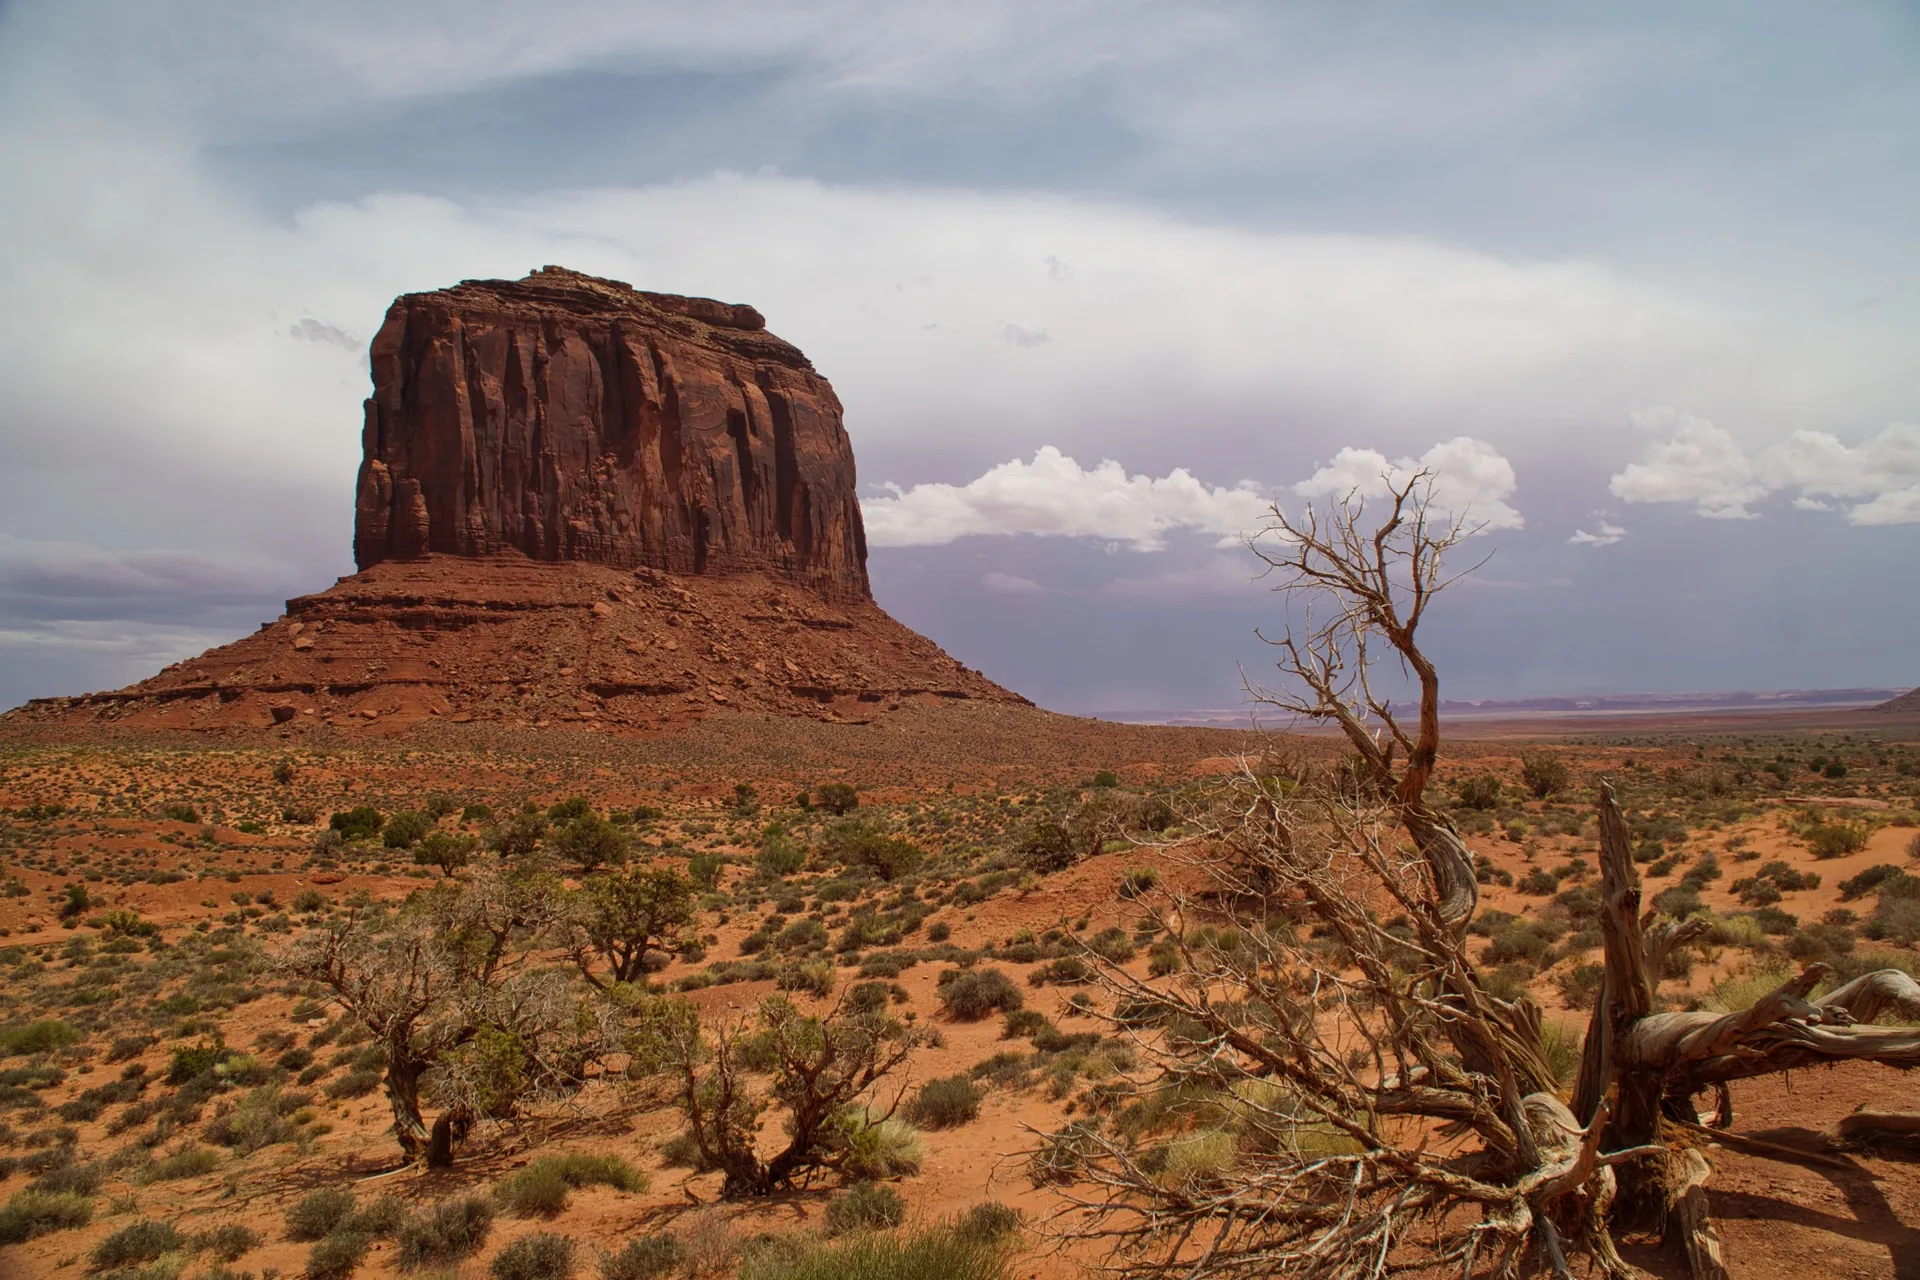
The signature panorama is available before descending onto the dirt road. If conditions are poor, this overlook still makes a worthwhile visit.
The opening grade quickly reveals ruts and sand. If your vehicle has low clearance or rain has softened the road, choose a locally guided tour.
Short stops show how each butte changes shape with perspective. Park only in designated pullouts.
A sweeping valley view and one of the American West’s most familiar compositions. Local vendor stands operate nearby.
The road enters deeper among the formations. Do not follow side tracks; some areas are closed or guide-only.
View the slender spires from the designated point. Closer access requires an authorized Navajo guide.
A broad view back toward the Mittens and Merrick Butte from the opposite side of the valley.
The last major formations before climbing back to the Visitor Center. Keep a time buffer: last entry is earlier than park closing.
Navajo Parks identifies Ear of the Wind as an example of a landmark accessible only on a guided tour.
The official webpage currently lists 1.5 mi, while maps describing the complete loop may show a longer distance. Confirm route, distance and return time when signing in at the Visitor Center.
*Vista Travel estimate; the official page lists the distance but no average hiking time.
Valley of Fire is a Nevada state park of red sandstone, arches, striped rock layers and traces of earlier human presence. It makes a rewarding day away from Las Vegas. Roadside stops combine well with short walks, but in extreme heat or during seasonal trail closures, a scenic drive may be the better plan.
Valley of Fire Visitor Center
Weather loads when you open this guide.
Modelled weather for this location; point elevation is approximate. Conditions on trails, summits and elsewhere in the park can differ considerably.
Select a thumbnail for the full view.
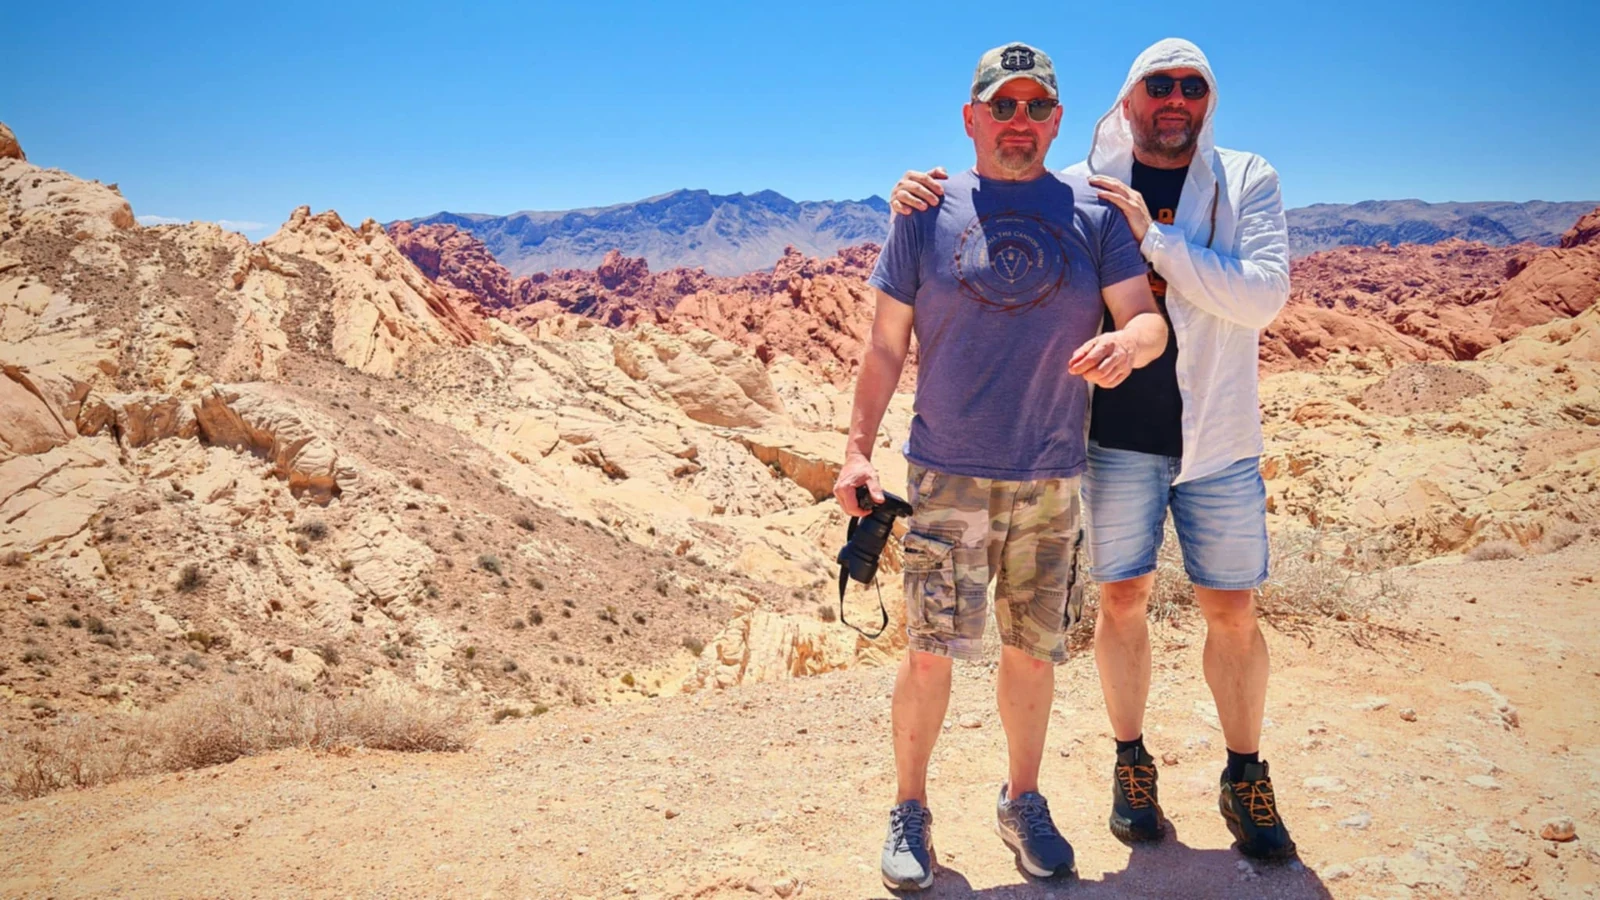
The direct path is about 0.1 mi / 0.16 km one way; the full loop is 1.2 mi / 1.9 km. Stop immediately after entering.
Roadside formations and stone shelters built by the Civilian Conservation Corps in the 1930s require little walking.
Check temperature and open trails. This is the right place to replace a hike with a scenic-drive plan.
A short sandy walk through Petroglyph Canyon. Heat and lack of shade can make even 0.7 mi demanding.
A strong contrast between red sandstone and pale silica, and a worthwhile stop even when trails are closed.
The view begins at the parking area; the full walk is 1 mi / 1.6 km across loose sand. Turn around immediately as heat rises.
The signature loops on White Domes Road. Outside the closure season choose one rather than rushing both; in summer they remain closed regardless of time of day.
Stairs reach the Atlatl Rock petroglyph panel. Arch Rock is viewed from the road — climbing on the arch is prohibited.
Accessible formations that clearly display sandstone cross-bedding, and a natural finish before I-15 toward Las Vegas.
A compact walk among multicolored rock. The parking-area view is a good alternative for visitors avoiding deep sand.
*Vista Travel estimate.
The loop combines colorful formations, a short slot canyon and remains of a film set.
The trail closes annually May 15–September 30. Loose sand and rough rock make it feel longer than the mileage.
*Vista Travel estimate.
Yellowstone is much more than Old Faithful: geysers and hot springs sit alongside a vast canyon, waterfalls, a lake and wildlife-rich valleys. Each region has its own character. Plan several days and explore one area at a time rather than trying to drive the whole park in a single visit.
Old Faithful Visitor Education Center
Weather loads when you open this guide.
Modelled weather for this location; point elevation is approximate. Conditions on trails, summits and elsewhere in the park can differ considerably.
Streaming video of the geyser basin. Open the official NPS page to launch the player and check predicted eruptions.
Check the date and time on the image or operator’s page: an older frame may be displayed. Night views may be dark. Webcam and weather data may refer to different locations.
National Park Service · Canon USA / Yellowstone Forever
Select a thumbnail for the full view.
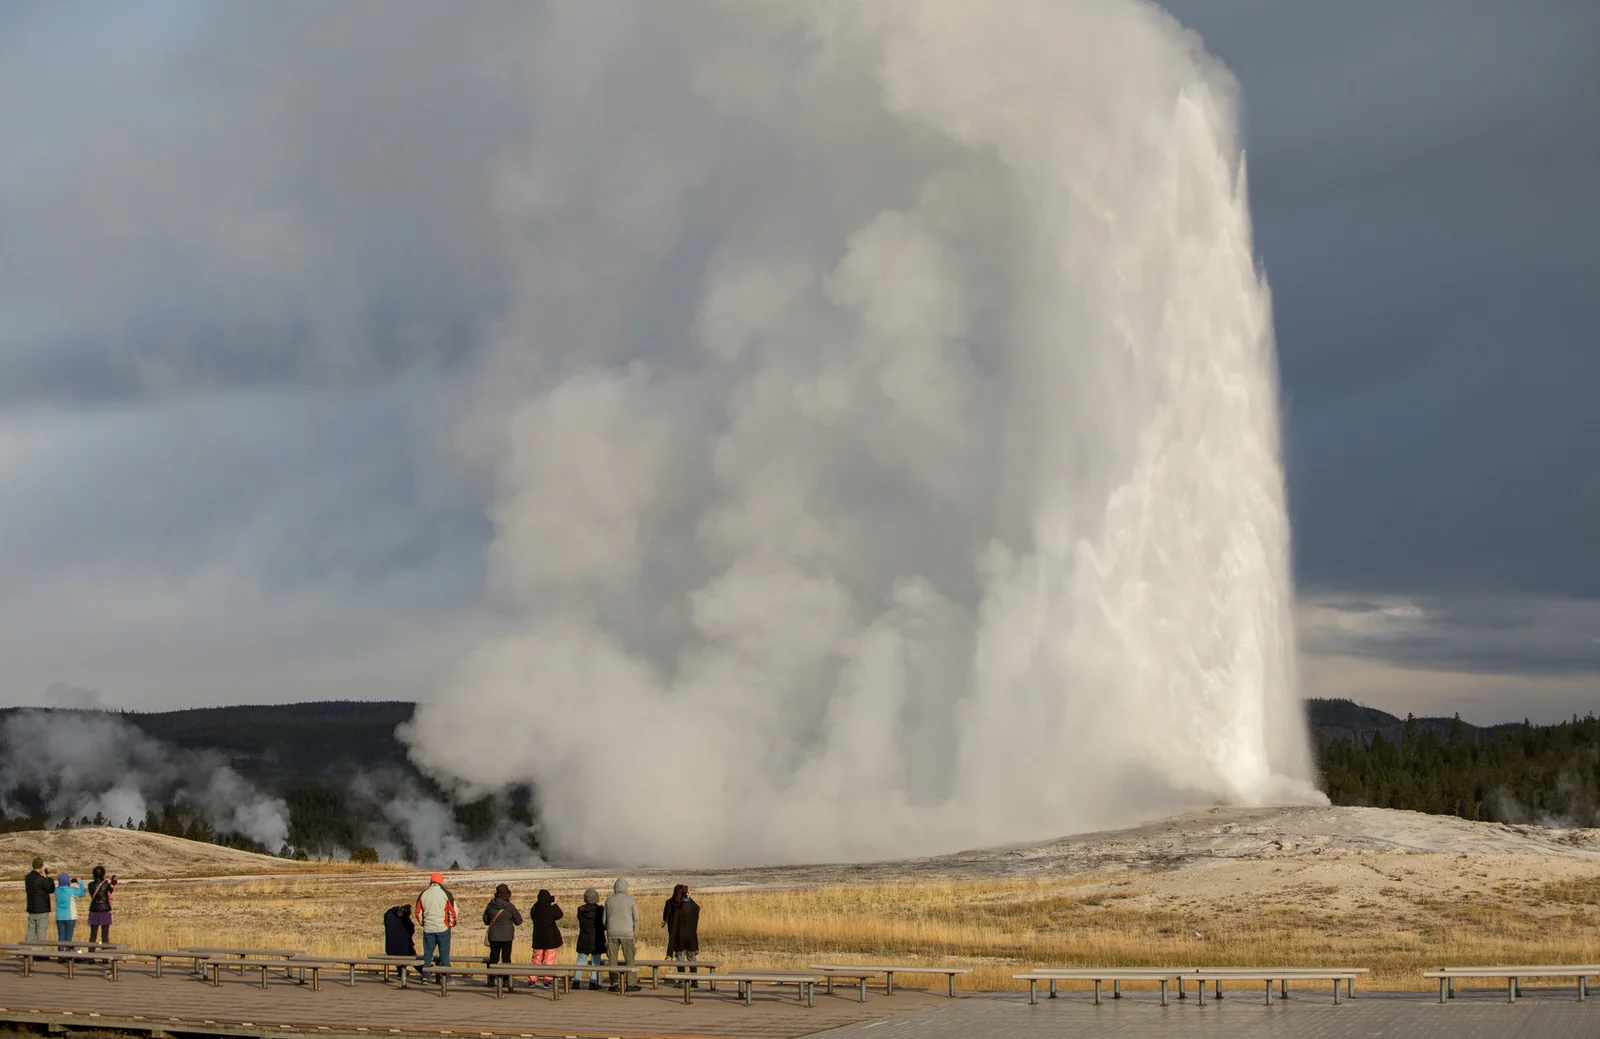
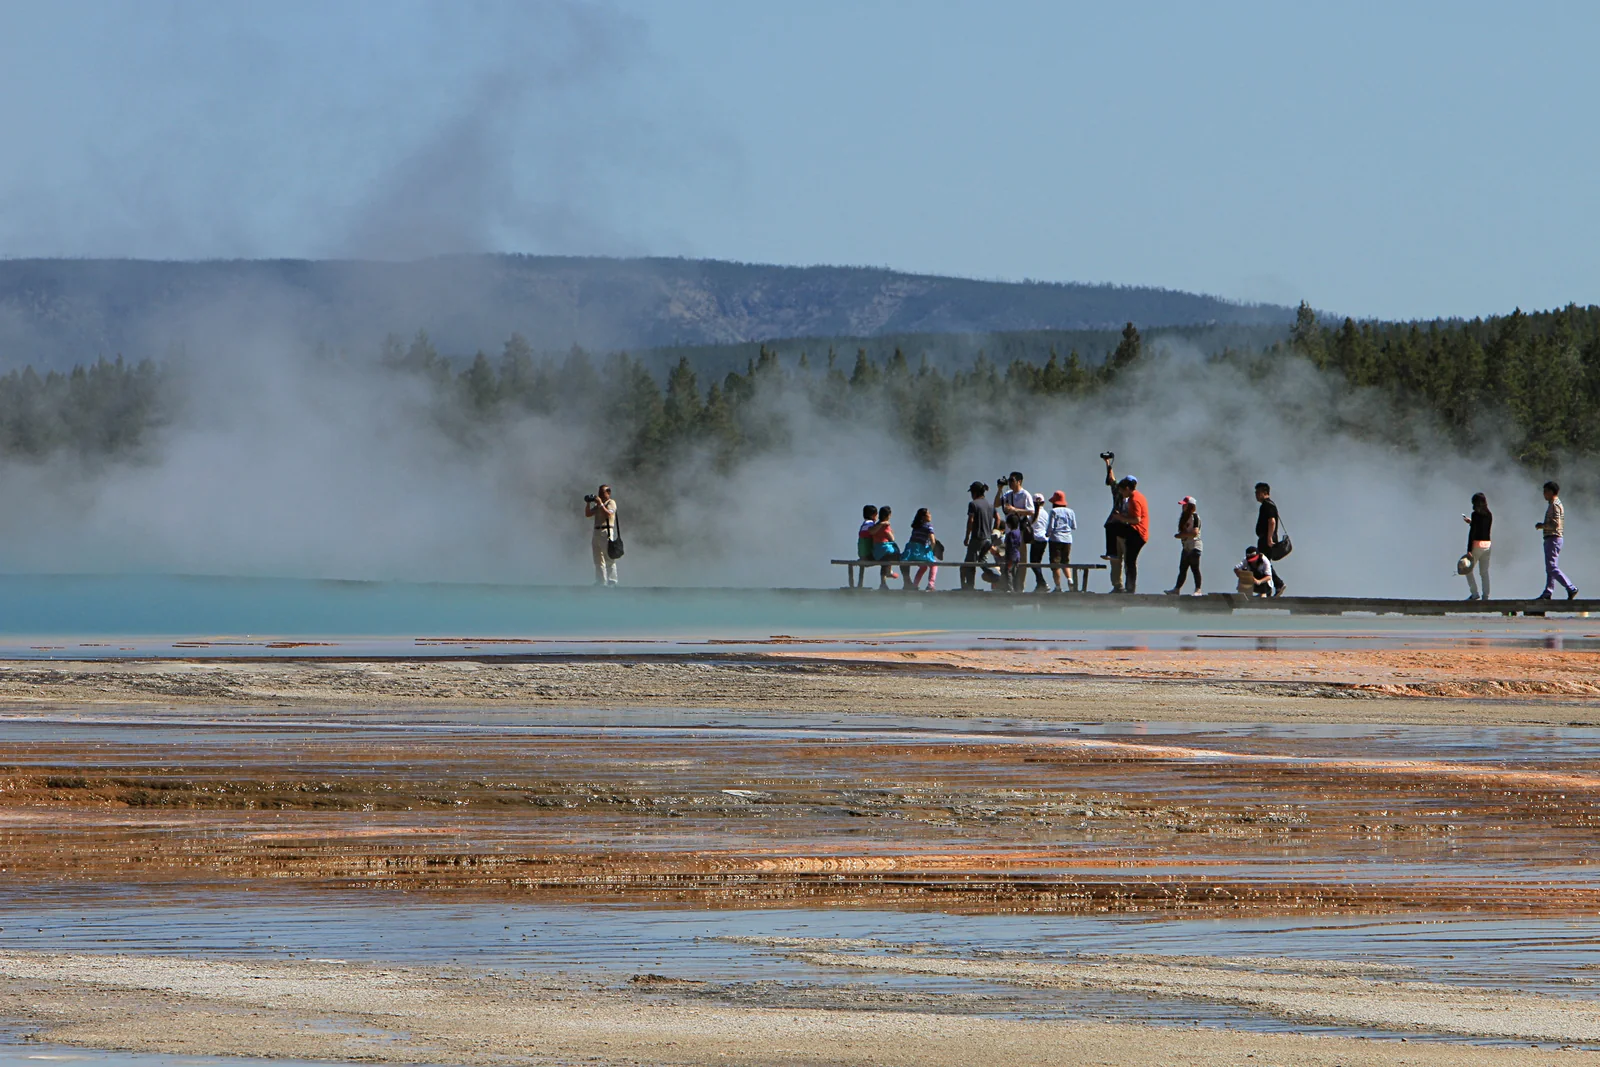
For a first visit we suggest 3–4 days, with accommodation near the areas you want to explore. Yellowstone is too large to comfortably see all major sights in one day. The numbered points below are visiting areas, not bus stops.
Choose the order around your accommodation and open roads. Allow extra time for parking and wildlife; this is a planning suggestion, not a fixed timetable.
Only one day? Choose one of these regions. With four days, add a longer hike or a slower second visit instead of trying to fit everything in.
Consider Bozeman, Jackson, Cody or Idaho Falls airports. Match your arrival to an open entrance as well as flight price. West Yellowstone serves the west, Gardiner the north; access from Jackson is from the south. Distant entrances are hours apart.
Use designated lots and pullouts. Allow extra time for animals on the road, construction and parking. Map distances do not include time spent visiting.
NPS — source ↗Private vehicle: $35 for 7 consecutive days. Yellowstone has a $100 surcharge per non-U.S. resident aged 16+, unless covered by an eligible valid pass. See the pass rules above. Regular entry does not require a timed reservation.
Reserve accommodation and campsites separately. Backcountry camping, fishing and boating require the relevant permits; an entrance pass does not replace them.
NPS — source ↗Most of the park is above 1,829 m / 6,000 ft. Typical summer days are around 21°C, sometimes 27°C at lower elevations, with possible freezing nights higher up. Spring and fall days are often 0–16°C; nights can be well below freezing. Snow can fall in any month. These are climate patterns, not a forecast.
Bring layers and rain protection even in summer. Check the forecast for the region you will visit, not only the town where you sleep.
NPS — source ↗Most roads close to ordinary vehicles for winter. The 2026 schedule lists many sections through October 31 and Dunraven Pass through October 12, subject to weather. The Gardiner–Cooke City corridor is generally available year-round, but is not a winter through-route farther east.
Check the road map before changing accommodation. Do not plan a winter rental-car drive to Old Faithful; oversnow access follows separate rules.
NPS — source ↗The park has hotels, cabins and campgrounds, with long gaps between service hubs. Dining and shops cluster near lodging areas. Book early and check operating dates. West Yellowstone and Gardiner are alternatives outside the park, but daily drives add time.
Bring breakfast, water and food for the day. Refuel before a long drive; do not make your return depend on one seasonal station. This is planning guidance, not a room-availability or price listing.
NPS — source ↗Download Yellowstone content in the NPS app and offline maps before entering. Cell coverage is very limited. Leave someone your daily route and return time.
Stay on thermal boardwalks. Keep at least 91 m from bears, wolves and cougars, and at least 23 m from other large animals. Carry bear spray on hikes and know how to use it. Never leave food unattended.
NPS — source ↗Start at the Visitor Education Center for eruption predictions. Park once and explore on foot. Allow waiting time: an eruption prediction is not a scheduled performance.
Grand Prismatic boardwalks and the overlook use different approaches and parking areas. The elevated viewpoint starts at Fairy Falls, not at the main Midway lot.
Choose viewpoints over the canyon and Lower Falls. Artist Point is a useful stop without a long hike; steep descents toward waterfalls require additional effort. Check local closures.
Plan designated pullout stops in the valley, then the lake area. Do not stop in a traffic lane for photos. Storm Point is a walking option only when the trail is open.
Give the northern part its own day. Mammoth provides access to thermal terraces; Lamar is for watching wildlife from a distance. Plan the return around your accommodation and open roads.
Distances apply to the stated starting point and variant. * Time/difficulty marked with an asterisk is a Vista Travel planning estimate for ordinary summer conditions. ¹ NPS gain or elevation change, not necessarily total cumulative ascent. No unconfirmed elevation figure is added.
Fairy Falls Parking Lot. Distance covers the overlook and return, not Fairy Falls waterfall. The small lot can fill.
NPS — trail details ↗Climb from Old Faithful. This is the return-by-the-same-route option; the Solitary Geyser extension adds 0.9 mi / 1.4 km.
NPS — trail details ↗Start at Indian Pond east of Fishing Bridge. Forest and lakeshore. Spring bear-related closures are common; check with the visitor center.
NPS — trail details ↗NPS lists two variants depending on the approach: Fairy Falls Parking Lot or Fountain Flat Drive. Select the route on a map first. Continuing to Spray and Imperial Geysers adds another 1.2 mi / 1.9 km round trip.
NPS — trail details ↗Arches is a landscape of natural stone arches, towering walls and unusual red sandstone formations. The main road is scenic in its own right, with short walks leading to selected arches. Delicate Arch is a separate, more demanding hike; start gently with the Windows and Double Arch.
Arches Visitor Center
Weather loads when you open this guide.
Modelled weather for this location; point elevation is approximate. Conditions on trails, summits and elsewhere in the park can differ considerably.
Entrance camera looking toward US 191. Useful for checking queues; this is not a view of the rock arches.
Check the date and time on the image or operator’s page: an older frame may be displayed. Night views may be dark. Webcam and weather data may refer to different locations.
National Park Service
Select a thumbnail for the full view.
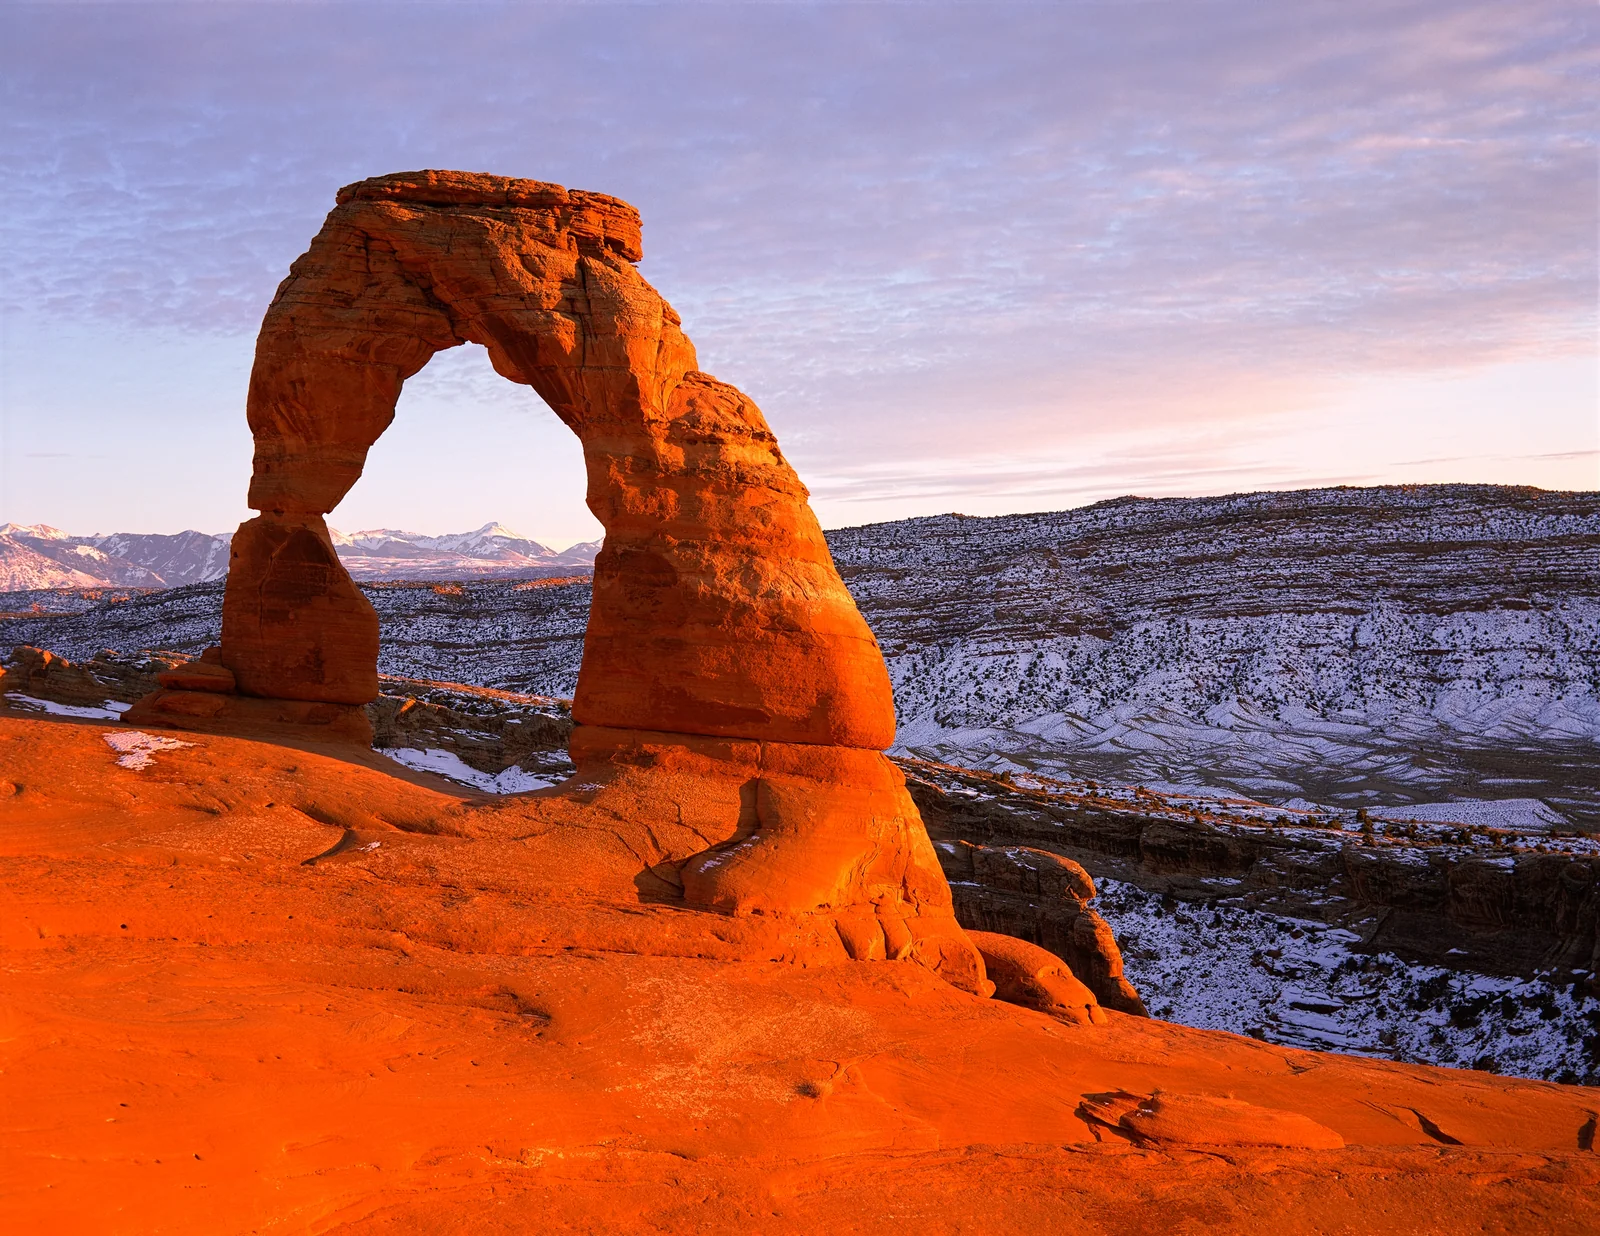
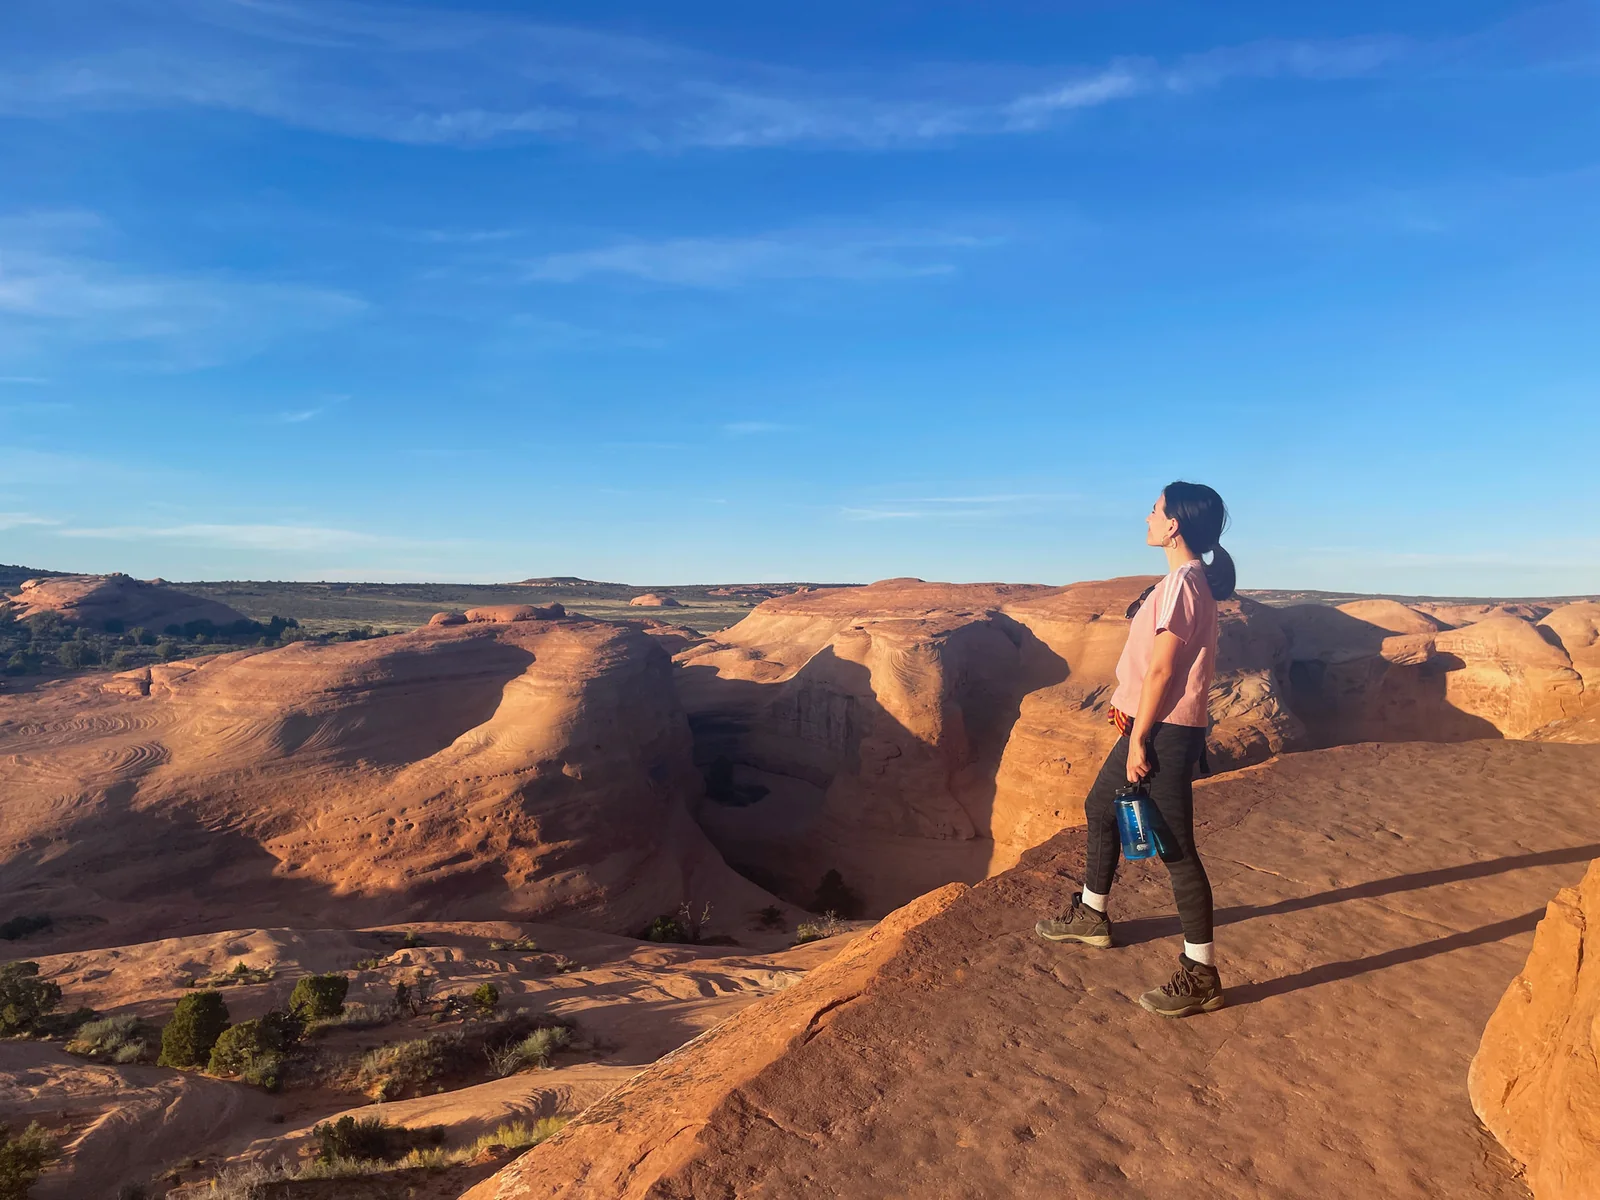
For a first day we suggest the scenic drive and one longer hike, with a second day for easier walks. Moab is the natural base. Numbers indicate road stops, not a shuttle route.
The entrance is on US 191 north of Moab. The main road ends at Devils Garden, about 18 mi / 29 km one way from the entrance, excluding side roads. There is no public park shuttle; arrange any private transport separately.
Use the paved roads for the main sights described here; a 4×4 is not required. Do not take unpaved routes without checking conditions and your rental agreement.
NPS — source ↗In 2026 Arches does not require timed reservations for ordinary entry. Vehicles may be diverted when the park is too congested. Standard private-vehicle entrance costs $30. Arches is not among the 11 parks with the $100 surcharge.
Devils Garden Campground and both self-guided and ranger-led Fiery Furnace visits require reservations. Fiery Furnace is not a casual viewpoint walk: do not add it without the required authorization and preparation.
NPS — source ↗Busy locations include Windows, Wolfe Ranch and Devils Garden. Put your main hike in a cooler part of the day; if a lot is full, change the order rather than park outside designated spaces. Delicate Arch is especially busy at sunset.
RV and trailer spaces are limited. Leave a large vehicle legally in Moab if you have a smaller one available. The absence of timed entry does not guarantee parking.
NPS — source ↗This is high desert: the park ranges from about 1,245 to 1,723 m / 4,085–5,653 ft. Typical spring and fall days reach 16–27°C, with nights around −1 to 10°C. Summer temperatures often exceed 38°C. Winter can bring freezing weather, ice and temporary road closures. These are climate patterns, not a forecast.
Hike early in summer and reduce exertion in the heat. Storms can cause flash floods; wet or icy sandstone can make an easy route difficult.
NPS — source ↗Plan hotels, meals and shopping in Moab. The park has Devils Garden Campground but no fuel stations. Water is available at the visitor center and campground, and seasonally at Devils Garden Trailhead.
Enter with fuel, food and enough water for the entire day. Accommodation links do not guarantee availability or prices.
NPS — source ↗Coverage is patchy, especially between rock walls. Download the map and your route before entering. Do not build cairns or walk on fragile biological soil crust.
Climbing on arches is prohibited. A short distance can still be demanding in full sun. Bring sun protection and suitable footwear.
NPS — source ↗Check alerts and water before driving uphill. Park Avenue provides an immediate view between rock walls; use the viewpoint if saving energy for a later hike.
A short roadside stop. Do not climb the formation; park in a designated space.
One road branch serves several walking destinations. Divide your time between Windows and Double Arch rather than repeatedly moving the car.
The hike to the arch starts here. The lower viewpoint at the road end is a separate distant view, not a shortcut to Delicate Arch.
Include the viewpoint in your drive. Entering the rock maze follows separate reservation and access rules.
The end of the main road. Landscape Arch is the shorter option; continuing to Double O requires greater fitness and confidence around drop-offs.
Distances apply to the stated starting point and variant. * Time/difficulty marked with an asterisk is a Vista Travel planning estimate for ordinary summer conditions. ¹ NPS gain or elevation change, not necessarily total cumulative ascent. No unconfirmed elevation figure is added.
Start at the lower Windows parking area. A gentle approach to the arches; scrambling is not needed to see them.
NPS — trail details ↗Start at Devils Garden. Return from Landscape by the same route. Longer spurs and Primitive Trail are not included.
NPS — trail details ↗Start at Wolfe Ranch. Exposed slickrock climb with little shade and drop-offs near the end. Starting at the farther Viewpoint lot increases the total to about 5 mi / 8 km.
NPS — trail details ↗Start at Devils Garden via Landscape Arch and return the same way. Narrow rock fins and drop-offs. Does not include Primitive Trail. The kilometre distance is confirmed by the NPS Physical / Mobility Accessibility page.
NPS — trail details ↗Rocky Mountain reveals Colorado’s high-country scenery: lakes beneath rocky peaks, forests and open tundra above the treeline. Bear Lake is a useful starting point for walks, while Trail Ridge Road offers high-elevation scenery when open. Even a short walk can feel harder here than at lower elevations.
Bear Lake Trailhead
Weather loads when you open this guide.
Modelled weather for this location; point elevation is approximate. Conditions on trails, summits and elsewhere in the park can differ considerably.
View of a meadow near Glacier Basin and the Continental Divide peaks. This location differs from the Bear Lake weather point above.
Check the date and time on the image or operator’s page: an older frame may be displayed. Night views may be dark. Webcam and weather data may refer to different locations.
National Park Service
Select a thumbnail for the full view.
For a first visit we suggest two days: one for Bear Lake and one for the mountain road if open. Take it easier after arriving from low elevation. The numbered points cover several areas, not a single bus route.
Denver is the nearest major airport. Estes Park serves the east side and Grand Lake the west. They are not interchangeable winter bases: Trail Ridge Road is usually closed from about mid-October to late May.
Plan airport transfers separately from travel inside the park. Download an offline map; navigation may suggest seasonally closed roads.
NPS — source ↗Timed Entry: May 22–October 12, 9 am–2 pm; excludes Bear Lake Road. Timed Entry+ Bear Lake: May 22–October 18, 5 am–6 pm; includes the corridor and the rest of the park. Reserve through Recreation.gov for a $2 processing fee, separate from entrance.
Enter within your two-hour window. After leaving Bear Lake Road, reservation-based re-entry is only after 2 pm. An Annual Pass does not replace timed entry. Check official exceptions for holders of other reservations.
NPS — source ↗Private vehicle: $30 for one day or $35 for 7 consecutive days. A $100 surcharge applies per non-U.S. resident aged 16+ unless covered by an eligible valid pass. Do not automatically add it for every gate crossing; follow ticket validity and NPS rules.
Camping, permits and reservation processing charges are separate. A Hiker Shuttle ticket still requires appropriate park admission.
NPS — source ↗Free Bear Lake Shuttle: May 22–October 18, 2026, 6:30 am–7:30 pm, usually every 10–15 minutes. Stops: Park & Ride → Bierstadt Lake → Glacier Gorge → Bear Lake. Use Park & Ride when trailhead lots fill.
Hiker Shuttle from Estes Park requires a ticket for every passenger. It runs daily through September 7, then weekends September 12–October 18; the last return from Park & Ride is at 6 pm. No shuttle crosses Trail Ridge Road or serves the west side.
NPS — source ↗Typical lower-elevation summer days reach about 21–29°C and nights 4–9°C. Higher areas can see snow even in July. Afternoon storms are common; start above-treeline outings early. High trails may stay snowy in spring and autumn snow can close the road. These are climate patterns, not a forecast.
A short trail around 2,900 m can feel harder than a similar lowland walk. Slow down and adapt your destination to how you feel. Check Bear Lake or Trail Ridge forecasts, not only Denver.
NPS — source ↗Look for hotels in Estes Park or Grand Lake; the park has campgrounds but no hotels. Check each campground’s season and booking rules. Wilderness overnight stays require a separate permit. This guide does not report live availability.
Buy groceries and fuel before entering. Bring all food and water for a Bear Lake day; there are no shops or food services there. Save maps, reservations and return schedules offline. Do not depend on finding a taxi after the last shuttle.
NPS — source ↗Begin from Estes Park with maps, alerts and the correct timed entry. Decide whether today is for Bear Lake or Trail Ridge Road.
In the Bear Lake corridor, park at Park & Ride and transfer to the shuttle. Glacier Gorge is the start for Alberta Falls. Check return service before hiking.
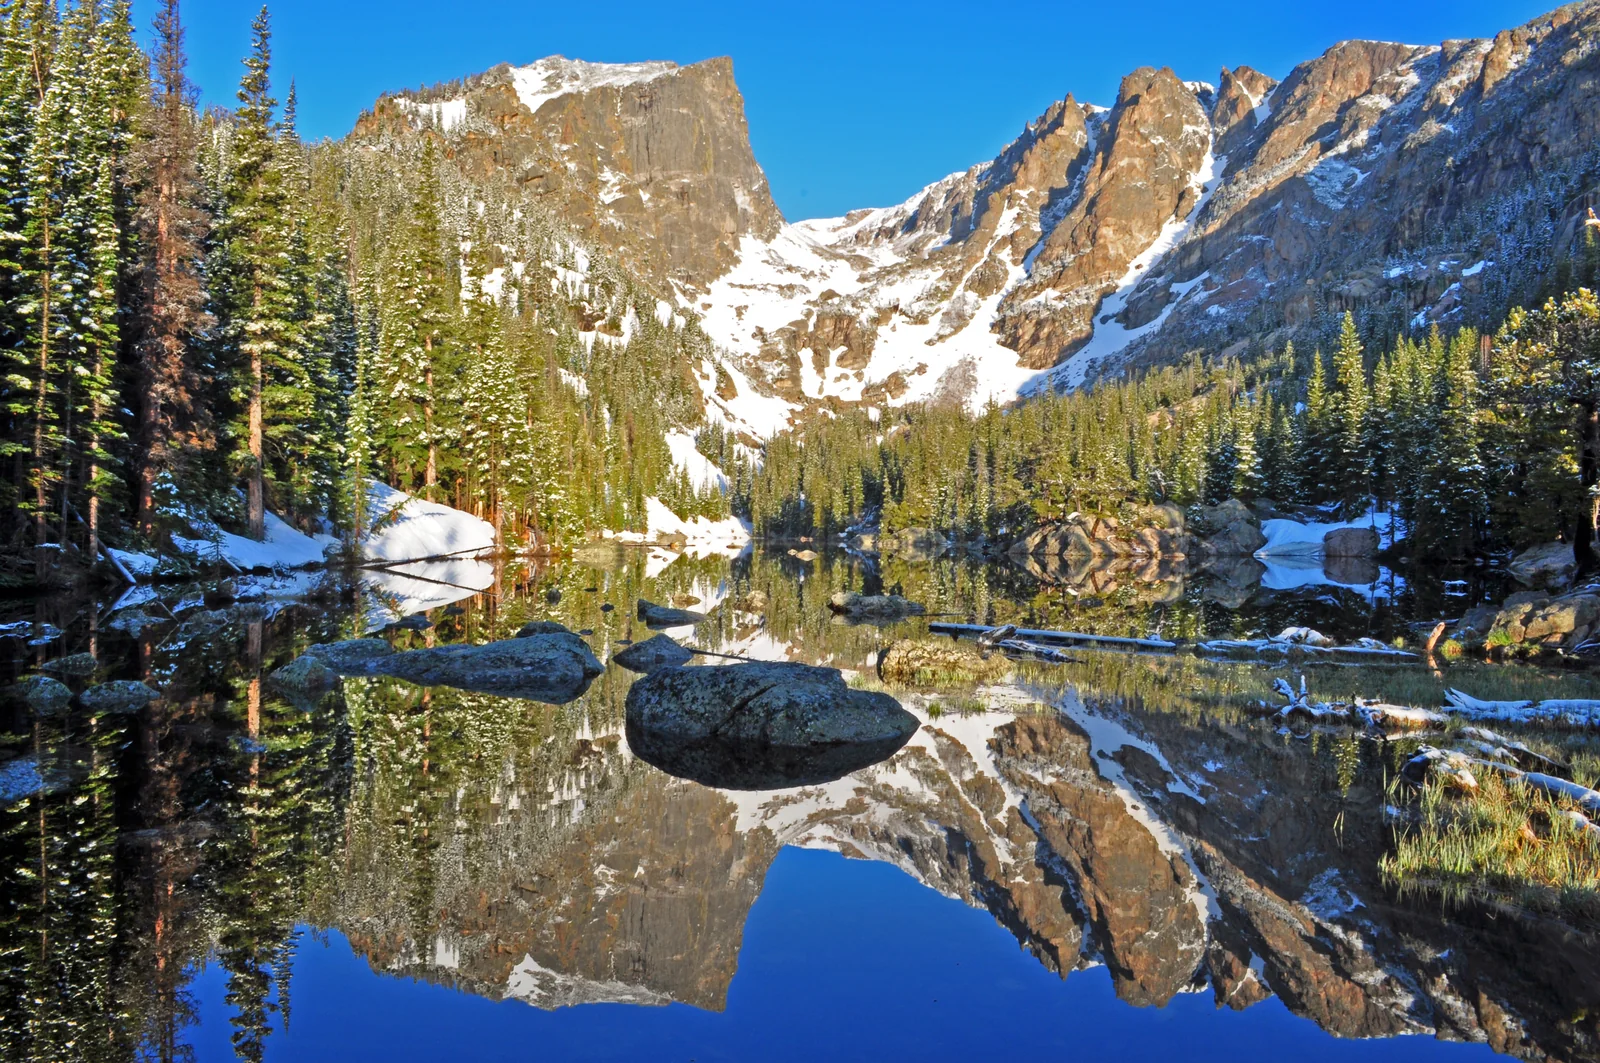
The last stop on the Bear Lake route. Choose the short lakeside loop or climb to Dream/Emerald Lake. The lakes share one approach, so do not add their distances together.
An easier scenic option served by the separate Moraine Park route. Do not assume the same frequency as Bear Lake; check the timetable.
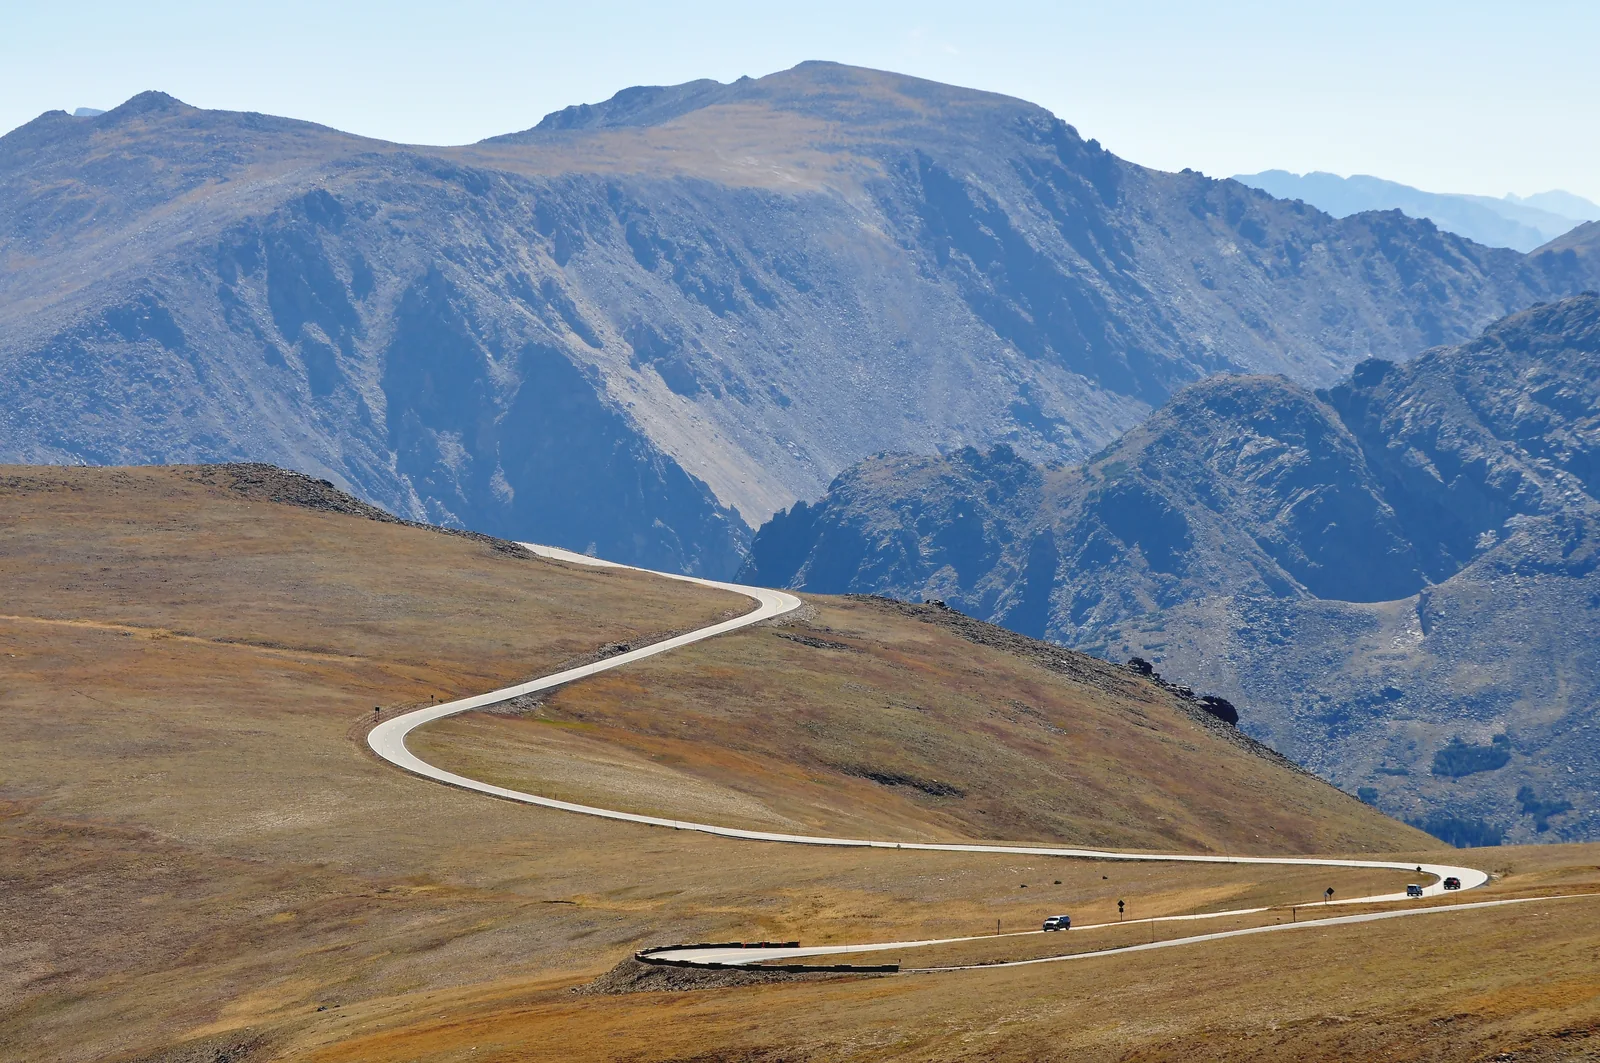
A separate drive with no shuttle. Expect tundra views, wind and high altitude. If the road is closed, stay on your side of the park.
The west side is a destination in its own right or the end of a mountain crossing. Allow for the return to your accommodation; a Trail Ridge closure requires a detour outside the park.
Distances apply to the stated starting point and variant. * Time/difficulty marked with an asterisk is a Vista Travel planning estimate for ordinary summer conditions. ¹ NPS gain or elevation change, not necessarily total cumulative ascent. No unconfirmed elevation figure is added.
Start at Bear Lake. A short acclimatization loop; snow and ice change its difficulty. Distance follows the NPS Bear Lake Road Corridor table.
NPS — trail details ↗From Bear Lake via Nymph Lake, returning the same way. NPS lists 1.1 mi one way; the distance here is doubled for the return.
NPS — trail details ↗Start at Bear Lake via Nymph and Dream Lake. NPS: 1.7 mi one way, doubled here for the return. This is the longer version of the same route, not another 5.5 km beyond Dream Lake.
NPS — trail details ↗Start at Glacier Gorge, not Bear Lake. NPS: 0.8 mi one way, doubled for the return. Stay on the trail and away from wet edges at the waterfall.
NPS — trail details ↗Canyonlands is a vast landscape of canyons carved by the Colorado and Green rivers. Island in the Sky offers views from a high mesa, while the Needles invites walks among rock spires. We suggest a day in Island in the Sky for a first visit. Give the Needles a separate day; the Maze requires substantially more preparation.
Island in the Sky Visitor Center
Weather loads when you open this guide.
Modelled weather for this location; point elevation is approximate. Conditions on trails, summits and elsewhere in the park can differ considerably.
Eastward view from the Visitor Center area. NPS links to a camera from the USGS dust-monitoring project.
Check the date and time on the image or operator’s page: an older frame may be displayed. Night views may be dark. Webcam and weather data may refer to different locations.
US Geological Survey / National Park Service
Select a thumbnail for the full view.
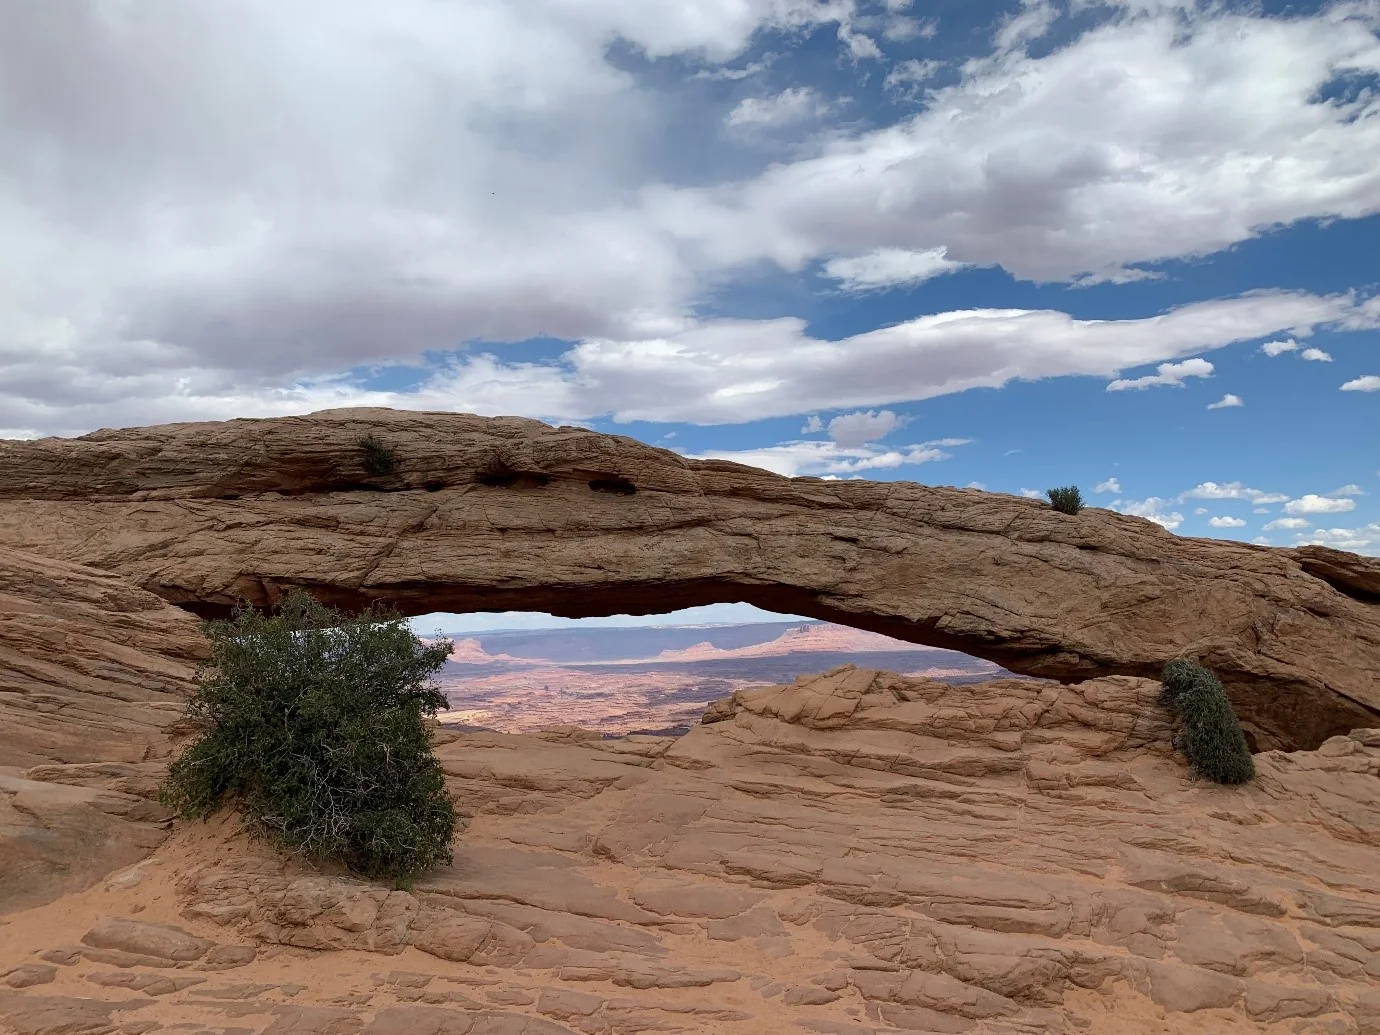
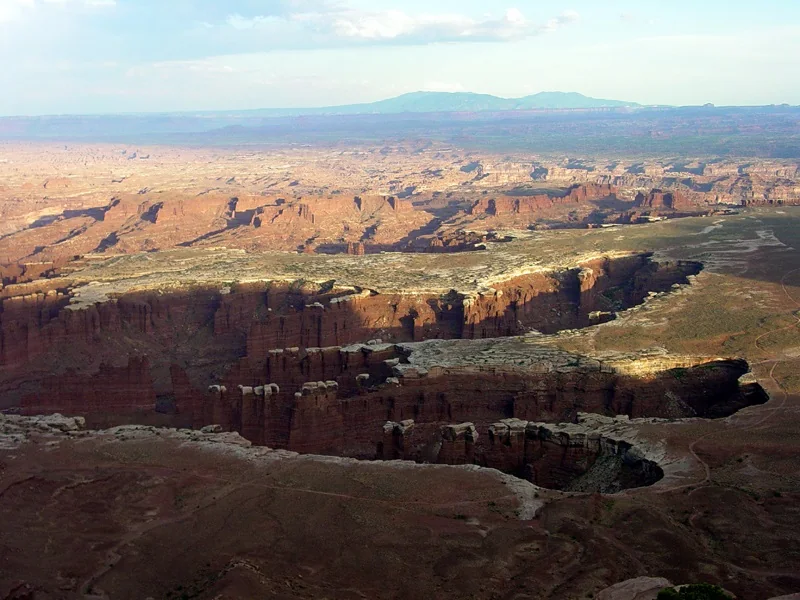
Grand View Point: phased road and parking works may affect access. Before visiting, check NPS construction updates ↗.
Reach Island in the Sky via UT 313 from US 191 north of Moab. The Needles is reached via UT 211 from US 191 south of Moab. Enter the correct visitor center into your navigation, rather than just the park name.
There are no bridges or roads connecting these districts inside the park. The basic Island in the Sky itinerary follows paved roads and does not require an off-road vehicle. Arrange any private transport in advance.
NPS — source ↗A private, noncommercial vehicle entrance costs US$30. Ordinary entry does not require a timed reservation. Canyonlands is not among the 11 parks with the US$100 nonresident surcharge.
An eligible valid America the Beautiful pass covers entrance. Arrange overnight reservations and permits for backcountry travel or certain roads separately. Nearby Dead Horse Point is a state park with a separate entrance fee.
NPS — source ↗Conditions are usually milder in April–May and mid-September–October: days around 15–26°C, nights −1 to 10°C. Summer often exceeds 37°C; winter days are around −1 to 10°C with freezing nights. These are climate patterns, not a forecast.
Expect strong sun and little shade. Storms can cause flash floods, while snow and ice can complicate a short walk. Hike in the morning and check the forecast for your district.
NPS — source ↗There are no hotels or restaurants in the park. Moab is a useful base for Island in the Sky and Monticello for the Needles. Campgrounds are available; some Needles sites can be reserved, while Island in the Sky sites are first-come, first-served.
Bring meals, sufficient water and an offline map. Refuel before leaving town and do not expect to shop at trailheads. Check current NPS conditions before setting out.
NPS — source ↗Seeing the Shafer switchbacks does not mean you need to drive down them. White Rim Road requires a high-clearance four-wheel-drive vehicle with low range and the appropriate permit. An ordinary rental SUV may not meet these requirements.
This is not a shortcut between overlooks. Check road conditions, permits and rental-contract restrictions before planning a drive. For your first day, stay with the mesa-top viewpoints.
NPS — source ↗Start with road and trail information, then view the canyon and switchbacks from above. Avoid adding an unplanned off-road descent.
A short walk to a stone arch. Sunrise attracts photographers, but it is worth visiting later too. Stay off the arch and back from cliff edges.
Choose one longer panoramic walk instead of doing both in peak heat. Parking is limited at White Rim Overlook.
Green River Overlook offers another canyon perspective. If you have energy for a climb, add the first Upheaval Dome viewpoint.
Start with the short trails off the paved road. Longer hikes among the spires require more time, water and route-finding skills.
Distances apply to the stated starting point and variant. * Time/difficulty marked with an asterisk is a Vista Travel planning estimate for ordinary summer conditions. ¹ NPS gain or elevation change, not necessarily total cumulative ascent. No unconfirmed elevation figure is added.
Island in the Sky. A short loop to an arch beside a cliff; leave room for other photographers.
NPS — trail details ↗Island in the Sky. A walk along the canyon edge; the roadside viewpoint does not require the full hike.
NPS — trail details ↗Island in the Sky. Views toward the Colorado River and Monument Basin; limited parking.
NPS — trail details ↗First overlook only. A short, steep climb; continuing to the second overlook adds distance.
NPS — trail details ↗Separate district: the Needles. A cairn-marked route across rock; the potholes contain fragile habitats.
NPS — trail details ↗Badlands combines pale layered rocks, sharp ridges and open prairie. Its character comes from the meeting of almost lunar formations and wildlife-rich grasslands. This itinerary covers the North Unit, a useful starting point for a first visit. Allow a full day for a scenic drive with short walks.
Ben Reifel Visitor Center
Weather loads when you open this guide.
Modelled weather for this location; point elevation is approximate. Conditions on trails, summits and elsewhere in the park can differ considerably.
Select a thumbnail for the full view.
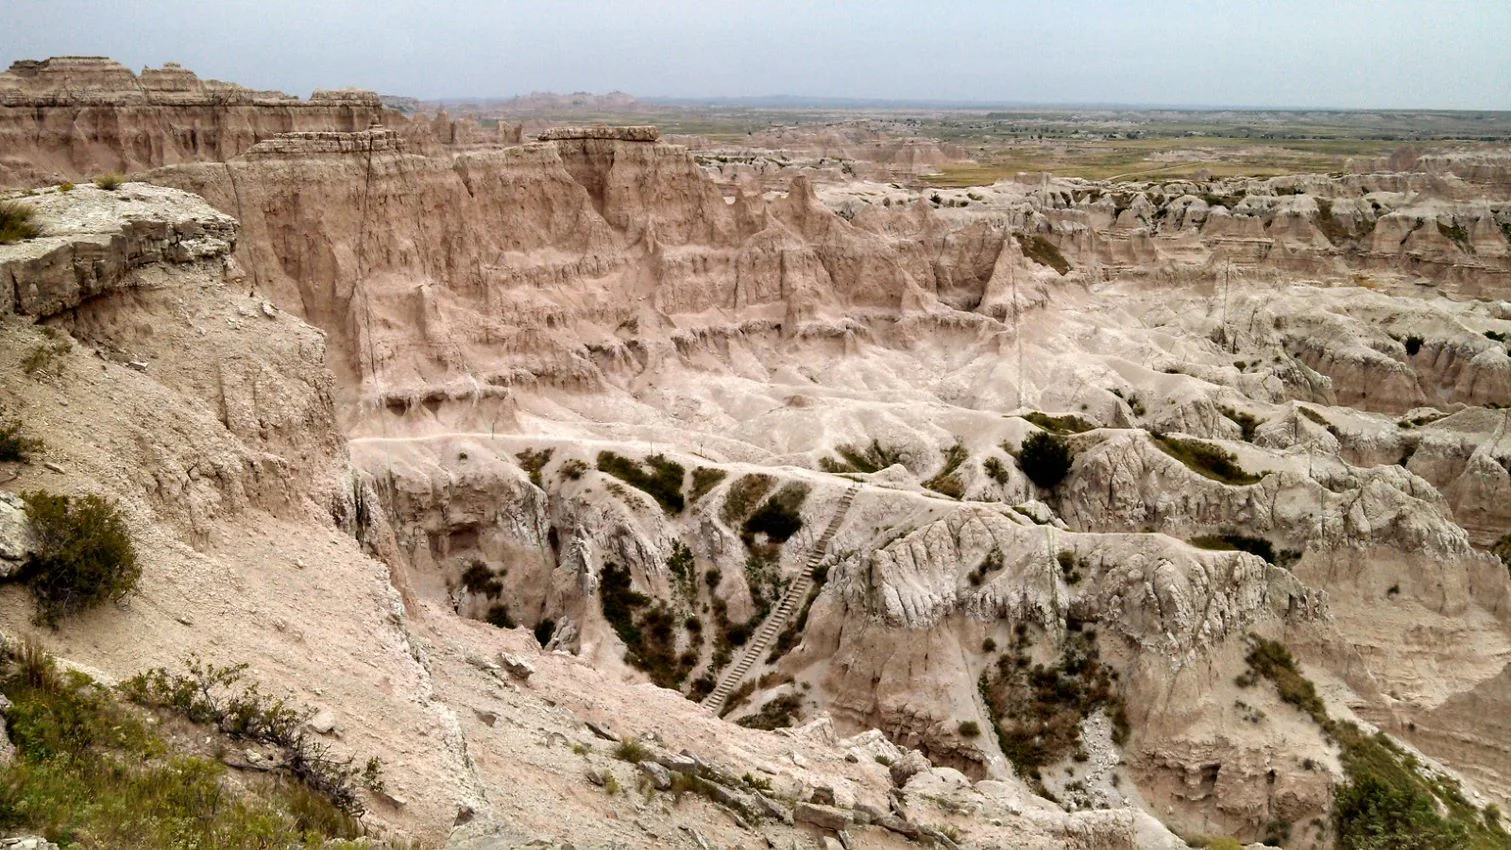
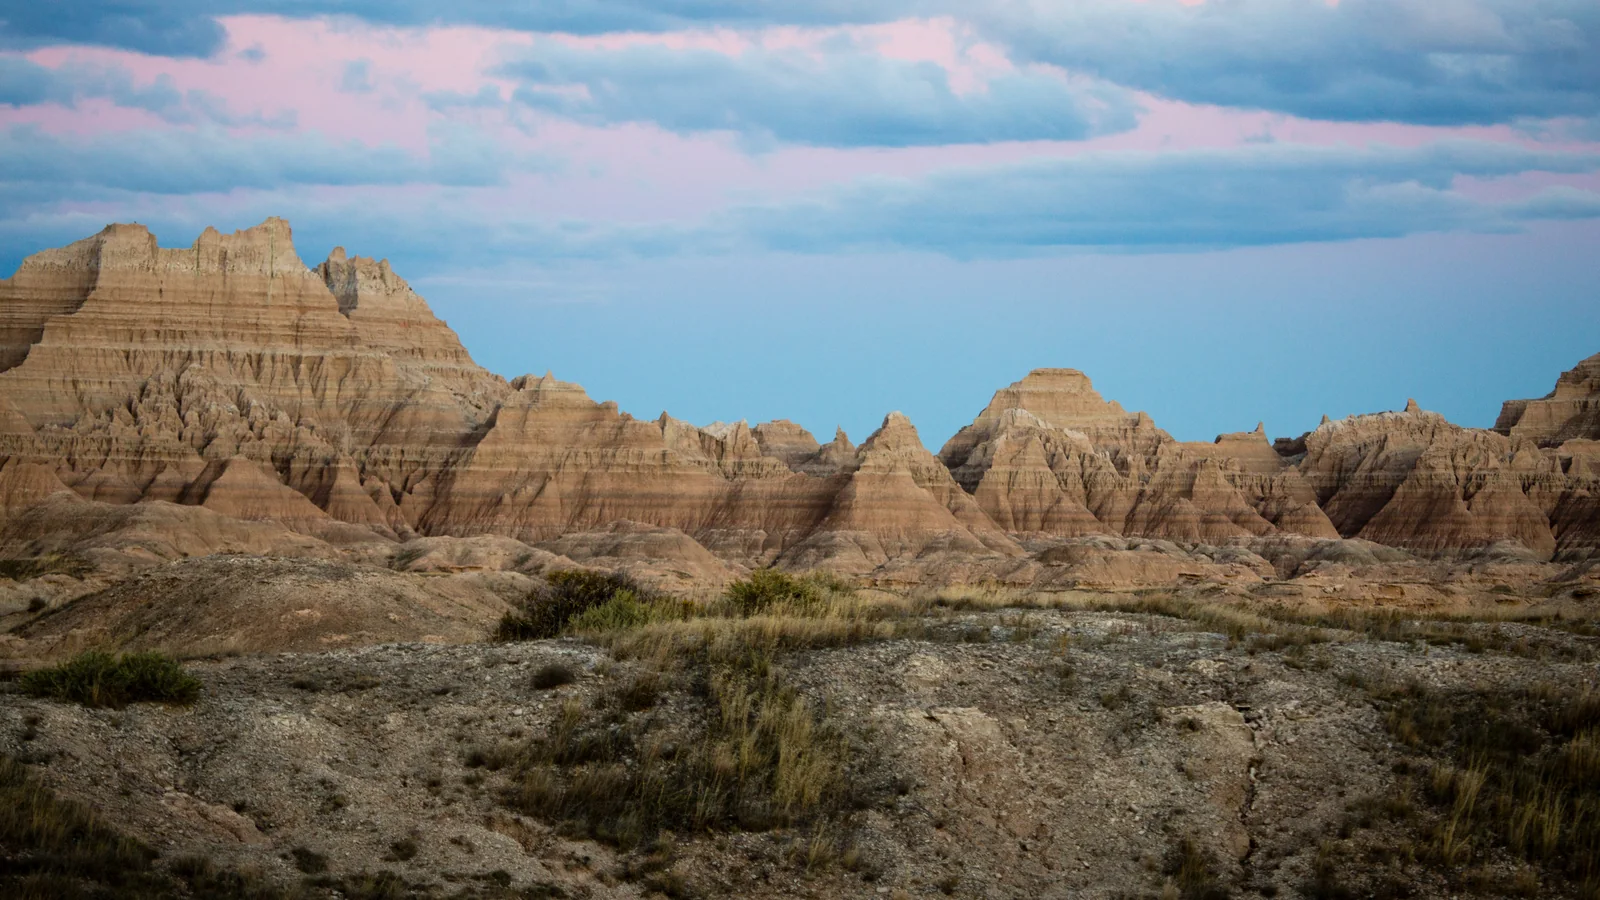
The park lies east of Rapid City. From I-90, take exit 131 for Northeast Entrance or exit 110 at Wall for Pinnacles Entrance. The main Badlands Loop Road (SD 240) is paved; allow time for stops rather than just driving through.
This itinerary assumes your own vehicle; do not rely on a park shuttle. Sage Creek Rim Road is gravel and may close after rain or snow. Check it separately before leaving the pavement.
NPS — source ↗US$30 covers a private vehicle and its occupants for 7 days. Entrance stations accept cards, not cash. An eligible valid America the Beautiful pass replaces the standard entrance pass. Badlands does not have the US$100 nonresident surcharge.
Accommodation is reserved separately. The ordinary trails listed here do not require reservations; check NPS alerts and the rules for your activity before travelling.
NPS — source ↗NPS average high/low temperatures: May about 22/8°C, July 33/17°C, September 27/11°C, January 1/−12°C. These are climate averages, not a forecast or limits on possible temperatures.
Summer can bring violent thunderstorms and hail; winter brings snow and freezing weather. Carry water, a sun hat and layers. Check the forecast before walking; ground can become very slippery after rain.
NPS — source ↗Cedar Pass Lodge offers cabins and a restaurant in the park, with Cedar Pass Campground nearby. Sage Creek has more basic facilities and first-come, first-served sites; check access and vehicle restrictions before choosing it.
Wall and Interior provide bases outside the park. Bring food for the day and refuel beforehand. Services may be seasonal, so check hours before relying on a late meal.
NPS — source ↗NPS advises keeping at least 100 ft / about 30 m from wildlife; if animals react to you, you are too close. Do not approach bison or feed prairie dogs. Leave fossils and rocks where you find them.
Download a map before arrival. For a first visit, use the described trails: navigating beyond them can be difficult. Notch has a ladder and an exposed ledge, so its short distance does not make it an easy walk for everyone.
NPS — source ↗A useful first stop after the northeast entrance. Dawn light brings out the rock layers.
Choose a walk for your fitness and the weather. Window is short; Notch requires a ladder and a sure footing. You do not need to walk every trail.
Stop for natural-history context and ranger advice. Farther along the road, a short boardwalk features fossil exhibits.
Follow SD 240 with stops at designated overlooks. Leave time for changing light and short walks from parking areas.
Add the gravel road only in suitable conditions and if your rental agreement allows it. Watch wildlife from a distance; sightings are not guaranteed.
Distances apply to the stated starting point and variant. * Time/difficulty marked with an asterisk is a Vista Travel planning estimate for ordinary summer conditions. ¹ NPS gain or elevation change, not necessarily total cumulative ascent. No unconfirmed elevation figure is added.
Starts on a boardwalk; beyond it the ground is uneven with drop-offs. You can turn around at the end of the boardwalk.
NPS — trail details ↗A short boardwalk to a natural window overlooking an eroded canyon.
NPS — trail details ↗A log ladder and exposed ledge. Not recommended with a fear of heights; dangerous during and after heavy rain.
NPS — trail details ↗Full route from Door/Window parking to Fossil Exhibit and back. Little shade; you can walk a shorter section and return.
NPS — trail details ↗An accessible boardwalk with fossil replicas and exhibits about prehistoric animals.
NPS — trail details ↗This section will grow alongside new routes and first-hand travel experience.
Where to leave the car and when park transportation is the better option.
Distances, fuel, tolls and the realities of long driving days in the USA.
Water, heat, cell coverage and planning in very hot regions.
Visitor Center, trailhead, scenic drive, overlook and other useful terms.